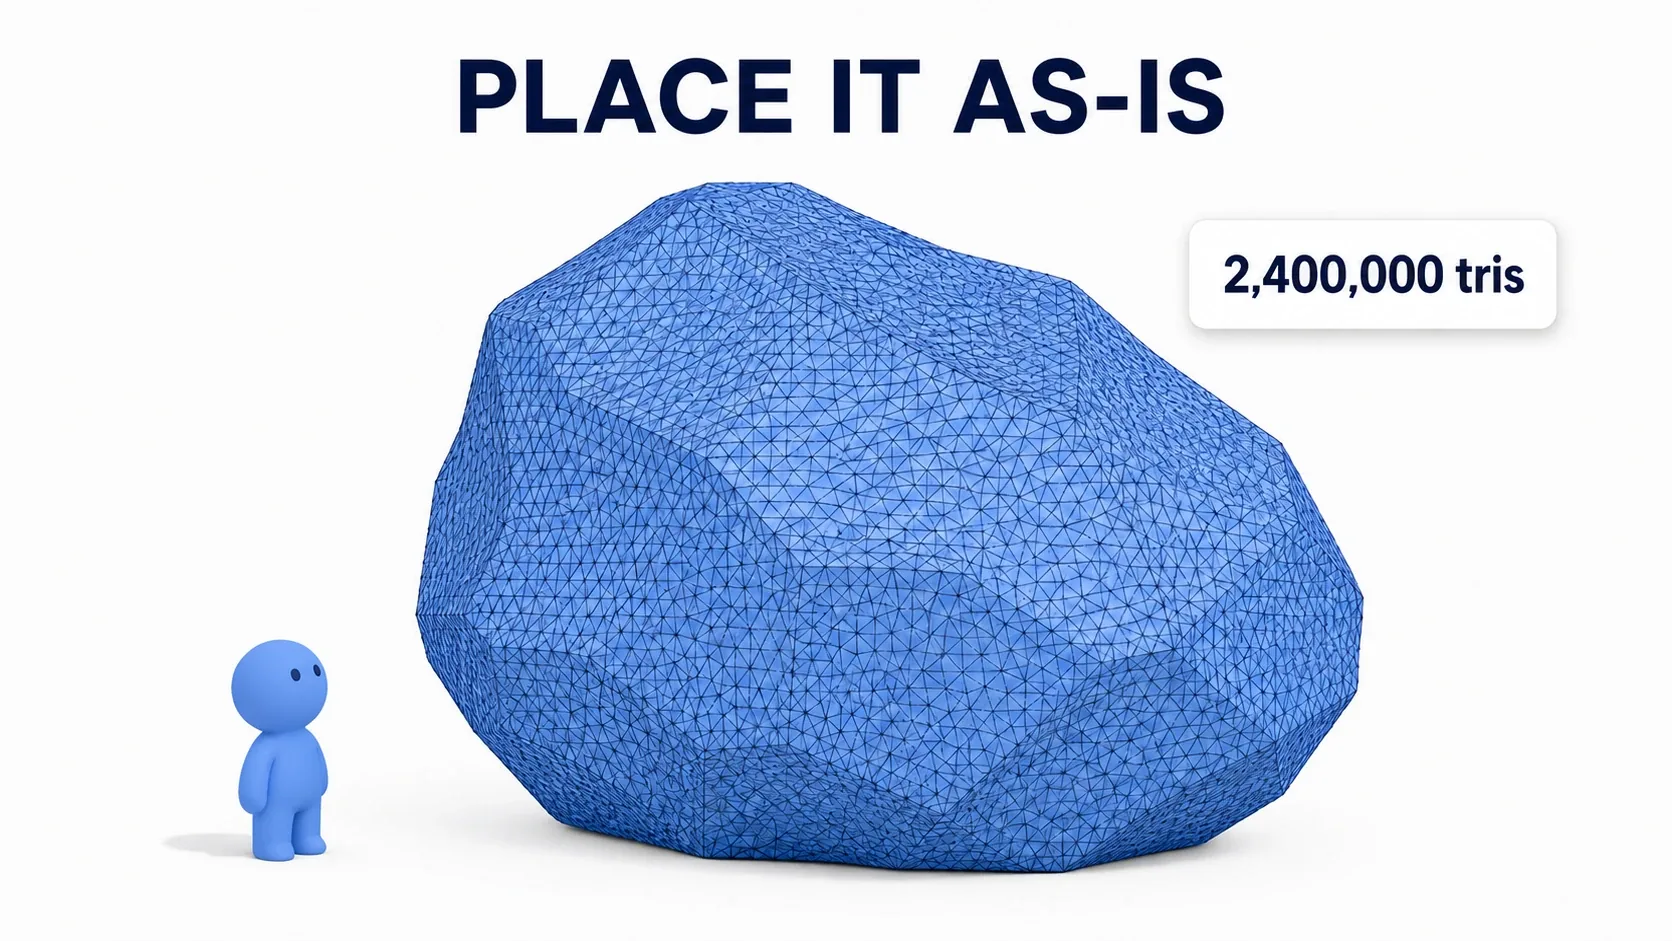
Making game models has always come with two chores attached: trimming polygons, and authoring several LOD levels. That multi-million-poly sculpt you made in ZBrush couldn't go into the engine as-is. That was simply how it worked.
Nanite breaks that assumption. You can bring in meshes at billions of triangles and place them directly, and manual LOD authoring goes away. This article covers what Nanite actually does, how to enable it, the limits that will bite you if you don't know about them, and how to see the effect with your own eyes using visualization mode.
What You'll Learn
- Nanite decides detail based on the pixels on screen
- Manual LODs become unnecessary, and transitions are invisible
- There are three ways to enable it (on import, in bulk, individually)
- Translucent is unsupported, which is the single biggest gotcha
- Hands-on: line up high-poly meshes and check the result in visualization mode
What Nanite Actually Does
Traditional LODs work by preparing several simplified meshes ahead of time and swapping between them based on distance. That takes authoring effort, and it creates the classic problem where the shape visibly changes at the moment of the swap (popping).
Nanite takes a different approach.
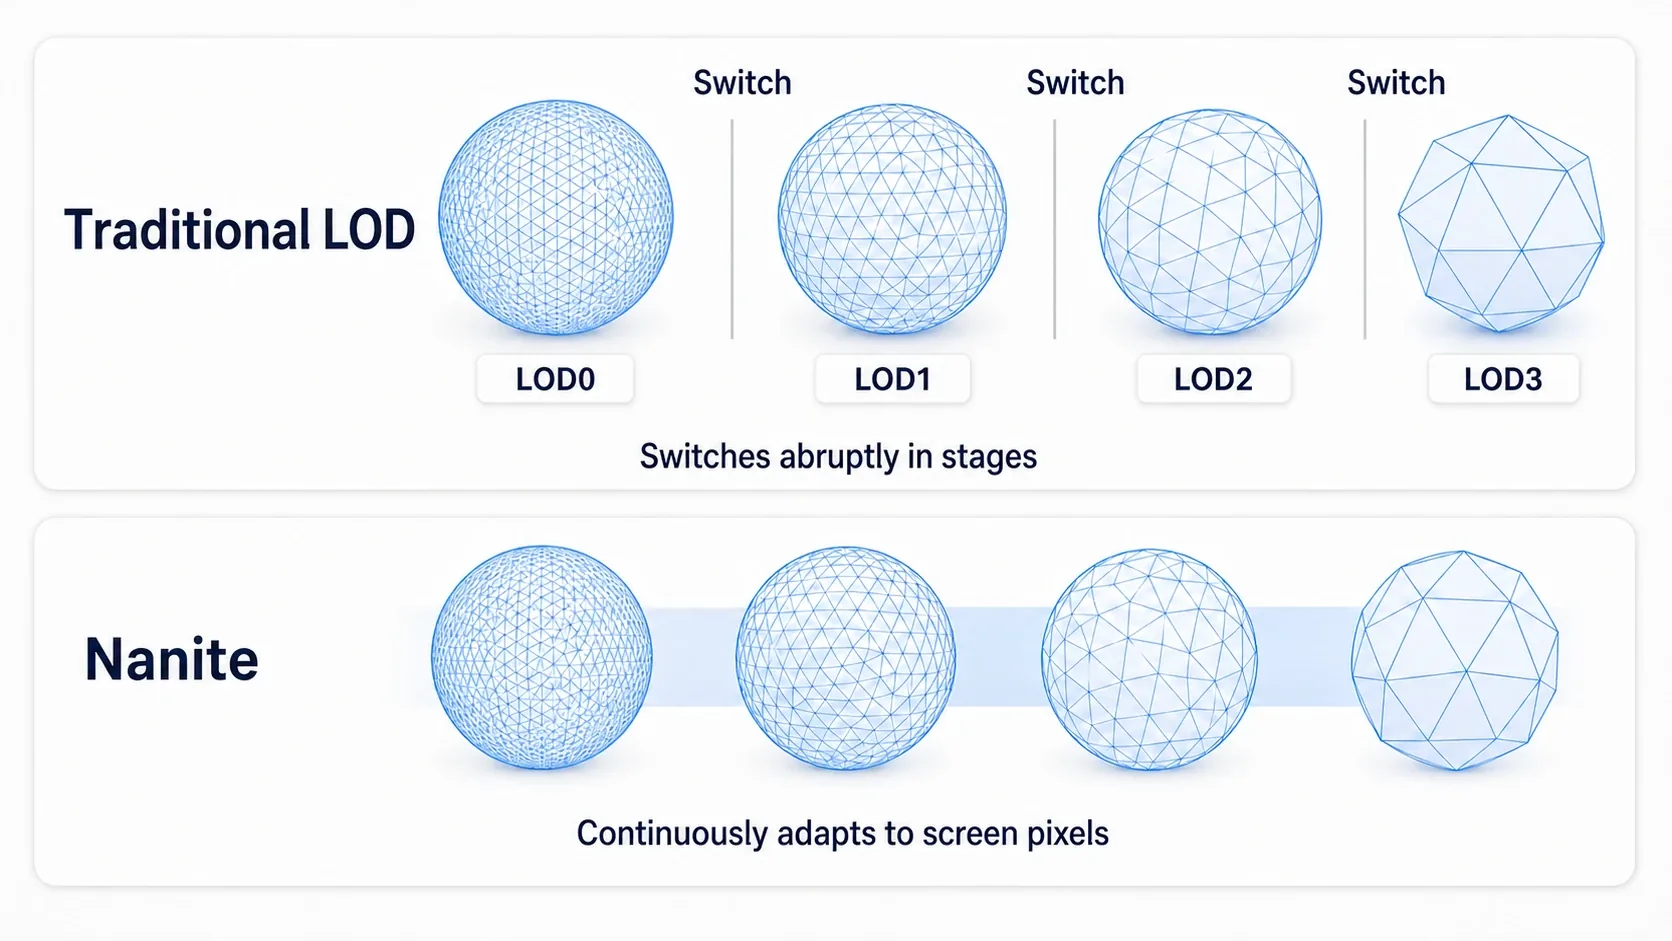
Nanite breaks a single high-detail mesh into clusters (small groups of triangles) and stores it that way. Every time it draws, it decides which clusters to use, and at what precision, based on how much detail the screen actually needs.
The key is that the screen's pixels are the reference. A distant rock only covers a few pixels, so only that many triangles get used. As you move closer, it gets finer, exactly as much as needed. Because the change is continuous rather than stepped, you never see a transition.
Nanite also streams only the data it needs from storage on demand. Because of that, an SSD is strongly recommended. On an HDD, reads can't keep up and detail may appear late (pop-in).
What you get out of it:
- You can bring in models without worrying about polygon count
- Manual LOD authoring disappears
- Instead of "painting" surface detail with normal maps, you can express it with actual geometry
- Placing the same mesh in large numbers doesn't blow up draw calls
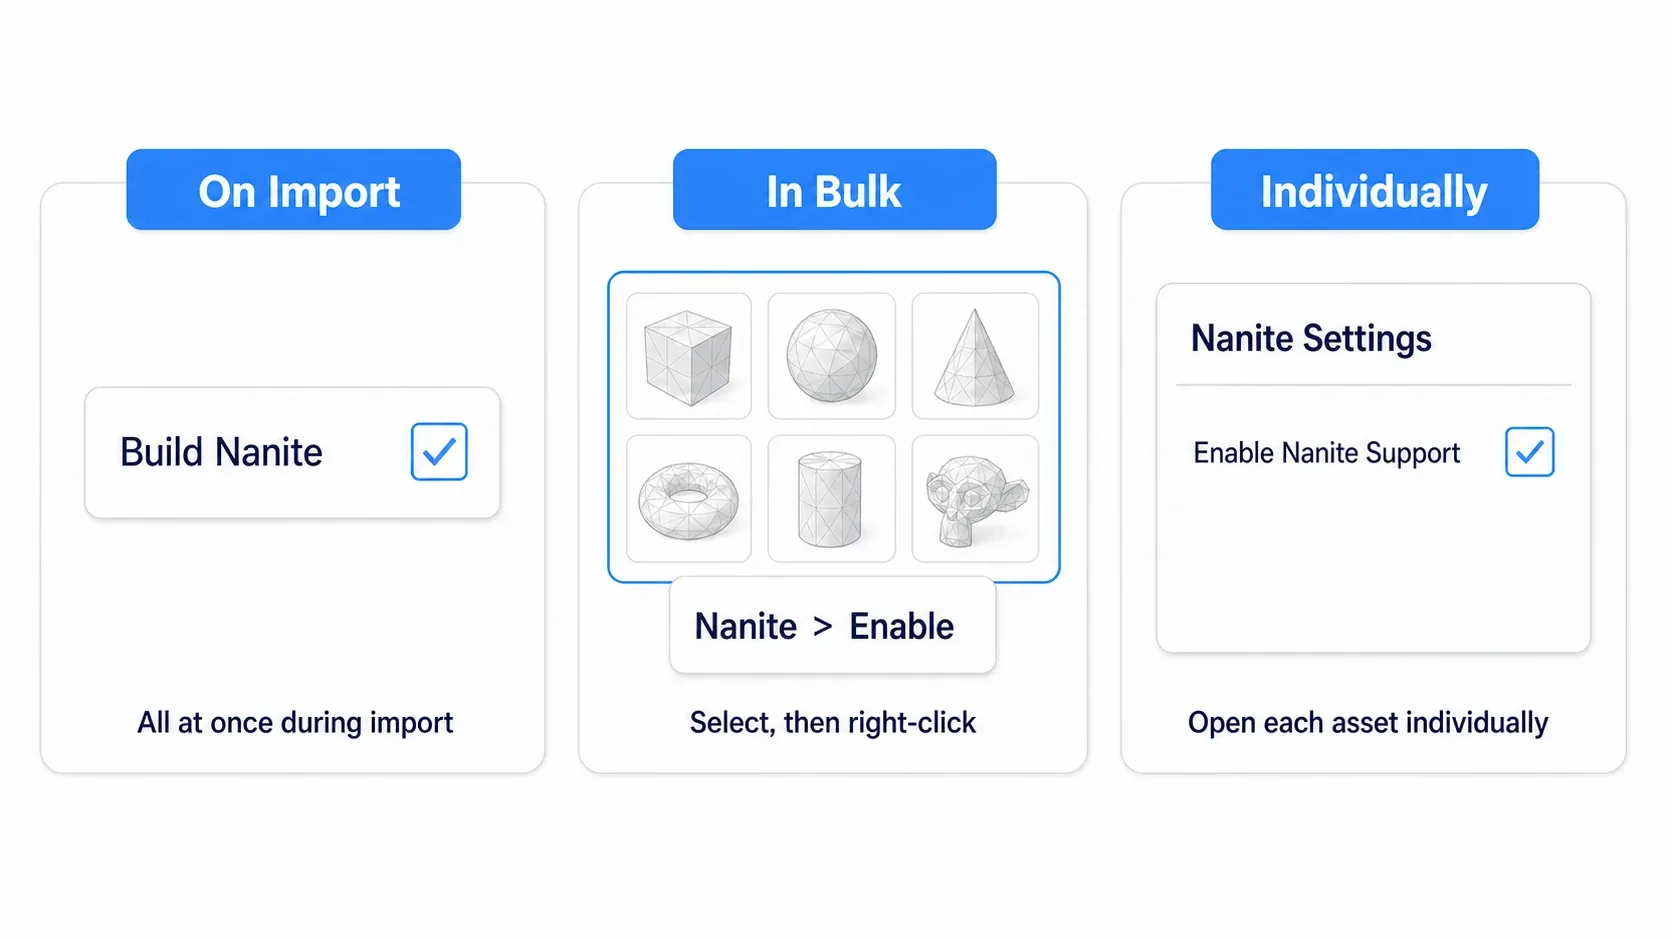
Three Ways to Enable It
Pick whichever fits your situation.
| When | Steps | When to use it |
|---|---|---|
| On import | Check Build Nanite in the import options | When bringing in new assets |
| In bulk | Multi-select in the Content Browser → right-click → Nanite → Enable | When adopting it partway through a project |
| Individually | Static Mesh Editor → Nanite Settings → Enable Nanite Support | When testing a single specific mesh |
On a new project, turning it on at import time takes the least effort.
Lightmap UV generation can often be skipped. If you're using Lumen and Virtual Shadow Maps and not baking lightmaps, you can turn off
Generate Lightmap UVson import. On high-detail meshes that generation step alone eats a lot of time, so the savings are real.
Which Meshes Benefit
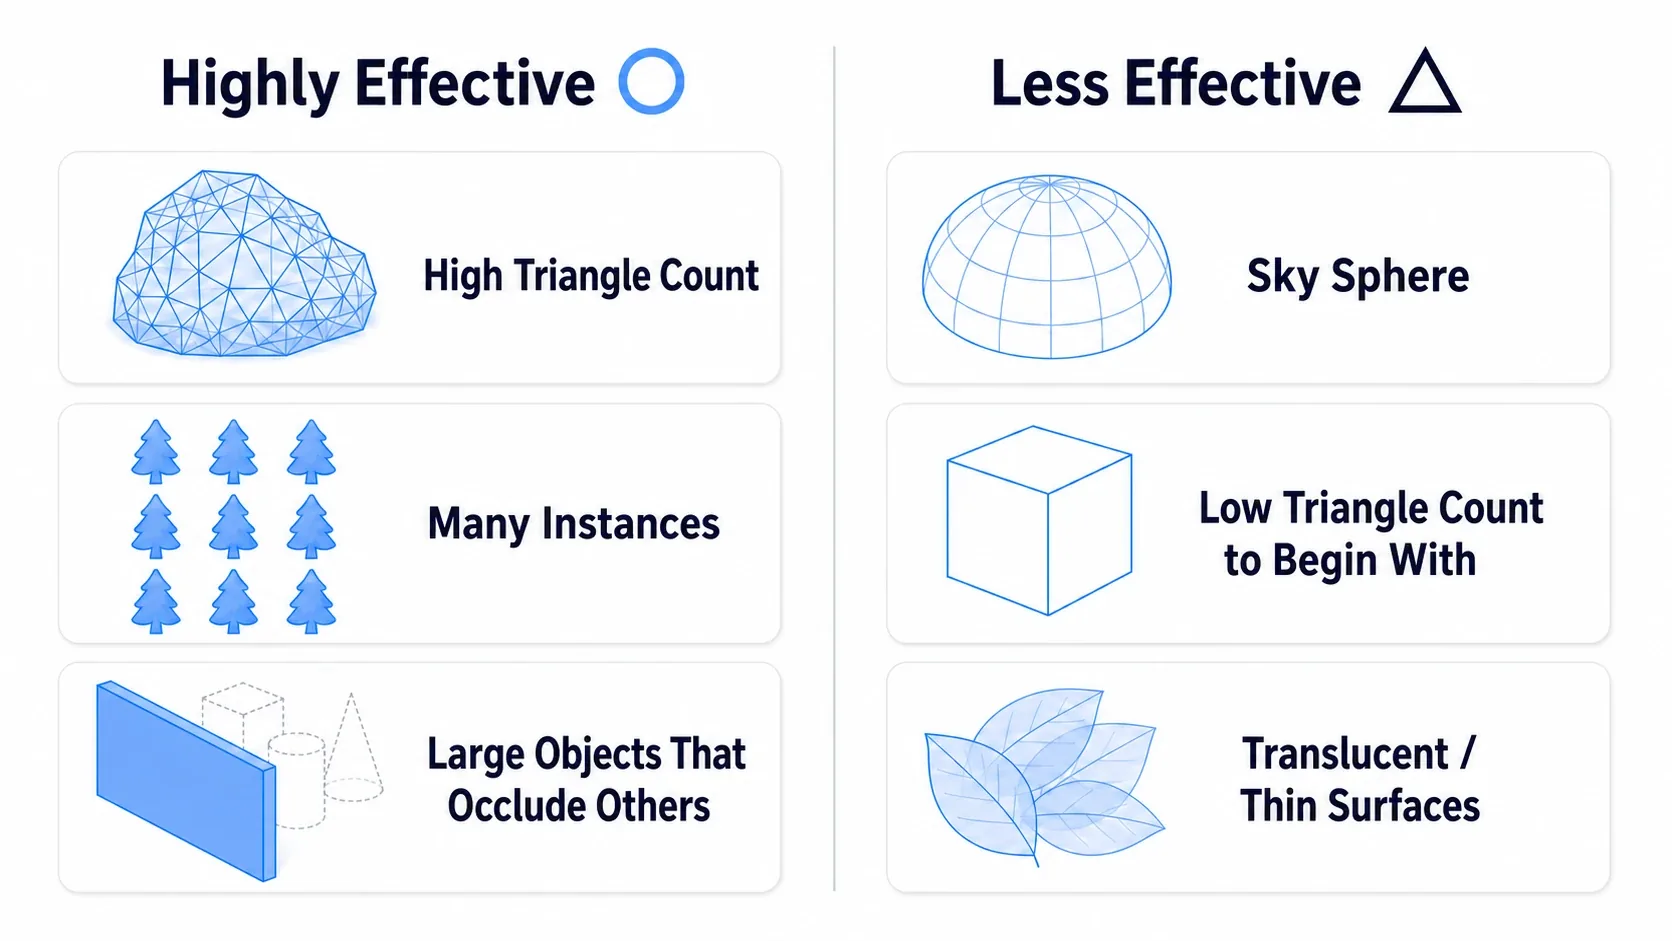
If the mesh is supported, you can basically turn it on for everything. There's almost no downside, so enabling it when in doubt is the practical call.
That said, the size of the benefit varies.
| Big benefit | Small benefit |
|---|---|
| Meshes with lots of triangles | Meshes that fill the whole screen |
| Assets placed in large numbers (rocks, rubble, buildings) | Meshes that appear only once in a scene |
| Large walls and terrain that occlude other things | Things that occlude nothing |
| Meshes casting shadows via Virtual Shadow Maps |
The clearest exception is a sky sphere. It fills the screen, appears exactly once, and occludes nothing, which misses every one of Nanite's strengths. Exceptions like this are rare, though.
Limits That Trip People Up
Nanite isn't a silver bullet. You will definitely hit the first one, so know about it up front.
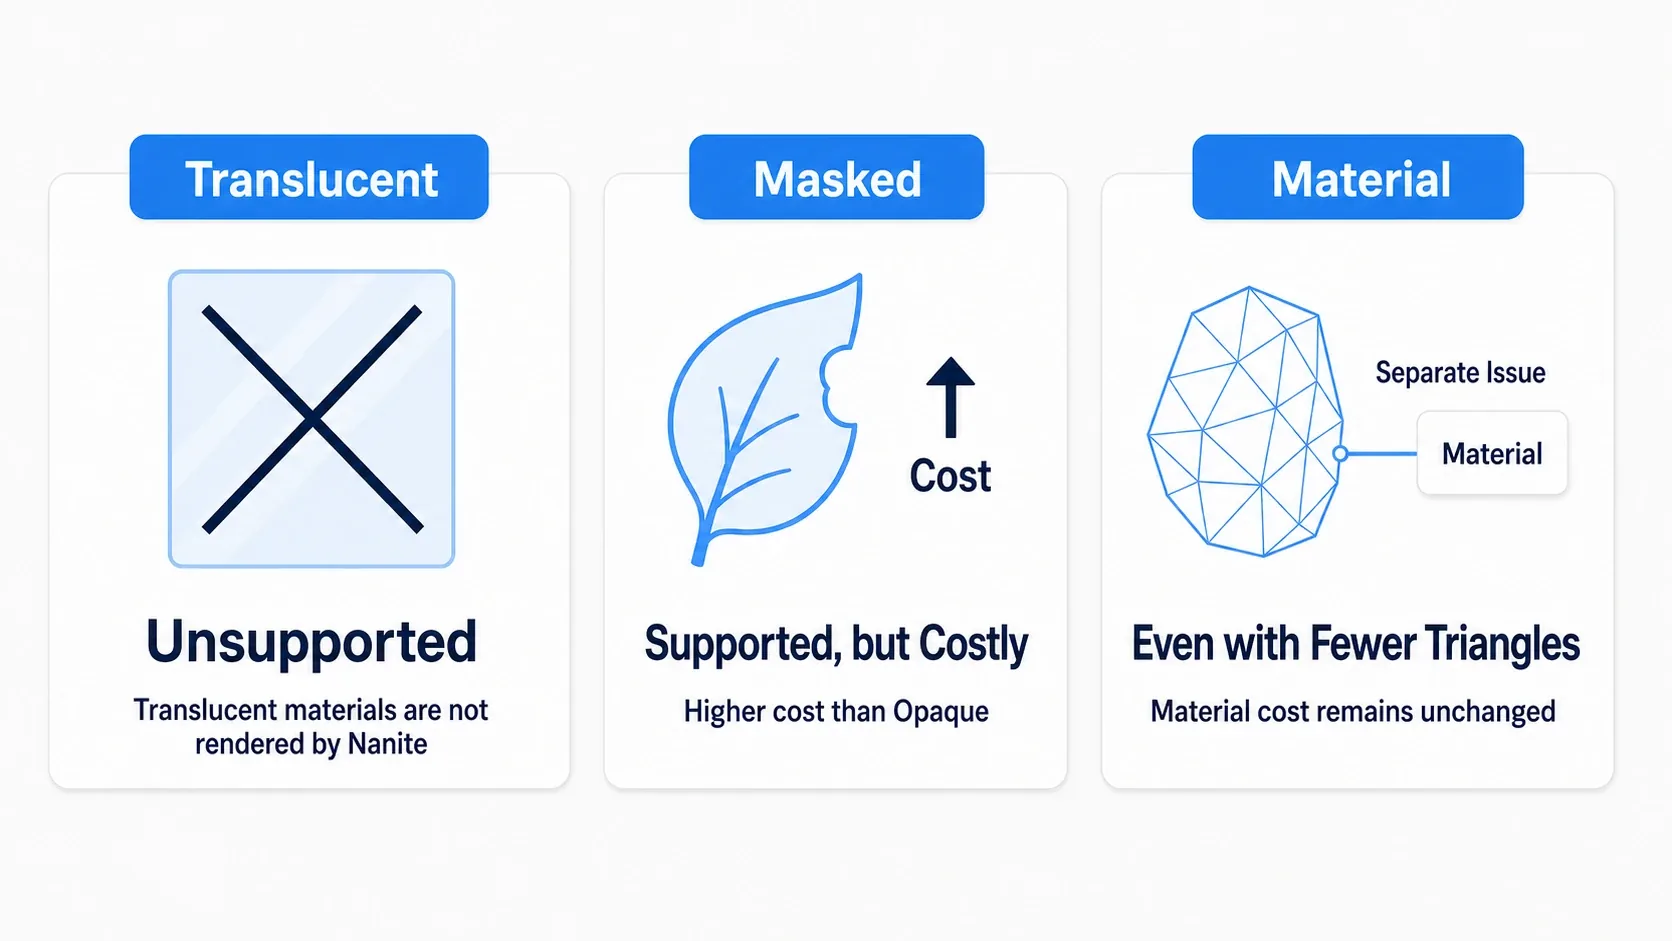
| Limit | Details |
|---|---|
| Translucent | Not supported. Can't be used for glass, water surfaces, or effects |
| Masked | Supported, but costs more. Be careful when using it on dense foliage |
| World Position Offset | Complex deformation can work against Nanite's optimizations |
| Material cost | Nanite solves geometry only. Heavy shaders stay heavy |
| Disk size | Can grow to 2–3x the original |
| Material IDs | Max 64 per mesh |
"My mesh disappeared after enabling Nanite." In that case, the cause is almost certainly a Translucent material. For models that include glass or water, set up those parts so they don't use Nanite.
There's one more point that's easy to misread. Nanite is a solution for geometry, and materials are a separate problem. Millions of polygons may run smoothly, but pile a heavy shader on top and the frame rate drops.
Foliage got its own mechanism in a later version. The "Masked costs more" limitation in the table above assumes you're drawing masses of leaves with Masked materials. The newer approach represents leaf shapes differently, so even forest-level density can benefit from Nanite. Whether it's available depends on your version, so check the Nanite entries under Project Settings → Rendering.
Skeletal Mesh support arrived as experimental in UE 5.4 and stabilized in 5.5. Limits remain around morph targets and cloth simulation.
Hands-On: Line Up High-Poly Meshes and Watch It Work
Rocky terrain in an open world, rubble in a ruined city, photogrammetry-scanned architecture. "Place lots of high-detail models" is a situation that shows up in every genre. Here, you'll see what Nanite is actually doing with your own eyes.
Staring at numbers doesn't land. Looking at it in visualization mode is the fastest path to understanding.
Setup: Grab one Static Mesh with a high triangle count. A photogrammetry asset works, and so does a rock from Quixel Bridge.
| Target | Setup |
|---|---|
| High-poly Static Mesh | Start with Nanite off |
| Level | Place about 50 copies of that mesh |
Step 1: Measure the "off" state. Once the meshes are placed, record where you're starting from.
Open the console in the viewport (the ` key) and run stat unit. Note the Draw value (time spent on rendering).
Step 2: Enable Nanite. Right-click the mesh in the Content Browser → Nanite → Enable.
When it finishes, check stat unit again. If the Draw value dropped, it's working.
Step 3: Look inside with visualization mode. This is the main event. Click View Mode in the top-left of the viewport (Lit by default) and switch the display via Nanite Visualization.
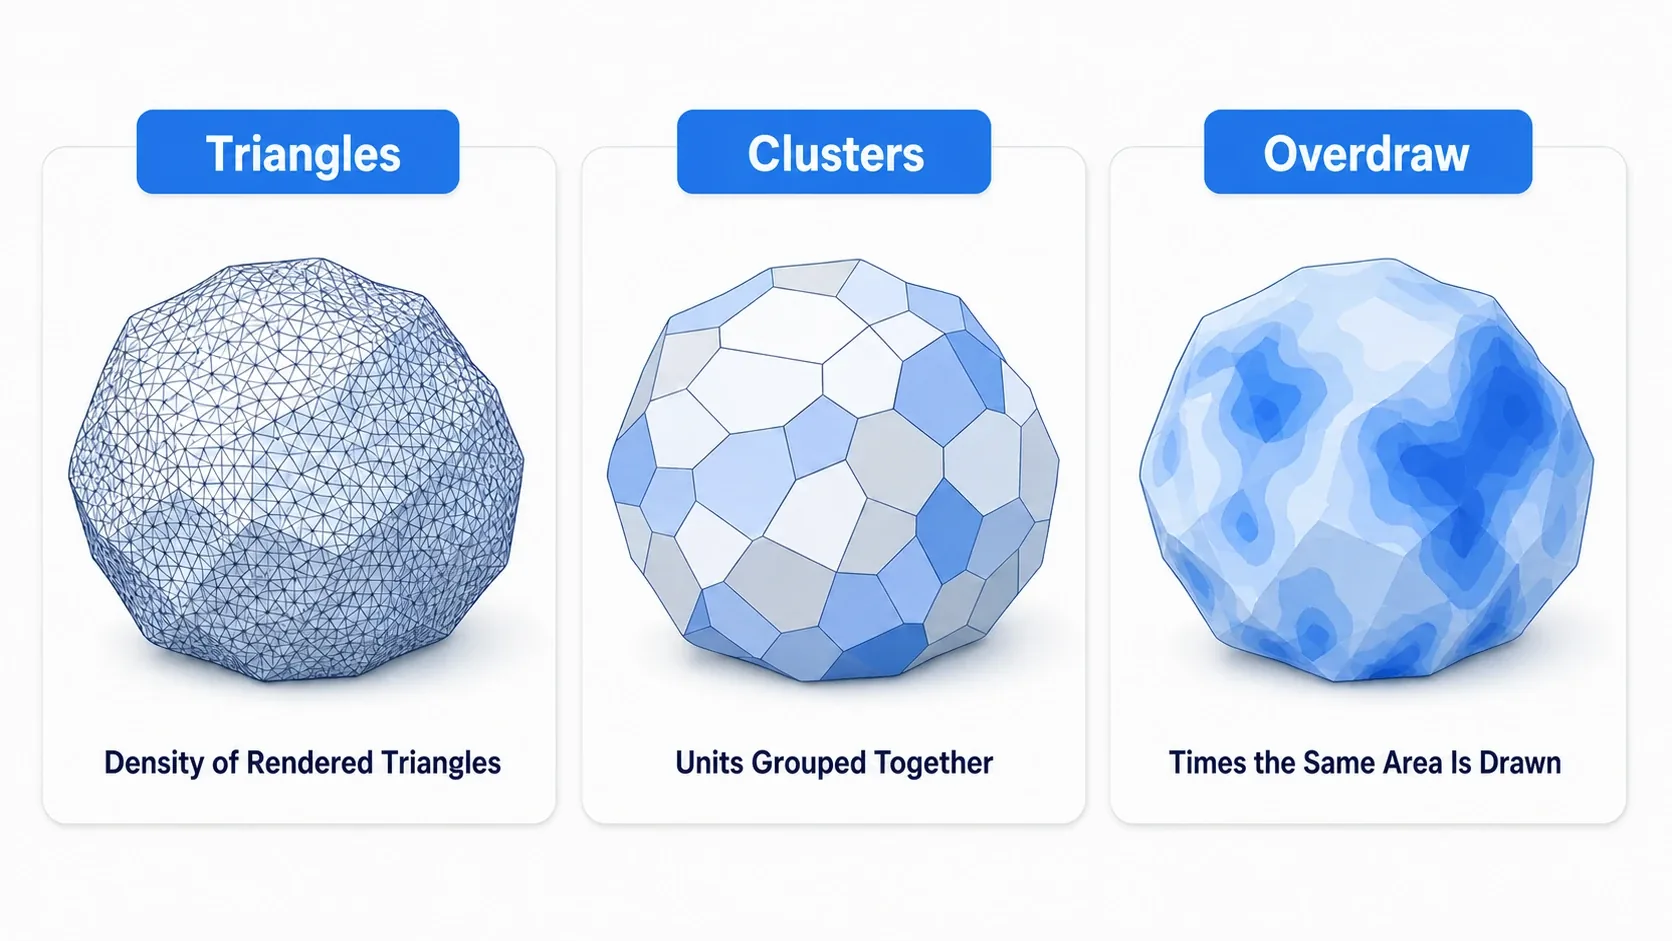
| Mode | What it shows | How to read it |
|---|---|---|
| Triangles | Triangle density | Dense up close, sparse far away means it's working |
| Clusters | Cluster subdivision | Color-coded groups change size with distance |
| Overdraw | How much is drawn on top of itself | Purple is good, orange is a problem |
Switch to Triangles and move the camera back and forth. Density rises as you approach and falls as you pull away. That change is what Nanite is doing every frame. And when you switch back to Lit, none of it is visible.
Step 4: Check the numbers with stat Nanite. Running stat Nanite in the console shows the triangle and instance counts actually being drawn. It should be far lower than the total polygon count of the source mesh.
That's why "billions of polygons" is possible. The amount of data you hold and the amount you actually draw are two different things.
Here's how to narrow it down when something goes wrong.
- Mesh doesn't render → The material is Translucent. Switch it to Opaque, or turn Nanite off
Nanite → Enabledoesn't appear → It isn't a Static Mesh, or the format isn't supported- Nothing changes in visualization mode → That mesh isn't Nanite-enabled. Check
Enable Nanite Supportin the Static Mesh Editor Drawdoesn't drop → The mesh had few triangles to begin with, or your bottleneck is elsewhere (materials, for instance)
Two things to take away.
- Data held and data drawn are different: Nanite doesn't "draw everything," it draws only what's needed. Compare the
stat Nanitenumbers against the source polygon count and you can confirm it numerically - Watch
Drawwhen measuring the effect: Instat unit,Gameis the game thread andDrawis the rendering side. Nanite works on the latter, so don't compare the wrong number
If things are still heavy after lightening the geometry, the culprit might be materials (→ Material basics). If you want to cut down draw distance itself, LOD and Culling is a different angle on the problem.
Bonus: Good to Know for Later
Collision is still separate data with Nanite. Rendering gets cheaper, but hit detection still follows your Simple/Complex settings as before. Turning on Nanite doesn't optimize collision, so you design collision yourself just like always (→ Choosing between Simple and Complex).
Budget for the disk size increase. Nanite can grow a mesh's data by 2–3x. One or two meshes won't matter, but enabling it across a whole project shows up clearly in repository size.
On older projects, check your rendering settings first. Projects migrated from UE4 may be missing prerequisites for Nanite (Shader Model 6, for instance). Check Project Settings → Rendering.
You can query the state from C++.
UStaticMeshComponent* MeshComp = FindComponentByClass<UStaticMeshComponent>();
if (MeshComp && MeshComp->GetStaticMesh())
{
    const bool bNanite = MeshComp->GetStaticMesh()->IsNaniteEnabled();
    UE_LOG(LogTemp, Log, TEXT("Nanite enabled: %s"), bNanite ? TEXT("Yes") : TEXT("No"));
}
Useful when you want to audit a large set of assets for meshes where Nanite was missed.
Summary
There are five things to keep in mind when working with Nanite.
| Aspect | Takeaway |
|---|---|
| What changes | No manual LODs, freedom from polygon budgets |
| Enabling it | On import / in bulk / individually. When in doubt, turn it on |
| Meshes it helps | Dense triangles, placed in large numbers, heavy occluders |
| Biggest gotcha | Translucent is unsupported |
| Common misreading | It only solves geometry. Materials and collision are separate |
And one core idea: the polygon count you hold and the polygon count you actually draw are different things. Once that clicks, "billions of polygons" stops sounding like marketing.
Why not switch to Nanite Visualization → Triangles and move the camera around once?