You've got 2D character movement working, but 3D raises a fresh set of questions. How does gravity work? How do you move with WASD? How should the camera follow? A lot of people stall right at the entrance to 3D. Take the pieces one at a time and it's manageable.
This article builds up 3D character movement in Godot: the CharacterBody3D basics (gravity, movement, jumping), then camera-relative movement, and finally a third-person camera with SpringArm3D, with code you can run at each step.
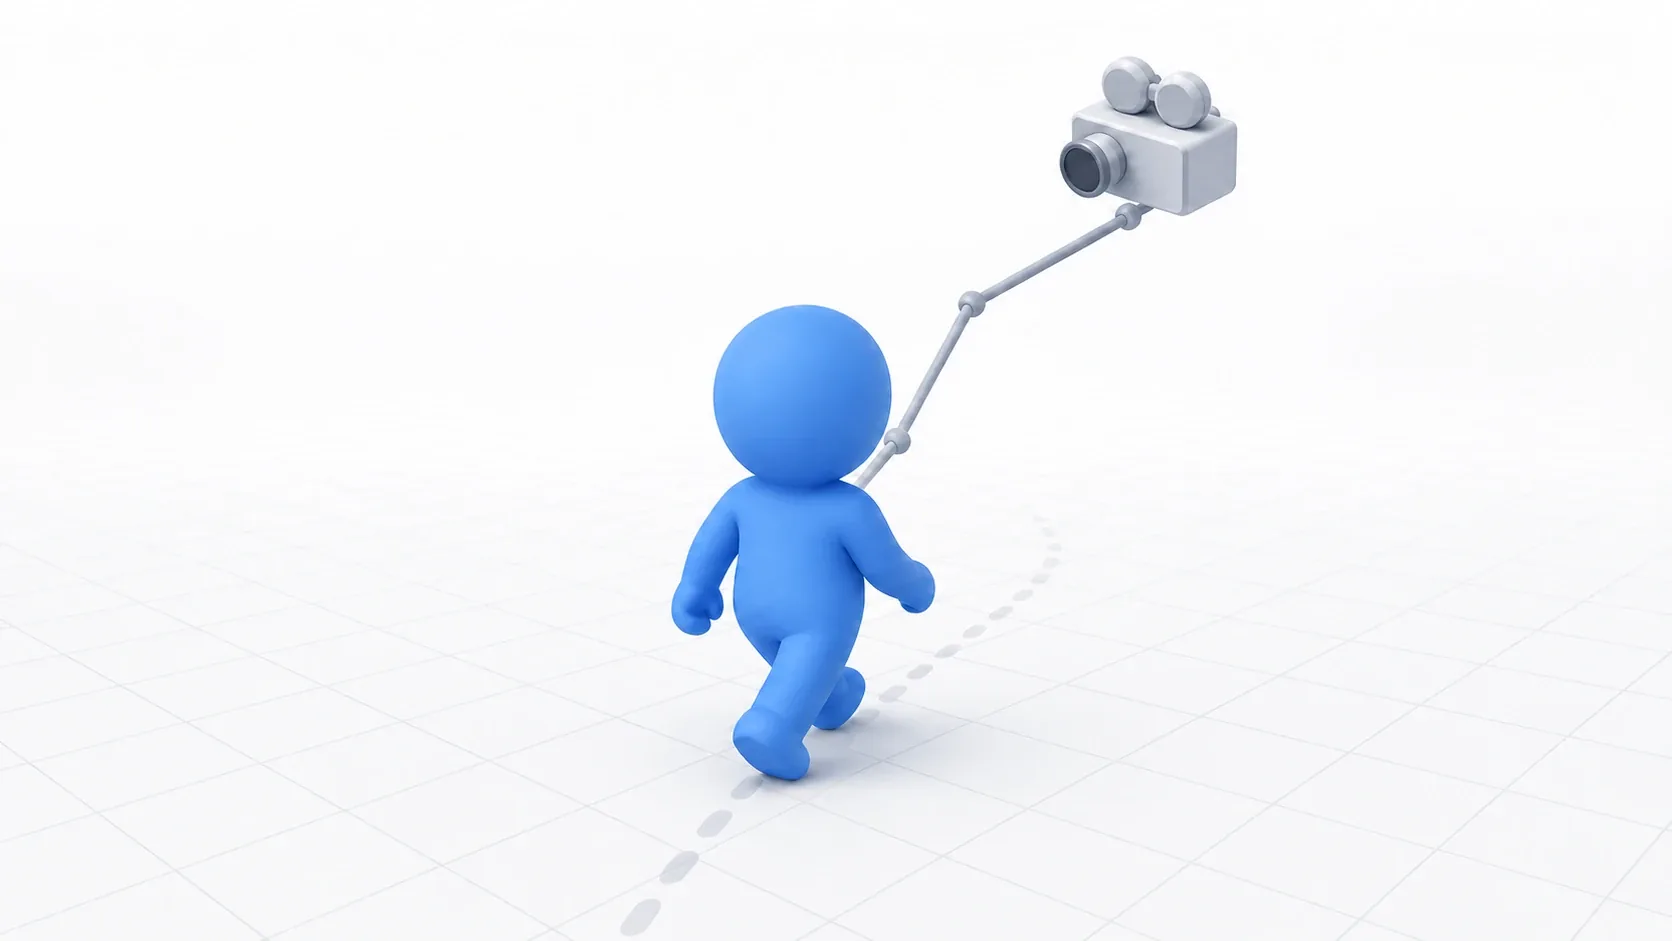
What You'll Learn
- The CharacterBody3D basics (
velocity,move_and_slide,is_on_floor)- Implementing gravity and jumping (
get_gravity)- Converting movement direction to be camera-relative (
basis)- Building a third-person camera with SpringArm3D that doesn't clip through walls
CharacterBody3D basics: gravity, movement, jumping
For 3D character control you use CharacterBody3D. It's the kind of physics body where you decide the speed (velocity) in code instead of handing everything to the physics engine, which is exactly what character control needs (think of it as the 3D counterpart from Choosing Between 2D Physics Bodies).
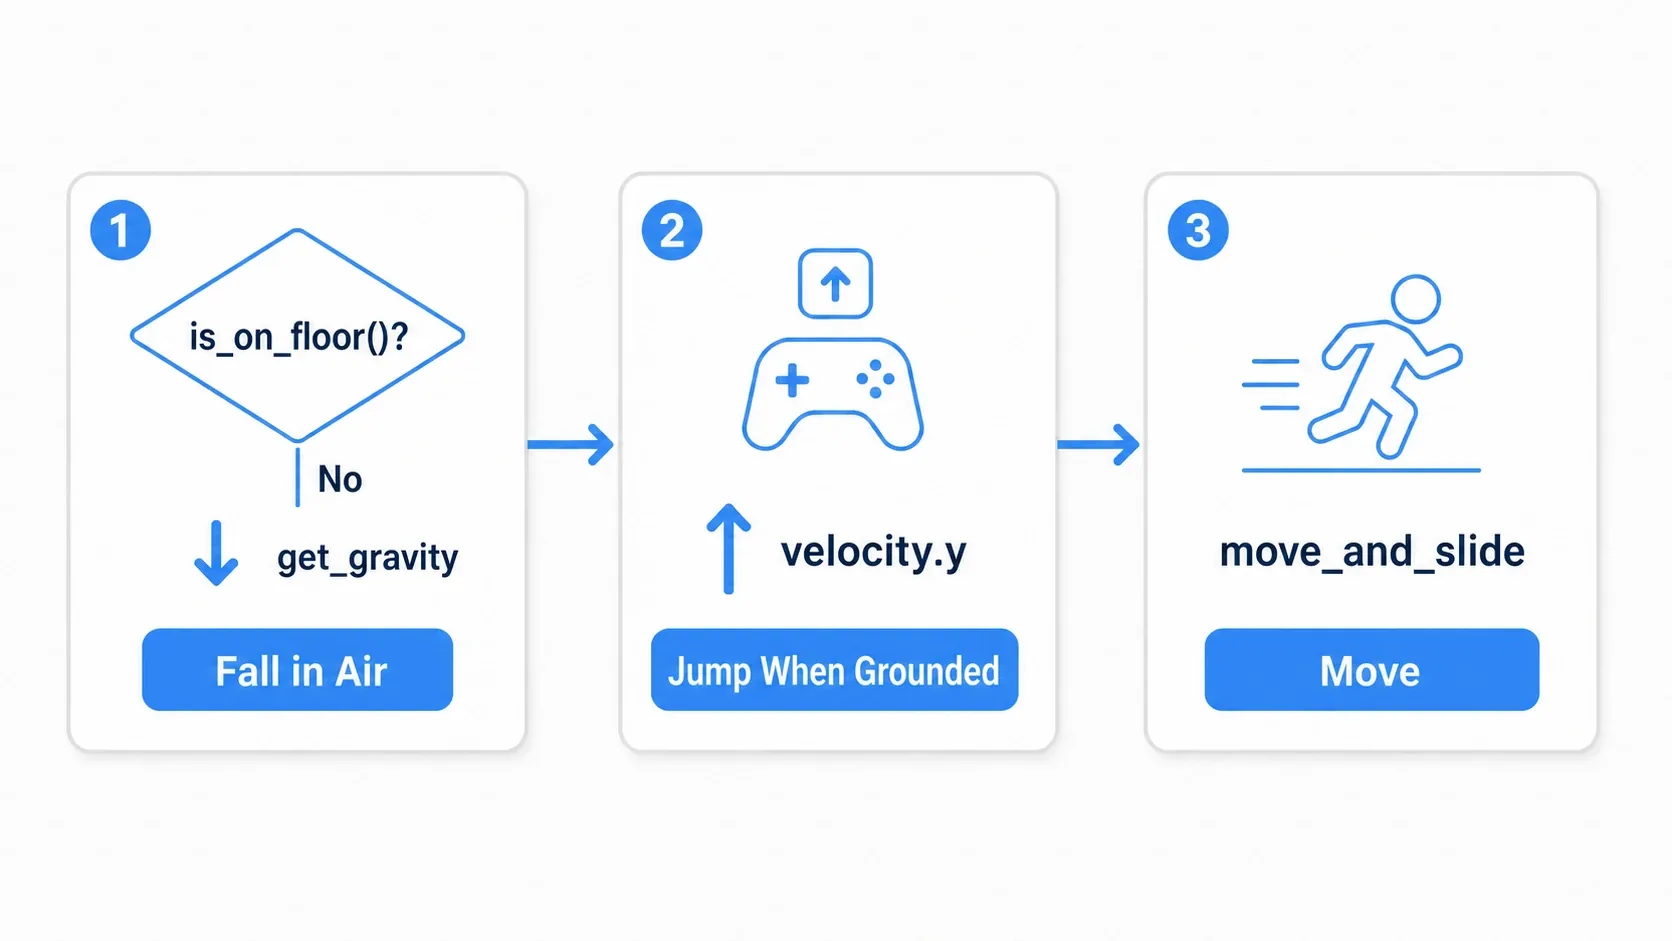
The foundation of movement is just three things every frame: add gravity, set the speed from input, and move with move_and_slide().
extends CharacterBody3D

const SPEED := 5.0
const JUMP_VELOCITY := 4.5

func _physics_process(delta: float) -> void:
    # 1. Fall under gravity when not on the ground
    if not is_on_floor():
        velocity += get_gravity() * delta

    # 2. On a jump input while grounded, set an upward initial speed
    if Input.is_action_just_pressed("ui_accept") and is_on_floor():
        velocity.y = JUMP_VELOCITY

    # 3. Actually move (sliding along walls and floors)
    move_and_slide()
is_on_floor(): returns whether the body is touching the floor. Use it to apply gravity only in the air and allow jumping only while grounded.get_gravity(): returns the gravity vector currently in effect. Add it tovelocityand the character falls. (Older projects read the gravity value fromProjectSettings, butget_gravity()is simpler.)move_and_slide(): moves the character according tovelocityand slides along walls and floors on contact. In 3D too, this one line is the heart of movement.
That gives you a body that falls under gravity and can jump. Next up is moving around.
Moving relative to the camera
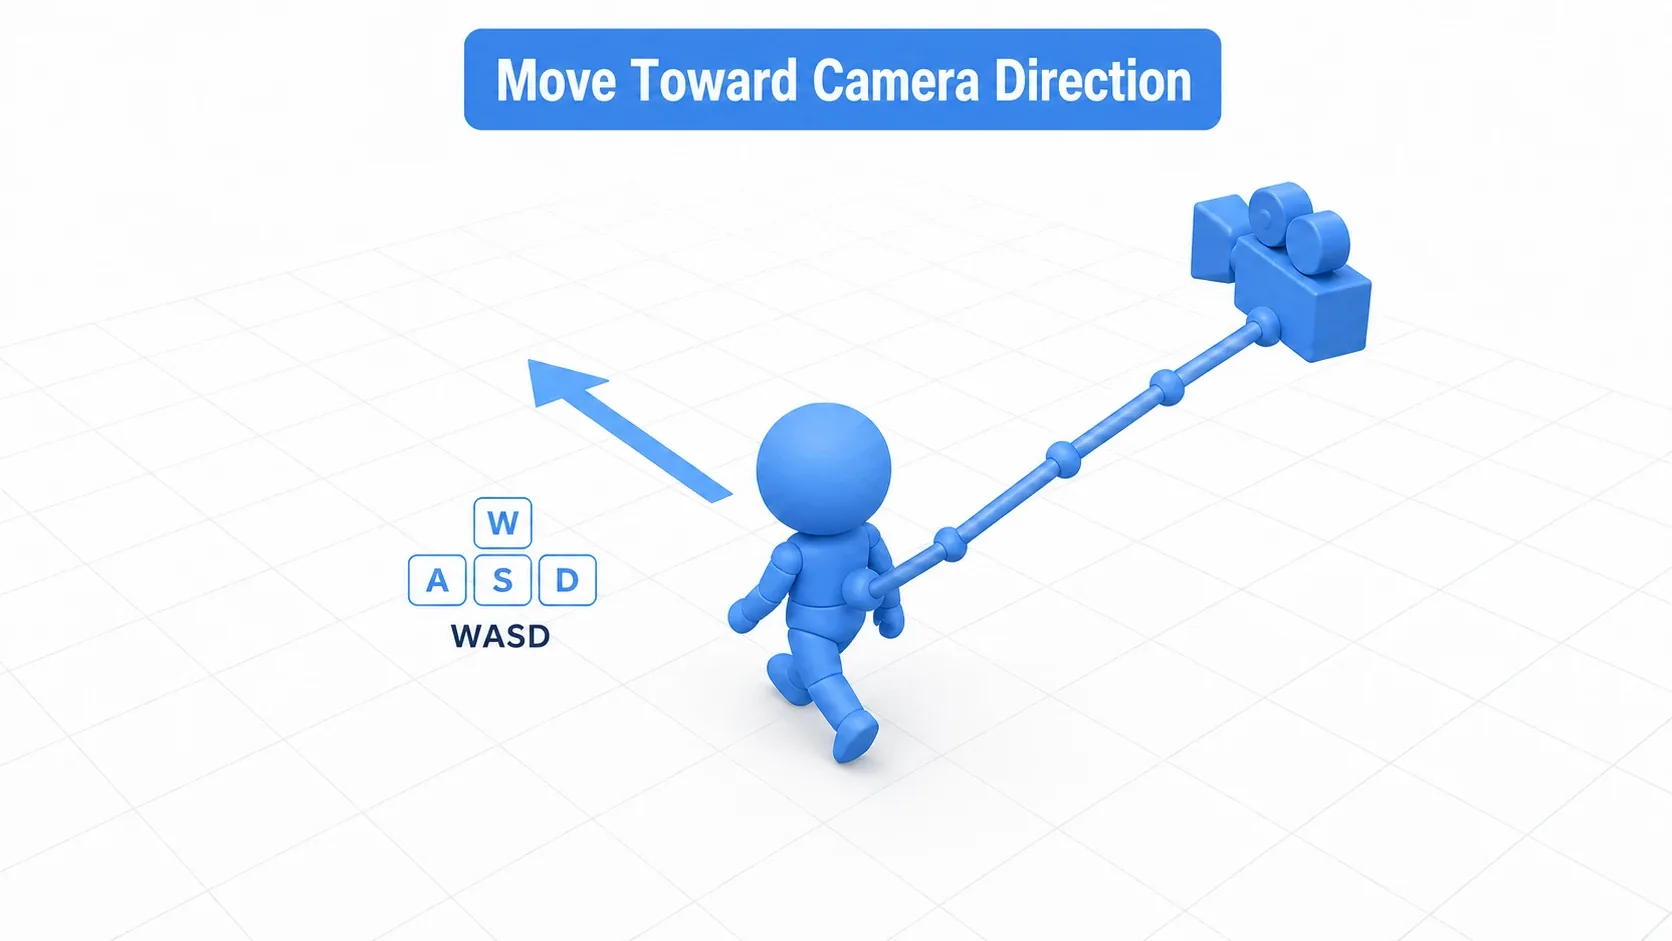
You can read WASD input in one go with Input.get_vector(), but the important question in 3D is which direction counts as "forward." In most games, the direction the camera faces is forward (into the screen means forward).
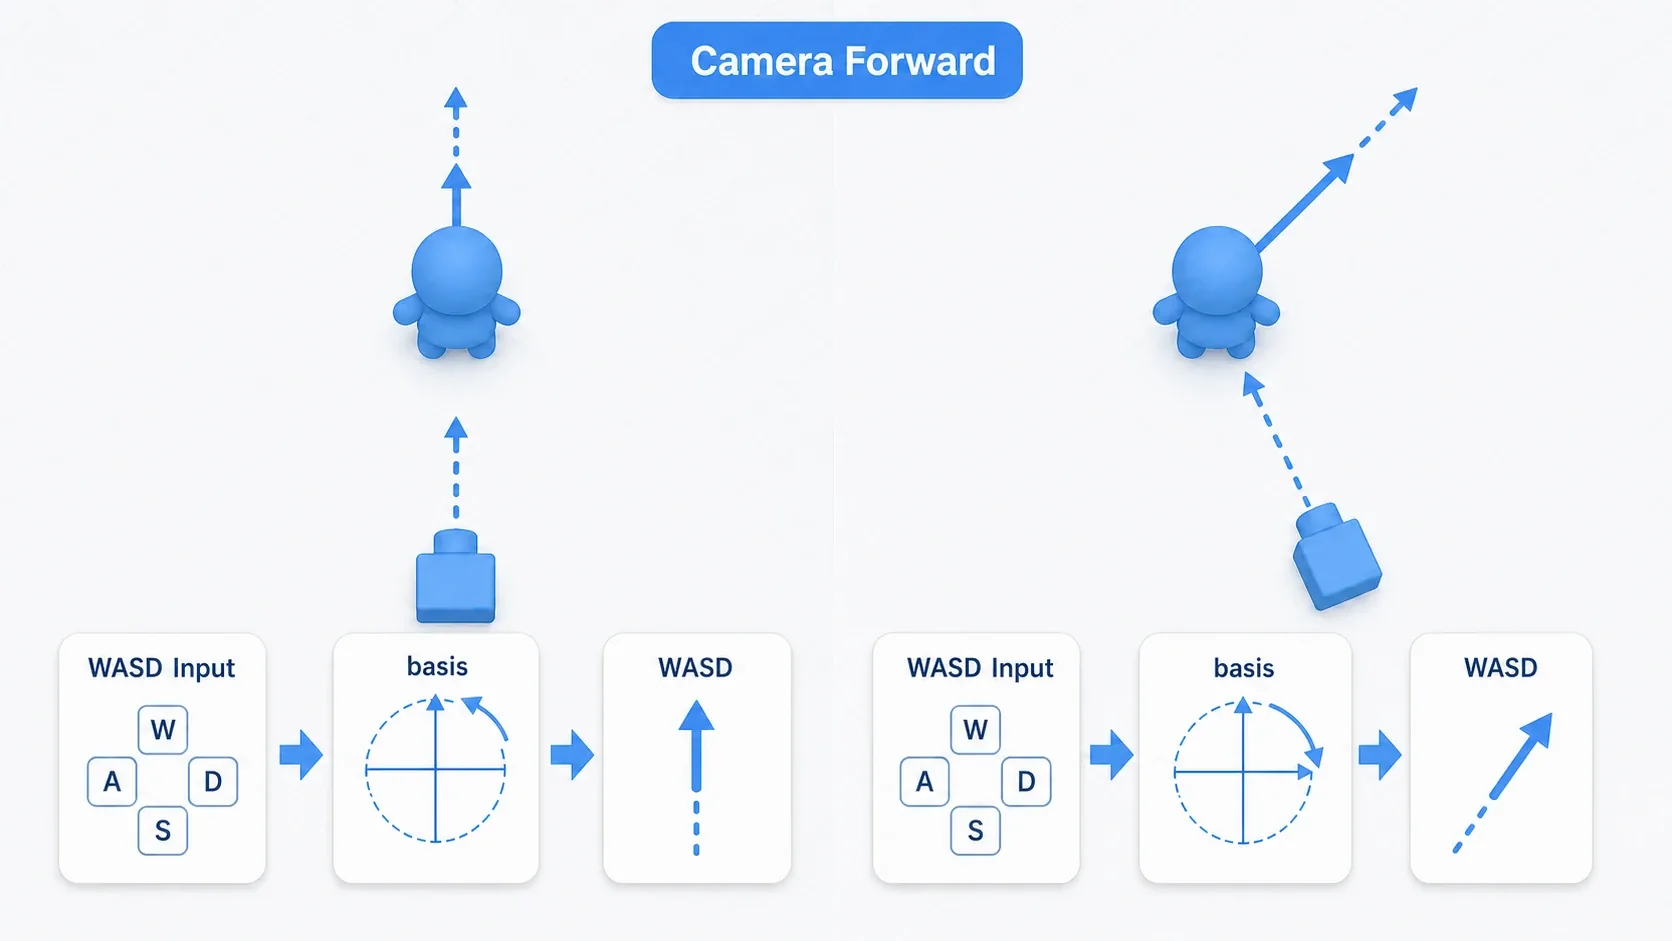
To do that, you transform the input direction by the camera's basis (its orientation). The basis is the three axes describing which way a node faces, and multiplying the input by it gives you a camera-relative direction.
@onready var camera: Camera3D = $SpringArm3D/Camera3D

func _physics_process(delta: float) -> void:
    # (gravity and jumping as shown above)

    var input := Input.get_vector("move_left", "move_right", "move_forward", "move_back")
    # Rotate the input by the camera's orientation, then flatten it to the horizontal plane (y=0)
    var direction := (camera.global_transform.basis * Vector3(input.x, 0, input.y))
    direction.y = 0
    direction = direction.normalized()

    if direction:
        velocity.x = direction.x * SPEED
        velocity.z = direction.z * SPEED
    else:
        # With no input, come to a smooth stop
        velocity.x = move_toward(velocity.x, 0, SPEED)
        velocity.z = move_toward(velocity.z, 0, SPEED)

    move_and_slide()
Now if you swing the camera right and then move forward, the character heads toward the "new forward" too. In a third-person shooter or an overhead ARPG alike, this camera-relative movement is what makes the controls feel natural. When there's no input, move_toward() eases the speed to zero for a soft stop (see move_and_slide vs move_toward).
Building a third-person camera with SpringArm3D
The classic third-person headache is the camera behind the character sinking into walls. SpringArm3D solves it. It's like a spring-loaded arm that keeps the camera at a set distance from the target and automatically shortens when a wall gets in the way.
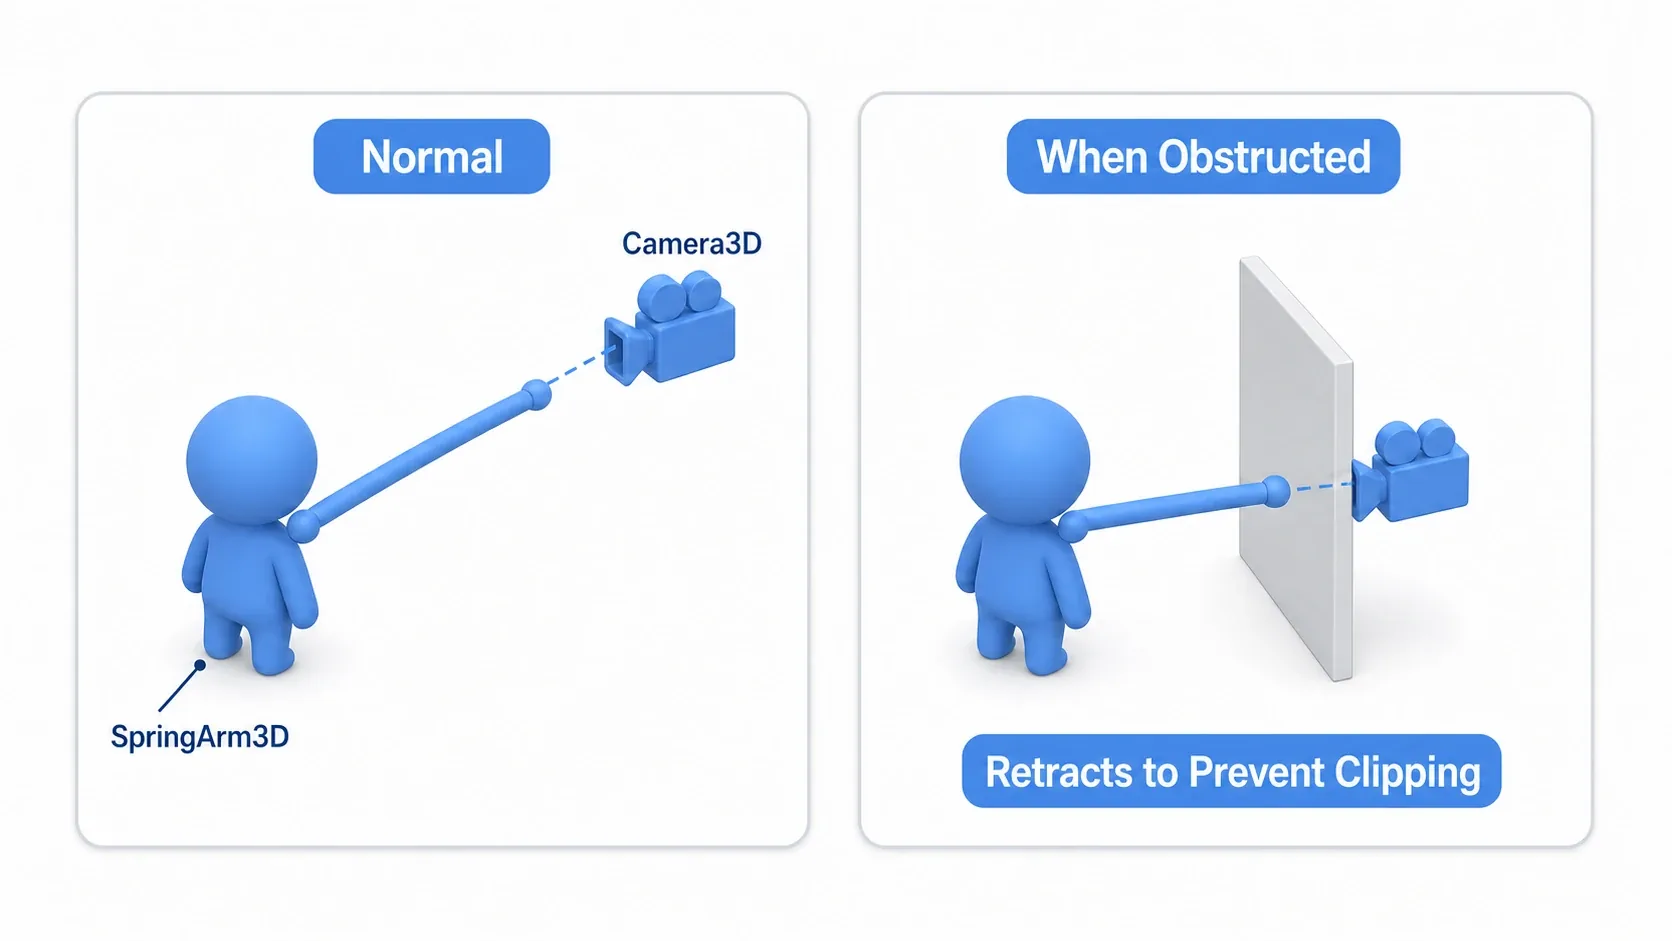
Set up the nodes like this: a SpringArm3D as a child of the Player, and a Camera3D as a child of that.
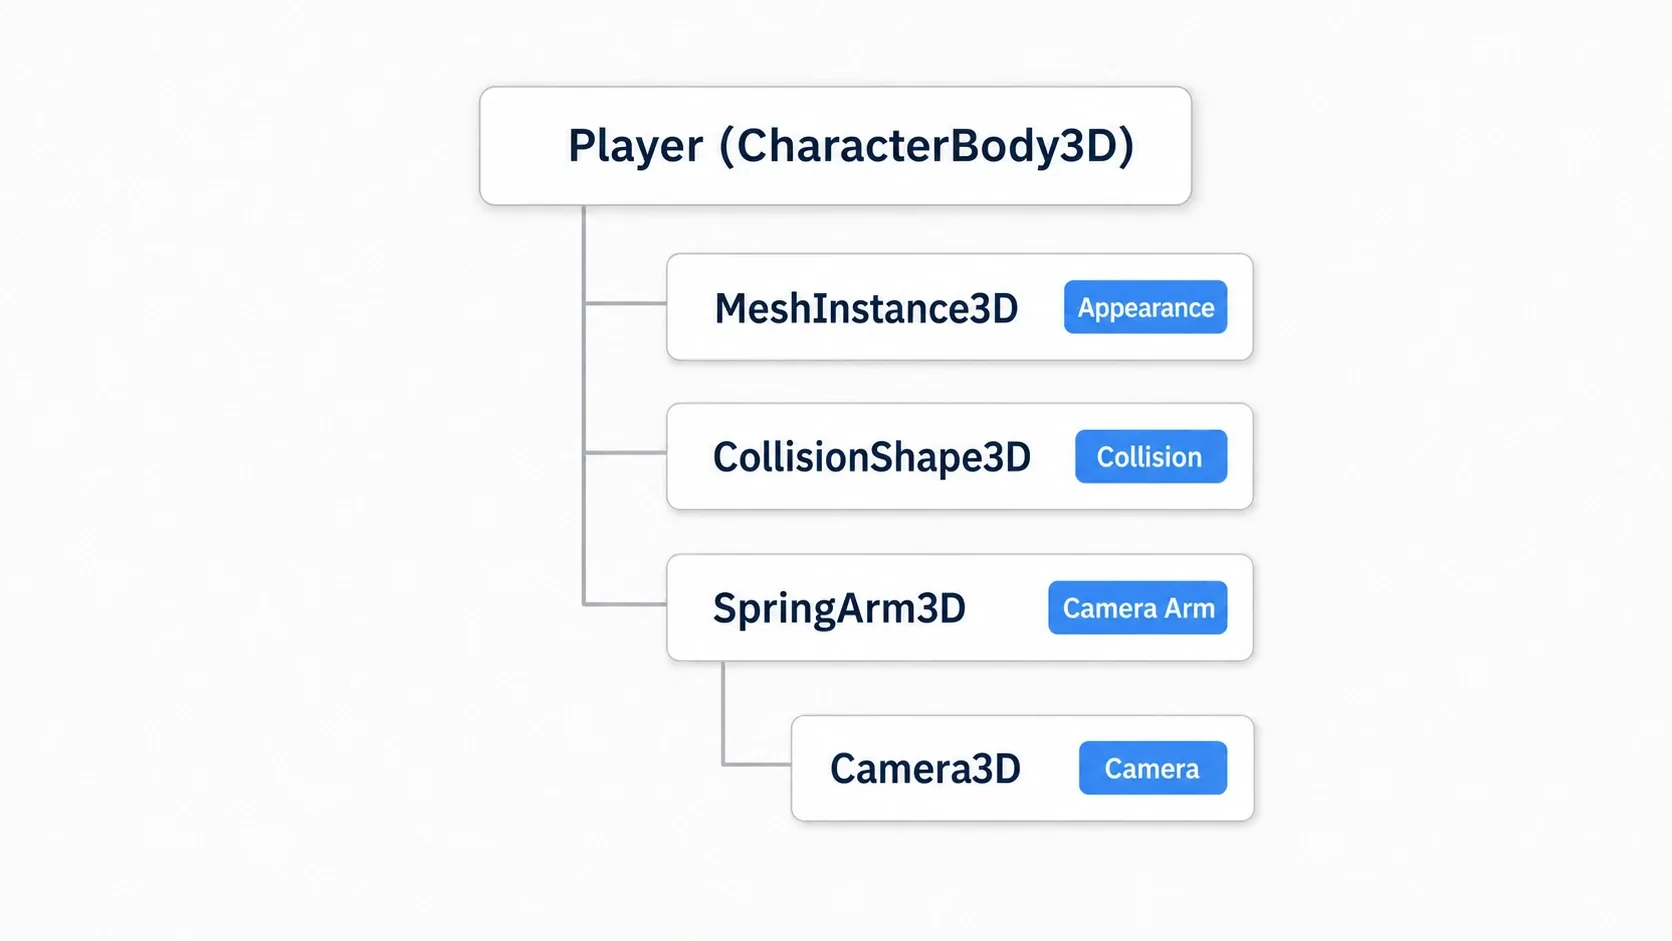
Player (CharacterBody3D)
├── MeshInstance3D        # Visuals
├── CollisionShape3D      # Collision
└── SpringArm3D           # The camera arm (distance set by spring_length)
    └── Camera3D          # The actual camera
Since SpringArm3D is a child of the Player, it travels with the character. To rotate the camera with the mouse, rotate the SpringArm3D (horizontally on the SpringArm3D itself, vertically on its x rotation).
@onready var spring_arm: SpringArm3D = $SpringArm3D

func _unhandled_input(event: InputEvent) -> void:
    if event is InputEventMouseMotion:
        # Swing the camera horizontally (y rotation from horizontal mouse motion)
        spring_arm.rotate_y(-event.relative.x * 0.005)
        # Look up and down (x rotation, clamped for stability)
        spring_arm.rotation.x = clampf(
            spring_arm.rotation.x - event.relative.y * 0.005, -1.2, 0.4)
spring_length (the arm's length) sets the camera distance, and the rotation sets the viewing angle. From there, whenever you get close to a wall, the SpringArm3D shortens on its own.
Hands-On: a character that walks around in third person
A TPS action hero, an open-world exploration character, a 3D ARPG protagonist: "walk around in the camera's direction with a third-person camera" is the basic form of 3D action. Put all the pieces so far into a single script and you get this.
extends CharacterBody3D

const SPEED := 5.0
const JUMP_VELOCITY := 4.5

@onready var spring_arm: SpringArm3D = $SpringArm3D
@onready var camera: Camera3D = $SpringArm3D/Camera3D

func _physics_process(delta: float) -> void:
    if not is_on_floor():
        velocity += get_gravity() * delta                 # Gravity
    if Input.is_action_just_pressed("ui_accept") and is_on_floor():
        velocity.y = JUMP_VELOCITY                         # Jump

    var input := Input.get_vector("move_left", "move_right", "move_forward", "move_back")
    var direction := (camera.global_transform.basis * Vector3(input.x, 0, input.y))
    direction.y = 0
    direction = direction.normalized()                     # Camera-relative direction
    if direction:
        velocity.x = direction.x * SPEED
        velocity.z = direction.z * SPEED
    else:
        velocity.x = move_toward(velocity.x, 0, SPEED)
        velocity.z = move_toward(velocity.z, 0, SPEED)

    move_and_slide()                                       # Move
There are two points worth noting.
- Keep movement, gravity, jumping, and the camera conversion in one
_physics_process: this is physics behavior, so it always goes in_physics_process, never_process. That keeps the motion stable regardless of frame rate. - You define the input actions yourself: action names like
move_forwardare ones you bind to keys in Project Settings (see Managing Key Bindings with InputMap).ui_accept, reused here for jumping, is defined out of the box.
Once you want the character's facing (the mesh rotation) to match its movement direction, rotate the MeshInstance3D toward direction with look_at or lerp, and it will walk facing where it's going.
Bonus: Good to know for later
- Lock the mouse to the window: if you're rotating the camera in third person,
Input.mouse_mode = Input.MOUSE_MODE_CAPTUREDpins the cursor to the center of the screen and makes aiming much easier (don't forget a way to release it withEsc). - Climbing slopes and steps:
floor_max_angle(the steepest slope you can climb) andfloor_snap_length(snapping to steps) let you tune behavior on slopes and stairs. If the character judders, look here. - Only the axes differ from 2D: the basic flow (gravity, input,
move_and_slide) is the same as in CharacterBody2D Motion Modes. 2D usesVector2(x, y) while 3D usesVector3(x, y, z), with horizontal movement on x and z and up/down on y. Get that axis difference straight and the transition is easy.
Summary
- Move 3D characters with
CharacterBody3Dplusvelocityplusmove_and_slide() - Check the ground with
is_on_floor(), fall withget_gravity()while airborne, and set jump speed onvelocity.ywhile grounded - Transforming input by the camera's
basisgives natural camera-relative movement (into the screen is forward) - Build the third-person camera with
SpringArm3D(with a Camera3D under it). It shortens automatically at walls to prevent clipping - Since this is physics behavior, always write it in
_physics_process
Start with a CharacterBody3D that only has gravity and jumping, then add camera-relative movement, then the SpringArm3D. Add one piece at a time and you'll have the foundation of a third-person action game.
Further Reading
- 3D Space Fundamentals with Node3D and MeshInstance3D - 3D space, coordinates, and visuals
- Choosing Between 2D Physics Bodies - CharacterBody versus RigidBody (the same thinking applies in 3D)
- move_and_slide vs move_toward - Smooth acceleration and deceleration
- Managing Key Bindings with InputMap - Defining movement actions