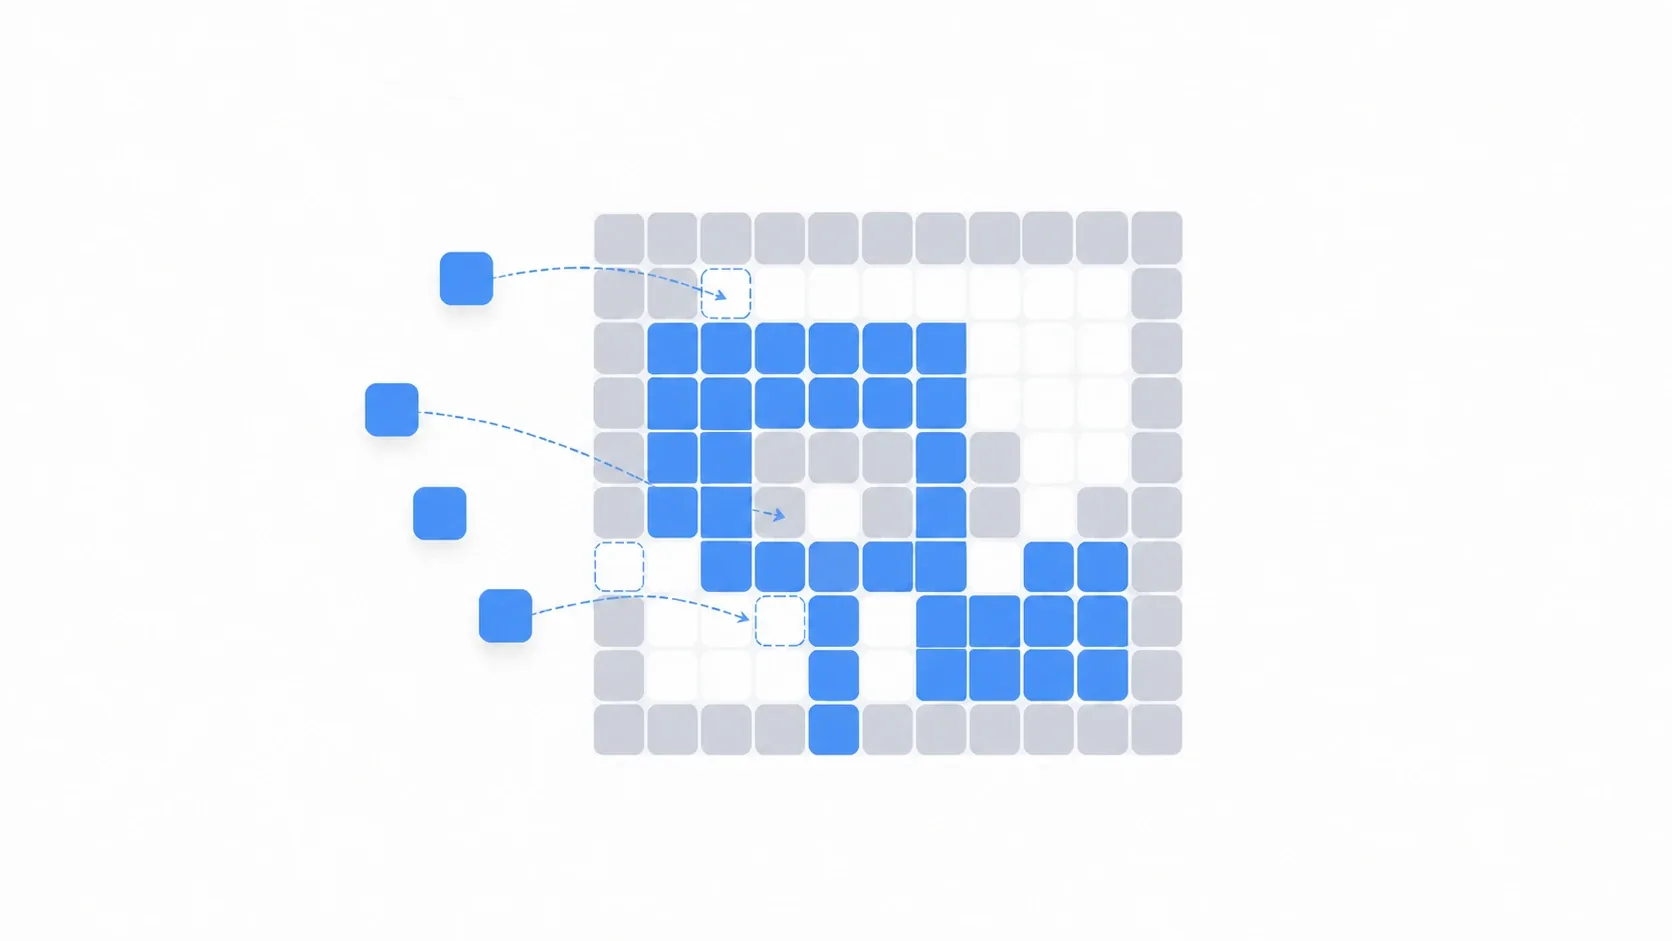
Ground, walls, caves, and cityscapes in a 2D game: placing all of that one sprite at a time is painful. That's what tilemaps are for. They let you build large maps efficiently by tiling small pieces of art across a grid.
From Godot 4.3 onward, the node at the center of this is TileMapLayer. This article walks through the fundamentals: the relationship between TileMapLayer and TileSet, how to add collision to tiles, how to split ground and decoration across multiple layers, and how to place tiles from script.
What You'll Learn
- The relationship between TileMapLayer and TileSet (the map and the paint box)
- How to add collision to tiles (physics layers)
- How to split ground and decoration into multiple TileMapLayers
- How to place tiles from script with
set_cell
TileMapLayer and TileSet: The Map and the Paint Box
A tilemap is made of two pieces: a TileSet and a TileMapLayer. Their roles are cleanly split, so let's start there.
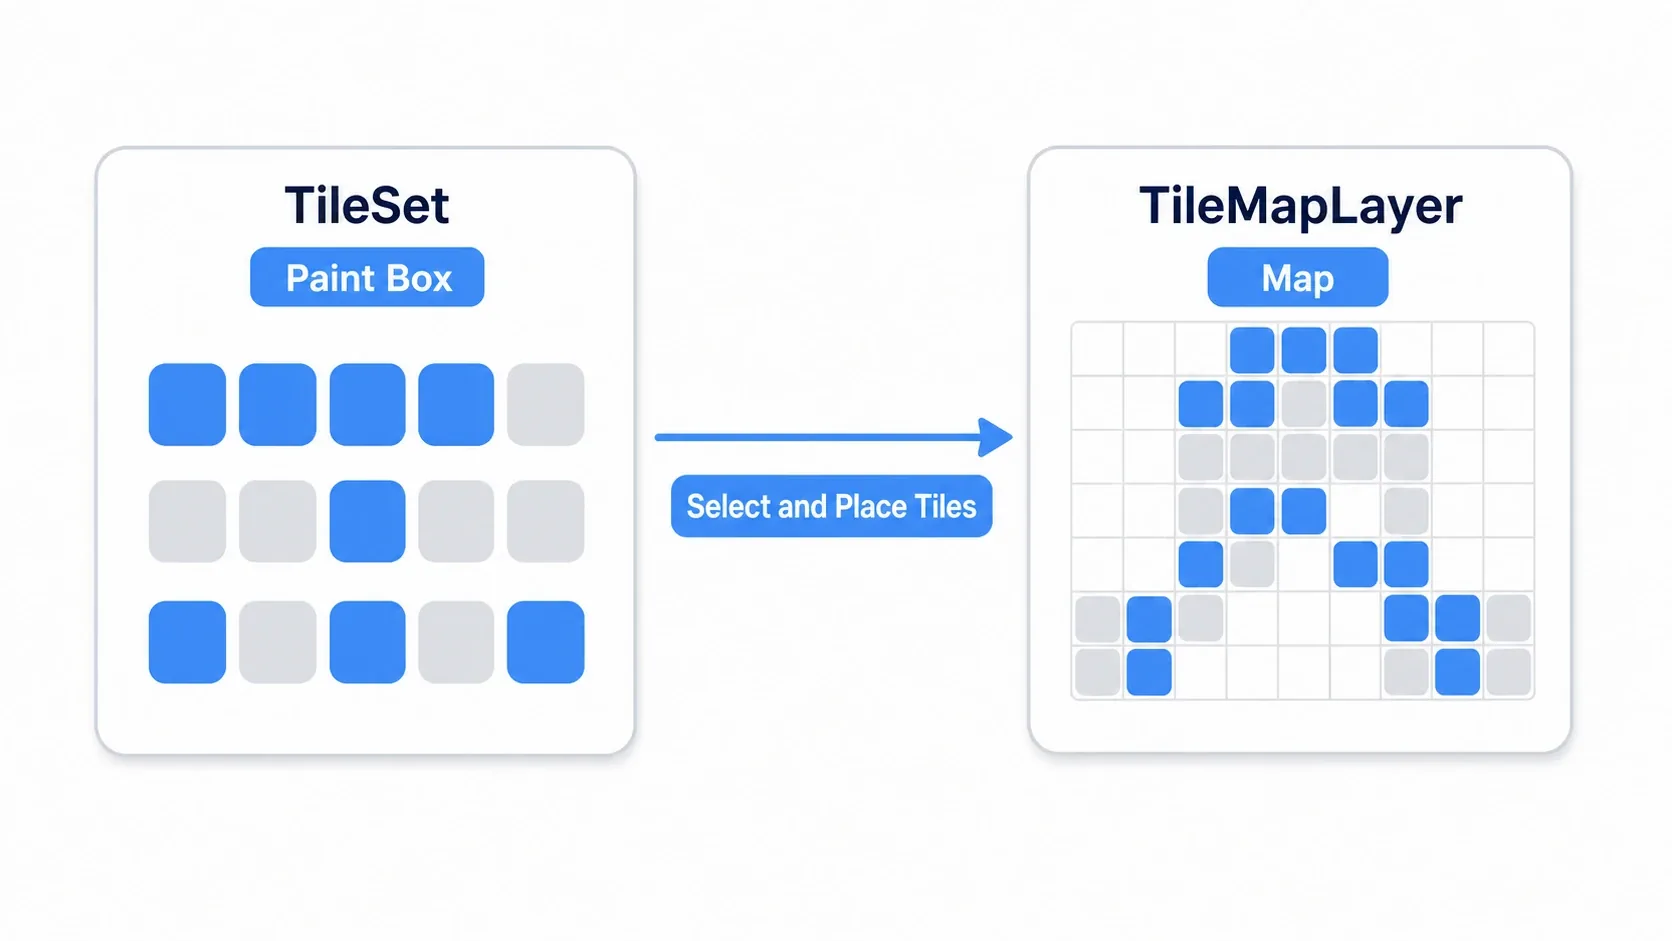
- TileSet (the paint box): A resource that defines which tiles exist. It slices a tile image along a grid and registers each cell as a usable tile.
- TileMapLayer (the map): A node responsible for where those tiles go. You pick a tile from the palette and paint it across the grid.
The workflow is simple. Add a TileMapLayer node to your scene, create a new TileSet from "Tile Set" in the Inspector, and register your tile image. From there, use the TileMap panel at the bottom of the editor to select tiles and paint the map.
Note: In Godot 4.3 the old
TileMapnode was replaced byTileMapLayerand deprecated. ChooseTileMapLayerwhen creating the node. Since one TileSet can be shared by several TileMapLayers, you can keep one paint box and as many maps as you like.
Adding Collision to Tiles
The player walks along the floor and stops at walls. That collision is carried by the individual tiles. Setting it up is just "add a physics layer to the TileSet, then draw a collision shape on each tile."
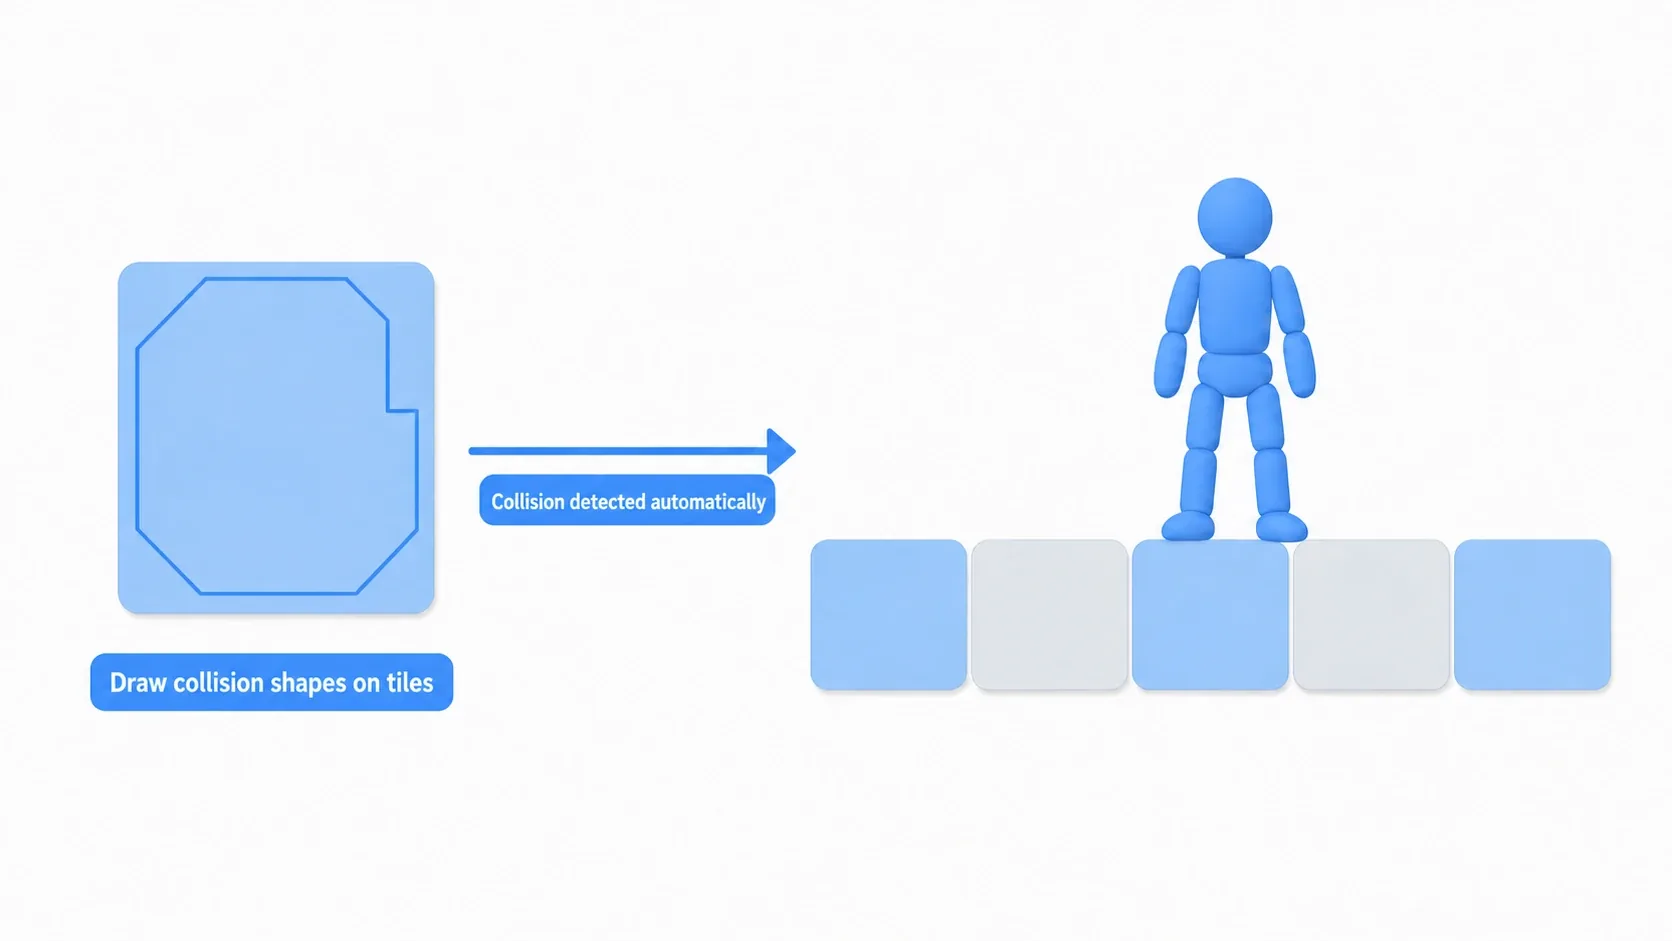
- Add one "Physics Layer" in the TileSet editor
- Select each tile and draw a collision polygon (the collision shape) on it
That's all it takes for collision to appear automatically everywhere that tile is placed. Even with hundreds of floor tiles, you never configure collision one by one. Draw it once on the tile, then just paint. The player (a CharacterBody2D) can now stand and walk on that collision (see Choosing Between 2D Physics Bodies).
Splitting Work Across Multiple TileMapLayers
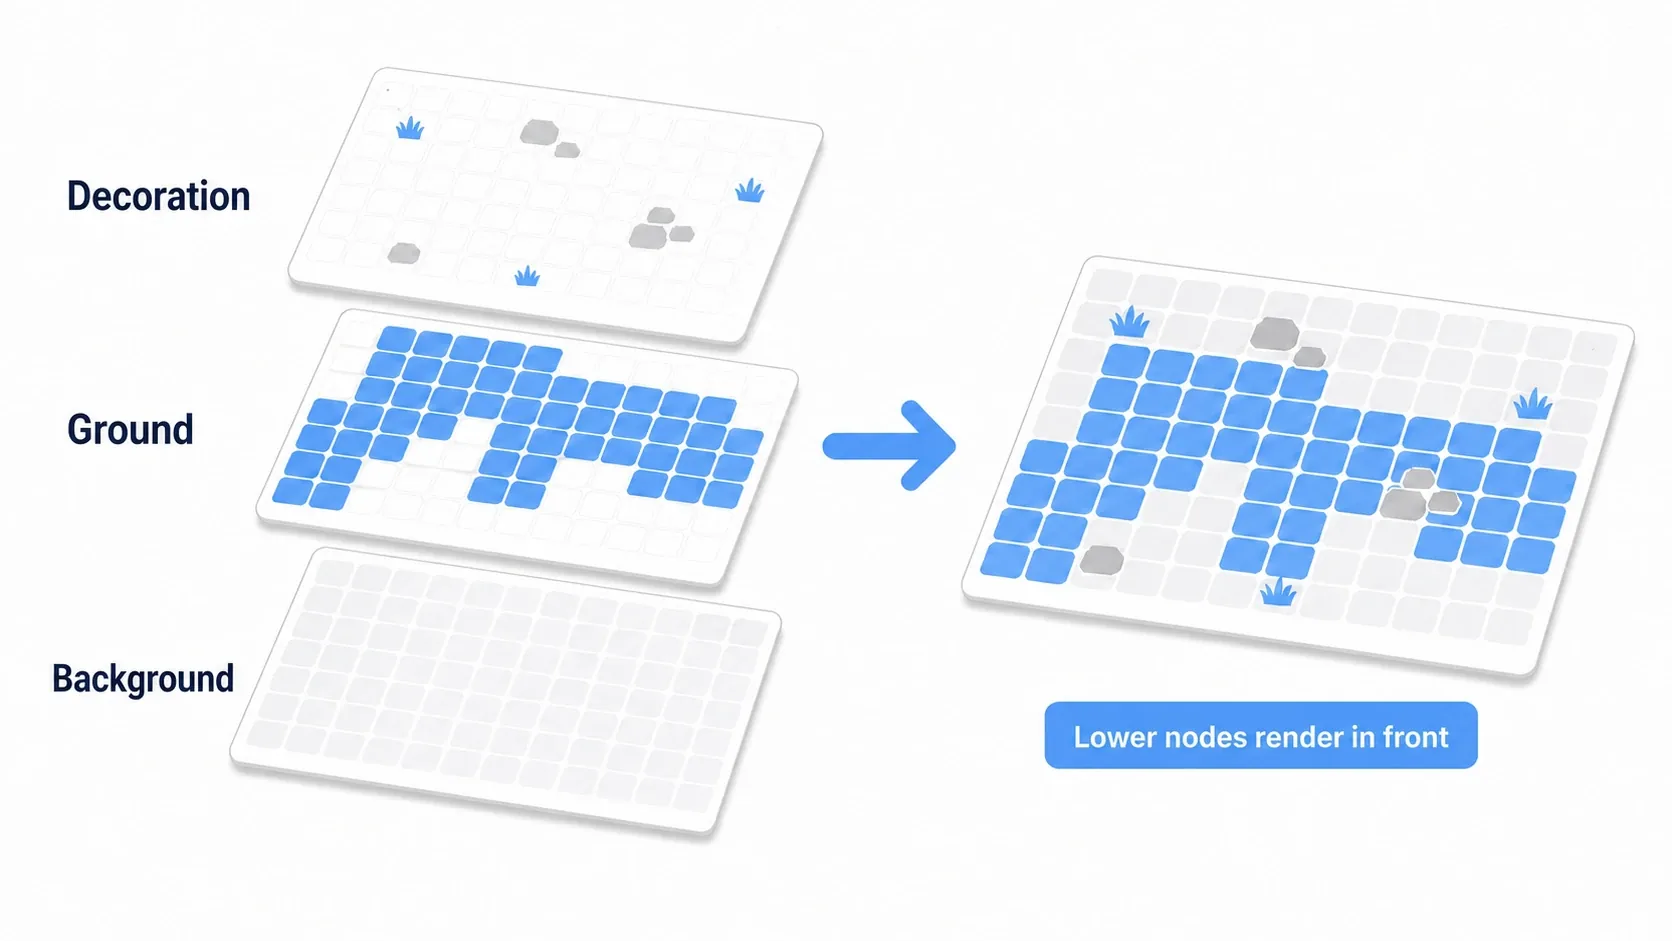
You can build a map with a single TileMapLayer, but splitting nodes by role makes it far easier to manage. In Godot 4.3 one TileMapLayer is one layer, so ground and decoration go in separate nodes.
Level (Node2D)
├── Background (TileMapLayer)   # background (sky, distant scenery)
├── Ground (TileMapLayer)       # ground and walls (with collision)
└── Decoration (TileMapLayer)   # grass and props (drawn on top of the ground)
- Draw order (stacking): Nodes lower in the tree draw in front. To layer grass on top of the ground, put
DecorationbelowGround. - Separation of roles: You can give collision only to
Groundand leaveDecoration(grass, signs) collision-free. The trick is not mixing "ground you collide with" and "decoration that's purely visual."
Physics layers and TileMapLayers are different things. A "physics layer" is a TileSet setting that gives tiles collision; a "TileMapLayer (node)" is the node that carries one sheet of the map. The names look similar, but the first describes tile properties and the second describes map stacking.
Hands-On: Placing Tiles from Script
Tiles aren't only painted by hand in the editor. You can place them dynamically from code. Procedurally generated roguelike dungeons, terrain destruction in a sandbox, terrain generation in a simulation: any genre where the map is built by rules.
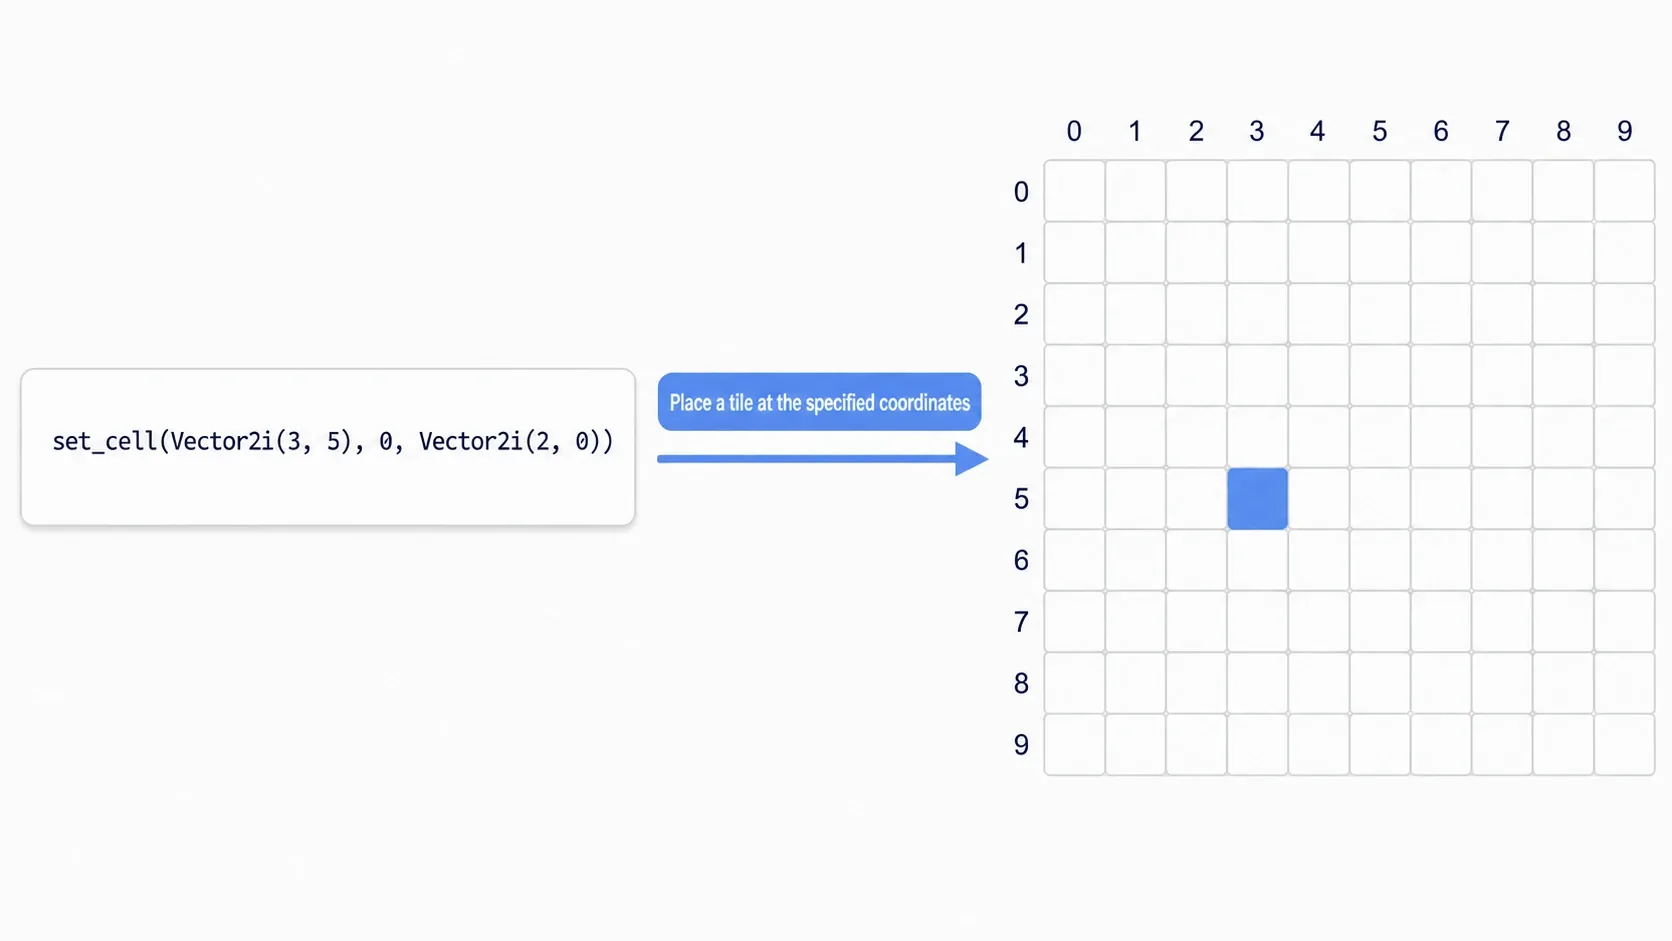
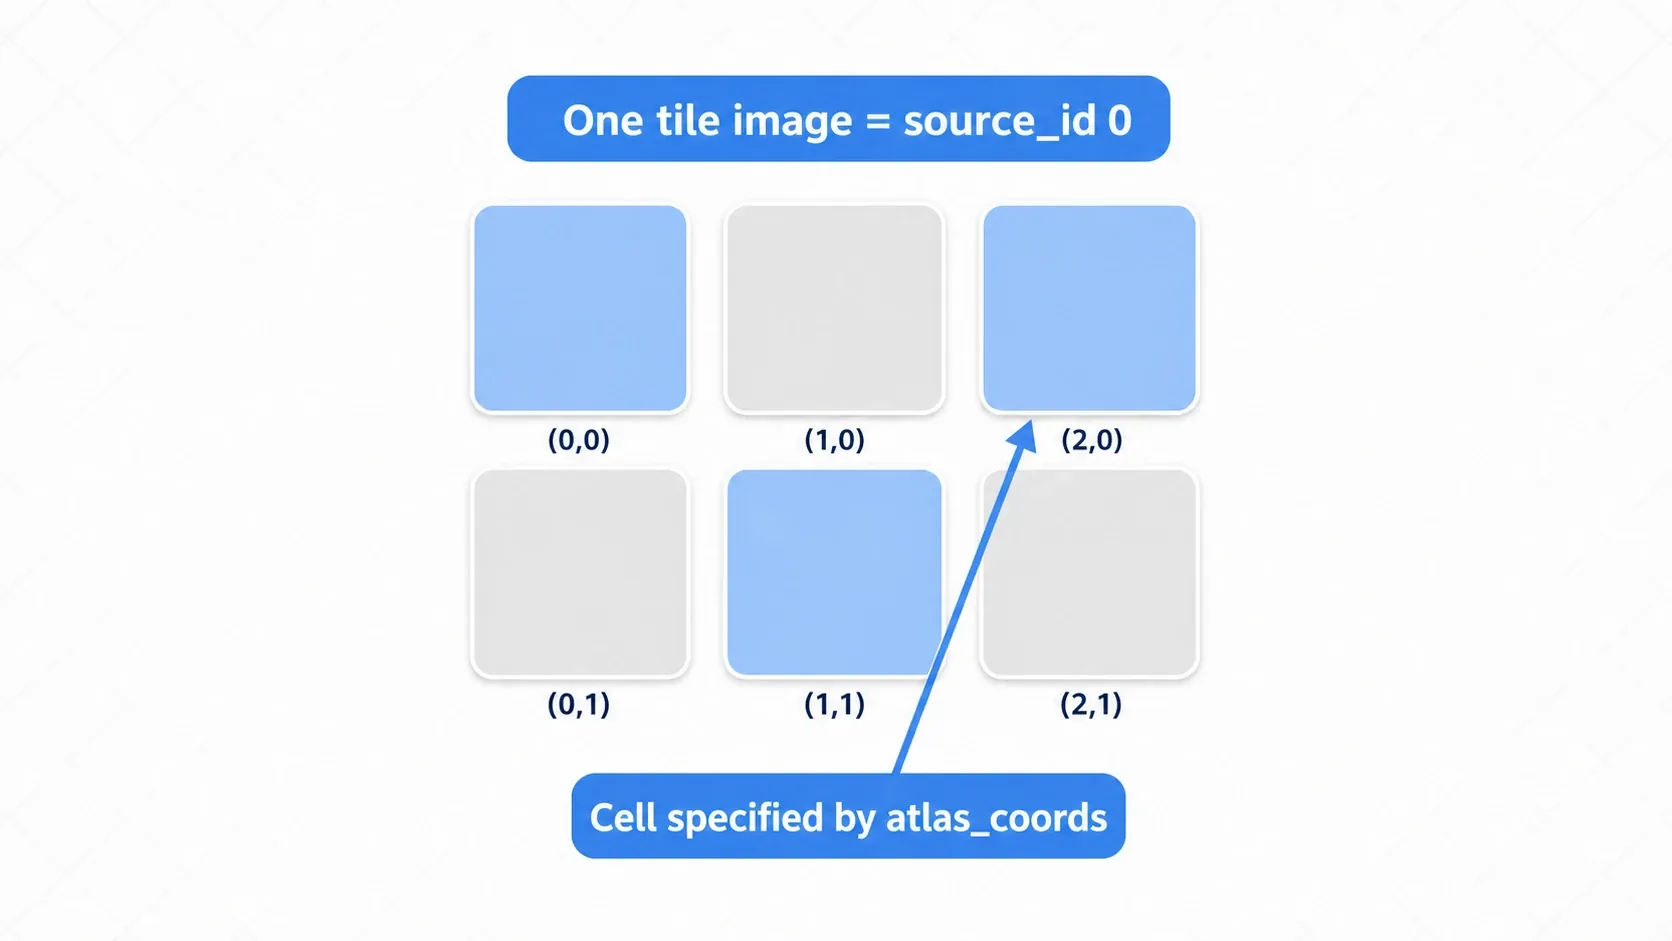
The key call is set_cell(). You specify "put this TileSet tile at this coordinate." The source_id and atlas_coords arguments are the address that says which tile image, and which column and row within it.
extends TileMapLayer

func _ready() -> void:
    # Place the tile at atlas coords (2, 0) from source_id=0 at coordinate (3, 5)
    set_cell(Vector2i(3, 5), 0, Vector2i(2, 0))

    # Lay down a 10x10 floor in one go
    for x in 10:
        for y in 10:
            set_cell(Vector2i(x, y), 0, Vector2i(1, 1))

    # Erase the tile at coordinate (3, 5)
    erase_cell(Vector2i(3, 5))
There are two points to take away.
set_celltakes no layer argument: WithTileMapLayer, one node is one layer, so you writeset_cell(coords, source_id, atlas_coords). That differs from the oldTileMap'sset_cell(layer, ...), so be careful with code from older articles. To remove a tile, useerase_cell(coords).- Generation algorithms only decide "which coordinate becomes what": Use a random walk, cellular automata, or whatever else to decide which coordinates are floor, then lay them down with
set_cell. When you want automatic edge tiles too,set_cells_terrain_connect()from Terrains (autotiling) is the next step.
Bonus: Good to Know for Later
- Let the engine pick edge tiles: Choosing every grass-to-dirt border tile by hand is tedious. With Terrains (autotiling), you paint the terrain and the engine places the border tiles for you. Once the basics here are solid, head there next.
- Make enemies walk your map: You can build a pathfinding mesh from a tilemap. NavigationRegion2D and Navigation Meshes is the entry point.
- Scroll large maps with a camera: Maps bigger than the screen are shown by following and scrolling with Camera2D.
Summary
- TileSet is the paint box of "which tiles exist," and TileMapLayer is the map of "where they go." One TileSet can be shared by several layers
- From Godot 4.3 onward, use
TileMapLayer(the oldTileMapis deprecated) - Collision is carried per tile through the TileSet's physics layer. Paint the tile and collision comes with it
- Split ground and decoration into separate TileMapLayers; nodes lower in the tree draw in front
set_cell(coords, source_id, atlas_coords)places tiles from script (no layer argument)
Start by adding a physics layer to your floor tiles and getting the player walking on them. Tilemaps are the foundation of stage building in 2D games.
Further Reading
- Setting Up Autotiling with Terrains — the next step, placing border tiles automatically
- NavigationRegion2D and Navigation Meshes — pathfinding over a tilemap
- Practical Camera2D Techniques — showing large maps through scrolling
- Godot Docs: Using TileMaps — the primary source on tilemaps