Overview
Tested on: Godot 4.3+ / GUT 9.x
If you've been building games for a while, some of these will sound familiar:
- You fixed the enemy's health logic, and somehow the player's damage calculation broke
- After a refactor, manually checking everything that might have been affected takes forever
- You're nervous about touching a function because you're not sure what it will break
Unit tests solve this. Write test code that automatically verifies the expected behavior of your code, and every time you make a change you can run the tests and immediately see whether anything broke.

What You'll Learn
- How to install GUT and write tests (the syntax is nearly identical to GDScript)
- When to use assertions, signal tests, and scene tests
- Setup and teardown with
before_eachand friends, plus mocks and stubs- How to wire GUT into CI/CD, and how much of your code to test
What is a unit test?
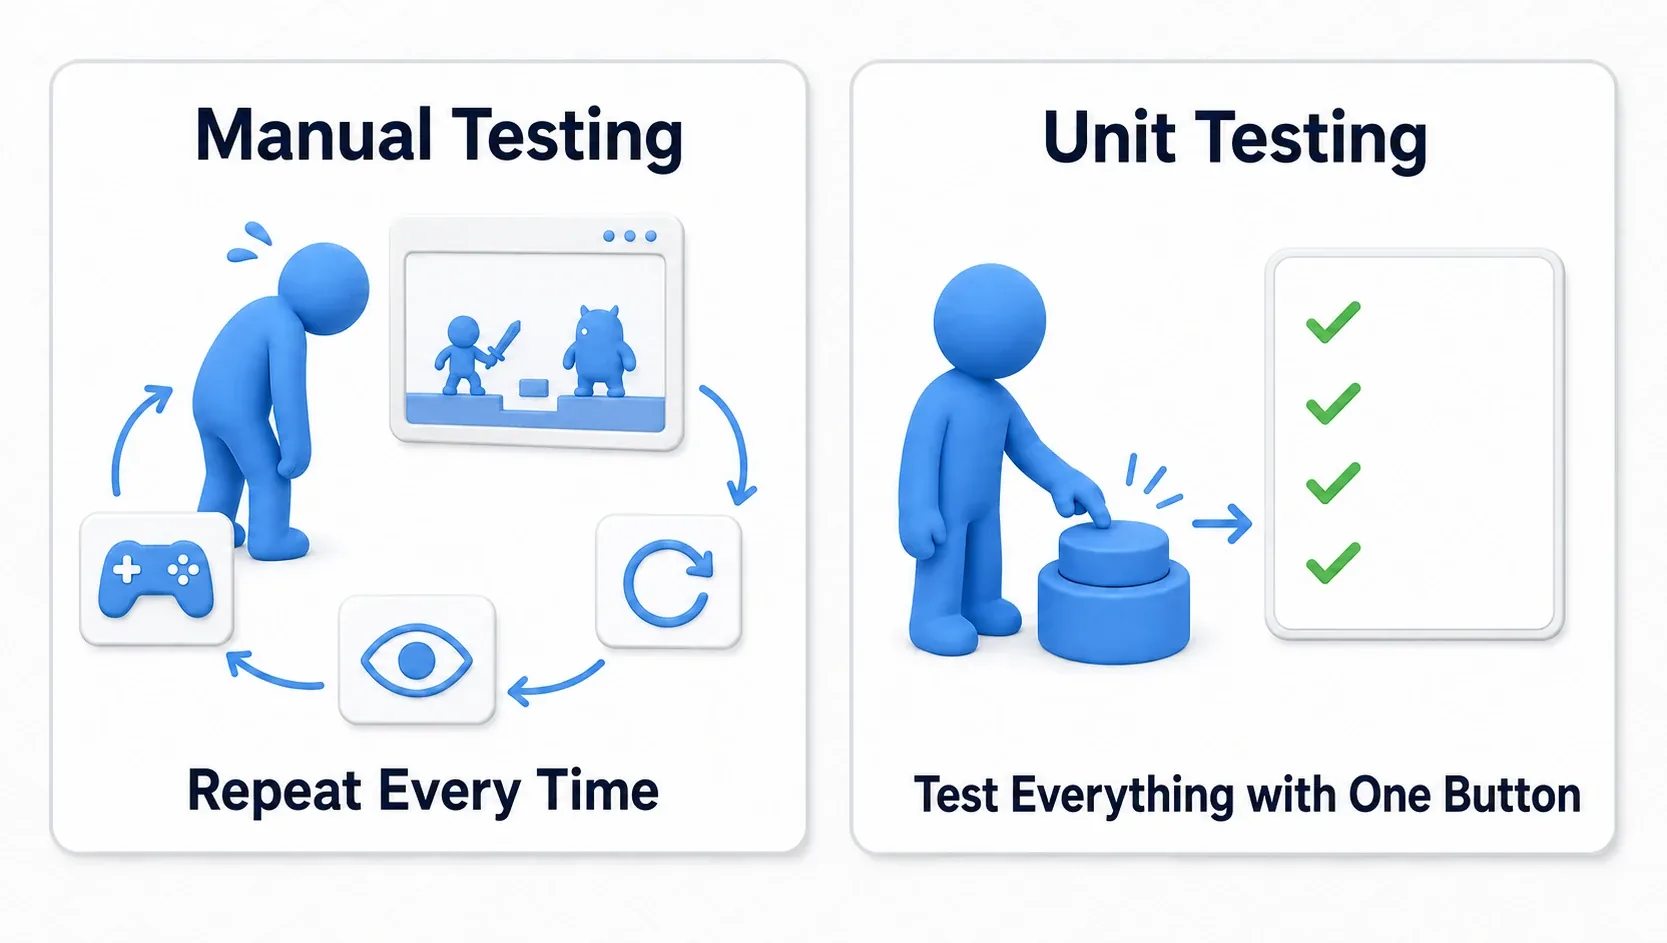
A unit test automatically verifies that the smallest units of your program (functions and methods) behave as expected. Instead of launching the game and checking by hand every time, your test code runs the verification at the press of a button.
Manual testing:
  Launch game → attack enemy → eyeball whether HP dropped → next case... (repeat)

Unit testing:
  Press the run button → every case verified in seconds → results report
What is GUT?
GUT (Godot Unit Test) is a unit testing addon built specifically for Godot. You write tests in nearly the same syntax as GDScript, so there's no new language or tool to learn.
What GUT gives you:
- Assertions: value comparison, null checks, container membership
- Signal tests: verify Godot's signature signal emissions
- Scene tests: load
.tscnfiles and verify the node tree - Mocks and stubs: isolate dependencies so tests stay independent
- The GUT panel: run tests with one click from inside the editor
- Command-line execution: integration into CI/CD pipelines
tips: GUT's API and setting paths vary between versions. This article assumes the GUT 9.x line. Install the latest version from the AssetLibrary.
Installing GUT
Let's get GUT into your project first. It installs from Godot's official AssetLibrary in a few steps. No external tools or command-line work needed; everything happens inside the editor.
-
Install from the AssetLibrary:
- Open the "AssetLib" tab in the Godot editor
- Search for "GUT" and install "Godot Unit Test (GUT)"
- An
addons/gut/folder is added to your project
-
Enable the plugin:
- Go to Project → Project Settings → Plugins
- Tick the checkbox next to "Gut"
-
Create a test folder:
- Create a
test/folder at your project root - Your test files go in here
- Create a
-
Configure the GUT panel:
- Once the plugin is enabled, a "GUT" tab appears at the bottom of the editor
- Test directory: in the settings at the top of the GUT panel, point the test file search path at
res://test/ - File prefix: by default only files with a
test_prefix are detected. You can change this with the "Prefix" setting in the GUT panel - Once configured, run your tests with the "Run All" button on the panel
tips: if your tests don't show up in the list, check the directory setting and file prefix in the GUT panel. The default search directory is
res://test.
Creating a Test File
With GUT ready, let's write your first test. Test code uses nearly the same syntax as regular GDScript, so if you're comfortable with GDScript you'll feel at home right away.
Here's an example testing the player's health management. We'll go through each part of the code afterward.
# test/unit/test_player.gd
extends GutTest

# Preload the script under test
const Player = preload("res://player.gd")

# Methods starting with test_ are automatically recognized as tests
func test_player_starts_with_full_health():
    var player = Player.new()
    add_child_autofree(player)
    assert_eq(player.health, 100, "Starting health should be 100")

func test_player_takes_damage():
    var player = Player.new()
    add_child_autofree(player)
    player.take_damage(30)
    assert_eq(player.health, 70, "Health should be 70 after 30 damage")

func test_player_cannot_go_below_zero_health():
    var player = Player.new()
    add_child_autofree(player)
    player.take_damage(150)
    assert_eq(player.health, 0, "Health should never drop below 0")
Understanding the structure:
extends GutTest: every test file must inherit from this class. It's what gives you test helpers likeassert_eq()andwatch_signals()preload(): loads the script you want to test ahead of time. You can then create instances of the loaded class with.new()- The
test_prefix: GUT automatically recognizes and runs only methods with this prefix. Methods without it are treated as helper functions and aren't run as tests add_child_autofree(): needed when testing objects that inherit from Node, as we'll see belowassert_eq(a, b, msg): expresses the expectation "a should equal b." The third message argument is optional, but writing it helps you pinpoint the cause quickly when a test fails
When you run the tests, passing tests show up green; a single failure shows a red error along with the location.
When do you need add_child_autofree()?
The first thing people get stuck on when writing tests is "do I need to call add_child_autofree() here?" The rule is simple: it depends on whether the thing under test inherits from Node.
Classes that inherit from Node (CharacterBody2D, Sprite2D, and so on) don't get _ready() called until they're added to the scene tree. If your test depends on initialization done in _ready(), leaving out add_child_autofree() will make the test misbehave.
# ✅ Node-derived class → add_child_autofree() required
# _ready() gets called and the node properly joins the scene tree
func test_player_health():
    var player = Player.new()       # Inherits CharacterBody2D
    add_child_autofree(player)      # Without this, _ready() never runs
    assert_eq(player.health, 100)

# ✅ RefCounted / Resource-derived class → no add_child needed
# These objects don't join the scene tree, so use them as-is
func test_inventory_is_empty():
    var inventory = Inventory.new()  # Inherits RefCounted
    assert_true(inventory.is_empty())
| Base class under test | add_child_autofree | Reason |
|---|---|---|
| Node, Node2D, CharacterBody2D, etc. | Required | To run _ready() and free memory automatically |
| RefCounted, Resource | Not required | Doesn't depend on the scene tree. Freed automatically by reference counting |
tips: when in doubt, adding
add_child_autofree()is the safe choice. Calling it on a non-Node object doesn't cause an error (only Nodes actually get added to the scene tree).
Assertion Functions
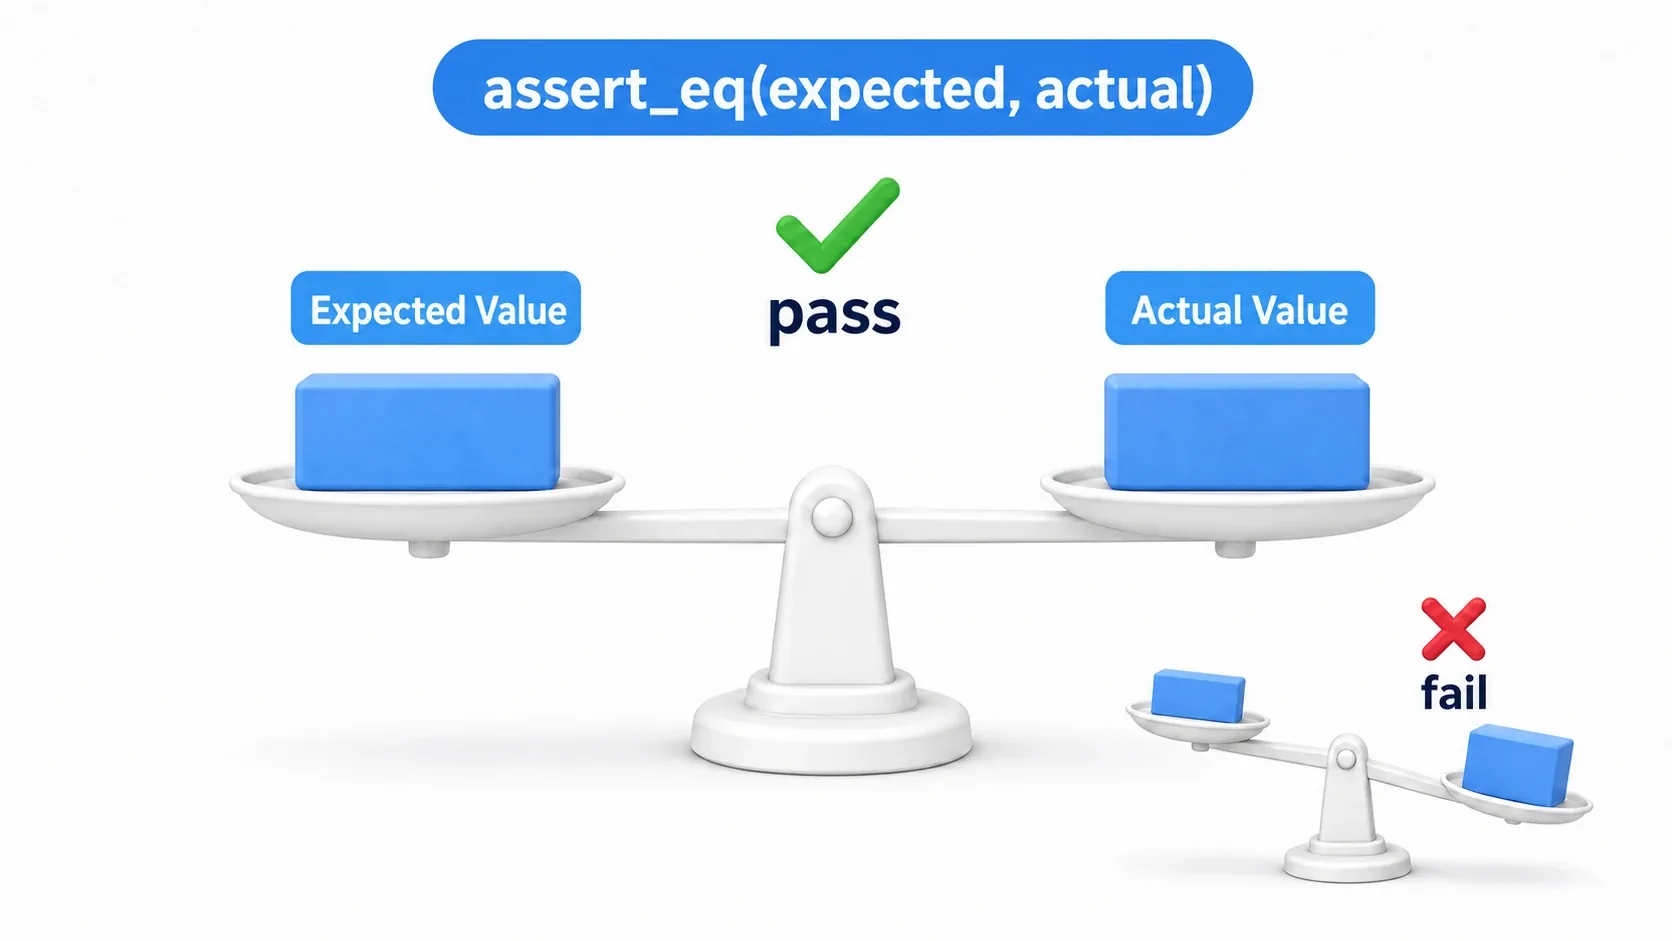
Assertions are the core of any test. They let you express expectations like "this value should be 100" or "this list should contain a sword" in code. If an assertion doesn't hold, the test is reported as a failure, and the GUT panel shows you exactly what differed.
GUT provides a wide range of functions for value comparison, null checks, container membership, and more.
| Function | Description |
|---|---|
assert_eq(a, b, msg) | Verify that a equals b |
assert_ne(a, b, msg) | Verify that a does not equal b |
assert_true(val, msg) | Verify that val is true |
assert_false(val, msg) | Verify that val is false |
assert_null(val, msg) | Verify that val is null |
assert_not_null(val, msg) | Verify that val is not null |
assert_gt(a, b, msg) | Verify that a is greater than b |
assert_lt(a, b, msg) | Verify that a is less than b |
assert_has(container, val, msg) | Verify that the container contains val |
assert_does_not_have(container, val, msg) | Verify that the container does not contain val |
The final msg argument on every assertion is optional, but it's worth writing because it immediately tells you what the test was trying to verify when it fails.
A practical example: let's combine several assertions to test an inventory system.
func test_inventory_system():
    var inventory = Inventory.new()

    # Check the initial state
    assert_true(inventory.is_empty(), "Should start empty")
    assert_eq(inventory.item_count(), 0, "Item count should be 0")

    # Add an item
    inventory.add_item("sword")
    assert_false(inventory.is_empty(), "Should not be empty after adding an item")
    assert_has(inventory.items, "sword", "Should contain the sword")

    # Check the capacity limit
    for i in range(10):
        inventory.add_item("potion")
    assert_lt(inventory.item_count(), 100, "Should stay under the capacity limit")
Testing Signals
After value checks, let's look at something distinctly Godot: signals. Godot relies heavily on signals for node-to-node notification. Behaviors like "does the died signal fire when the player goes down?" and "is the correct value reported when score increases?" are fully testable with GUT.
Signal testing is three steps:
watch_signals(obj)to start watching the target object's signals- Do whatever triggers the signal
assert_signal_emitted()to verify it fired
func test_player_emits_died_signal():
    var player = Player.new()
    add_child_autofree(player)

    # 1. Start watching signals
    watch_signals(player)

    # 2. Do the thing that fires the signal
    player.take_damage(999)

    # 3. Verify that the signal fired
    assert_signal_emitted(player, "died", "The died signal should fire")
If a signal carries parameters, assert_signal_emitted_with_parameters() verifies those values too. Note that the parameters are passed as an array.
func test_score_changed_signal_with_parameter():
    var game_manager = GameManager.new()
    add_child_autofree(game_manager)
    watch_signals(game_manager)

    game_manager.add_score(100)

    # Verify a signal with parameters (parameters are passed as an array)
    assert_signal_emitted_with_parameters(
        game_manager,
        "score_changed",
        [100],
        "score_changed should fire with 100"
    )
Testing Scenes
So far we've tested individual scripts, but in a real game multiple nodes work together inside the scene tree. Verifying things like "is the Sprite2D node actually a child of Player?" or "does the main menu's StartButton work correctly?" protects you from unintentionally breaking scene structure.
load() a .tscn file and call instantiate(), and you can manipulate the real node tree inside your test.
func test_player_scene_initial_state():
    # Load and instantiate the scene
    var player_scene = load("res://scenes/player.tscn")
    var player = player_scene.instantiate()
    add_child_autofree(player)

    # Verify the node structure
    assert_not_null(player.get_node("Sprite2D"), "Sprite2D should exist")
    assert_not_null(player.get_node("CollisionShape2D"), "CollisionShape2D should exist")
    assert_eq(player.position, Vector2.ZERO, "Starting position should be (0,0)")

func test_ui_button_functionality():
    var ui_scene = load("res://scenes/main_menu.tscn")
    var ui = ui_scene.instantiate()
    add_child_autofree(ui)

    var start_button = ui.get_node("StartButton")
    watch_signals(start_button)

    # Simulate a button click
    start_button.emit_signal("pressed")
    assert_signal_emitted(start_button, "pressed", "The button should be pressed")
Always use add_child_autofree() in scene tests. Nodes created with instantiate() never get _ready() called unless they're added to the scene tree, and they leak memory once the test ends. With autofree, queue_free() is called automatically when the test finishes.
Setup and Teardown
Every test so far has written Player.new() by hand, and as the number of tests grows that repetition starts to grate. Copying the same setup code into ten test methods is verbose, and changing it means editing all ten.
GUT's before_each and after_each run shared code automatically before and after each test.
extends GutTest

var player: Player

# Called automatically before each test runs
func before_each():
    player = Player.new()
    add_child_autofree(player)
    player.health = 100

# Called automatically after each test runs
func after_each():
    # Cleanup, if you need any
    pass

func test_player_attack():
    # player is already initialized by before_each()
    player.attack()
    assert_true(player.is_attacking, "Should enter the attacking state")

func test_player_defend():
    player.defend()
    assert_true(player.is_defending, "Should enter the defending state")
Here's the execution order:
before_each() → test_player_attack() → after_each()
before_each() → test_player_defend() → after_each()
Because before_each builds a fresh instance every time, changing player's state in one test has no effect on the next.
before_all / after_all
GUT also has before_all / after_all, which run once for the entire test class. They're handy for heavy initialization you don't want to repeat, like loading large resources.
# Runs once for the whole test class
func before_all():
    print("Test class started")

func after_all():
    print("Test class finished")
| Callback | When it runs | Use |
|---|---|---|
before_all | Once at the start of the test class | Loading heavy resources, preparing shared data |
before_each | Before each test method | Per-test initialization, creating instances |
after_each | After each test method | Per-test cleanup |
after_all | Once at the end of the test class | Releasing shared resources |
Using Mocks and Stubs
Write enough tests and you'll hit dependency problems: "this function calls an external API," or "testing the enemy AI requires a player to exist." Setting up a database or a network connection just to test a shop's discount calculation is a lot of work.
A mock is a stand-in for the real object, built for testing. GUT's double() lets you swap out a method's return value or verify that a method was called.
Creating a basic mock
func test_enemy_uses_attack_when_in_range():
    # Create a mock (test double) of the Enemy class
    var enemy = double(Enemy).new()
    add_child_autofree(enemy)

    # Make get_distance always return 10.0 (a stub)
    stub(enemy, "get_distance").to_return(10.0)

    enemy.update_ai(0.1)

    # Verify that attack() was called
    assert_called(enemy, "attack")
Using stubs
stub() fixes a method's return value. By declaring "this method always returns this," you cut out external dependencies and focus on the logic you actually want to test.
func test_shop_calculates_discount():
    var shop = double(Shop).new()

    # Treat the player as always being a VIP member
    stub(shop, "is_vip_member").to_return(true)
    # Treat the player as always having 1000 gold
    stub(shop, "get_player_gold").to_return(1000)

    var price = shop.calculate_price("sword")
    assert_lt(price, 100, "The VIP discount should apply")
In this example, fixing the return values of is_vip_member() and get_player_gold() lets you test the discount logic in isolation, without any real player data or save file.
Common mock and stub functions
| Function | Description |
|---|---|
double(Class) | Create a mock of a class |
stub(obj, "method").to_return(val) | Fix a method's return value |
assert_called(obj, "method") | Verify that a method was called |
assert_not_called(obj, "method") | Verify that a method was not called |
assert_call_count(obj, "method", count) | Verify how many times a method was called |
Best Practices
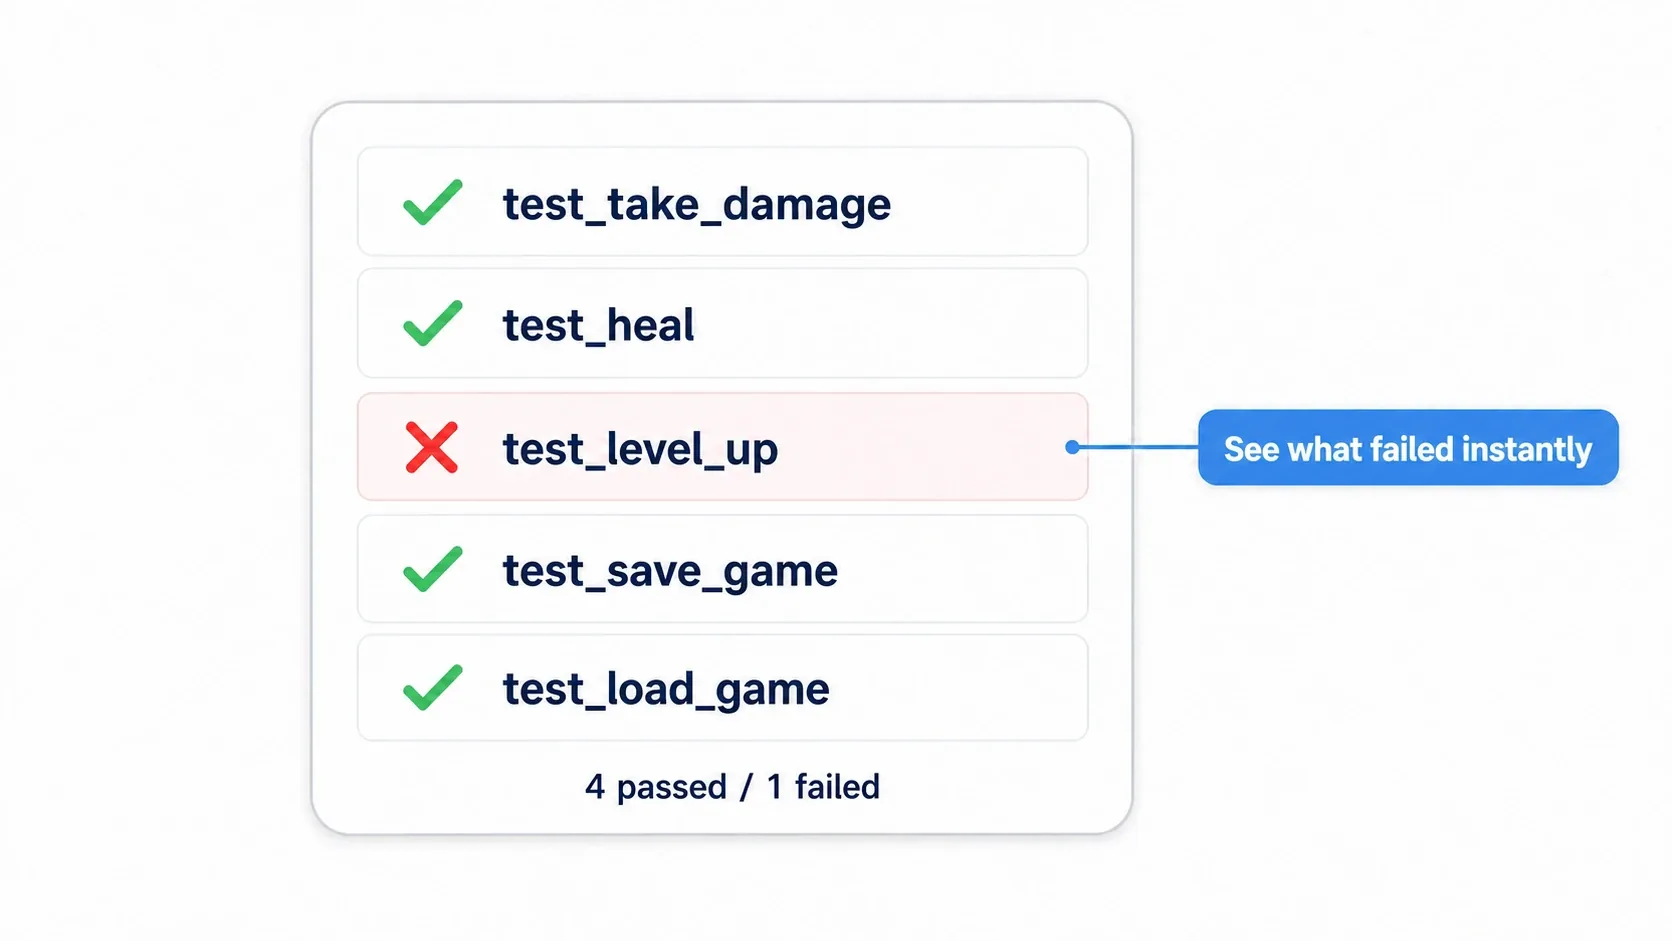
You now know how to write tests. Here are the points that keep a test suite maintainable over the long run.
| Recommendation | Description |
|---|---|
| One assertion focus per test | Verify one behavior per test |
| Name tests clearly | Use the form test_what_should_happen_when_condition |
| Follow AAA | Write in Arrange → Act → Assert order |
| Use autofree | add_child_autofree() prevents memory leaks |
| Watch signals | Test important events via signals |
| Use mocks and stubs | Isolate dependencies with double() and stub() |
| Integrate with CI/CD | Catch regressions early with automated tests |
AAA in particular has a direct effect on readability. Marking the sections with comments makes "what's being set up, what's being run, what's being checked" obvious at a glance.
func test_player_heals_correctly():
    # Arrange
    var player = Player.new()
    add_child_autofree(player)
    player.health = 50

    # Act
    player.heal(30)

    # Assert
    assert_eq(player.health, 80, "50+30 should bring health to 80")
Running from the command line:
# Run tests headless (the path may differ depending on your GUT version)
godot --headless -s res://addons/gut/gut_cmdln.gd -gdir=res://test/unit
Summary
- GUT is a Godot-specific unit testing addon. You write tests in the same syntax as GDScript
- Test files inherit
extends GutTestand use thetest_prefix - Testing Node-derived classes requires
add_child_autofree(). RefCounted and Resource don't - Assertion functions verify expected values (
assert_eq,assert_true, and so on) - Signal tests use
watch_signals()andassert_signal_emitted() - Scene tests rely on
add_child_autofree()for automatic memory management - before_each/after_each handle per-test shared work, and before_all/after_all handle class-wide work
- double()/stub() isolate dependencies and keep tests independent