Overview
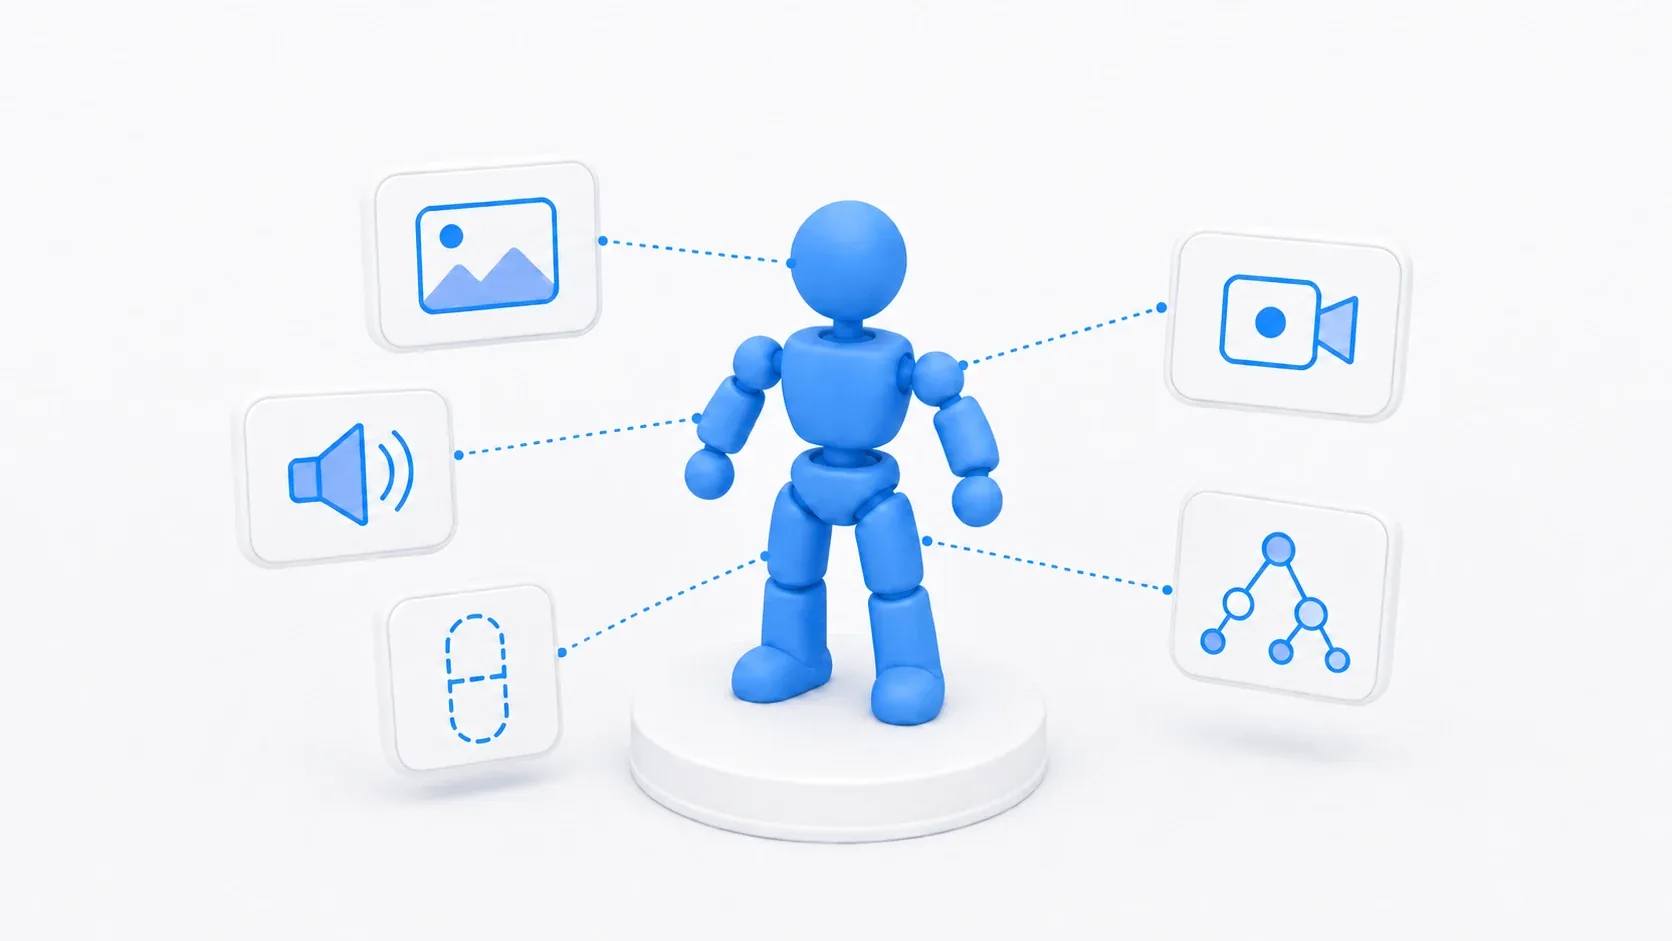
When you start making games in Godot Engine, the first and most important concepts to learn are scenes and nodes. In one sentence: a node is a part, and a scene is a blueprint made by assembling parts. Understanding how these two relate is the key to working comfortably in Godot.
What You'll Learn
- Nodes: the smallest parts that make up a game
- Scenes: blueprints built by arranging nodes into a tree (
.tscnfiles)- Instancing: reusing a scene as a part inside another scene
- Best practices that avoid common mistakes, including
@onreadyand signals
What Are Nodes? The Parts That Make Up a Game
Nodes are the basic building blocks of a game in Godot. Each node has one specific capability.
- Sprite2D: displays an image
- AudioStreamPlayer: plays a sound
- CollisionShape2D: defines a physical collision area (a hitbox)
- Button: a clickable UI button
- Camera2D: a camera in a 2D game
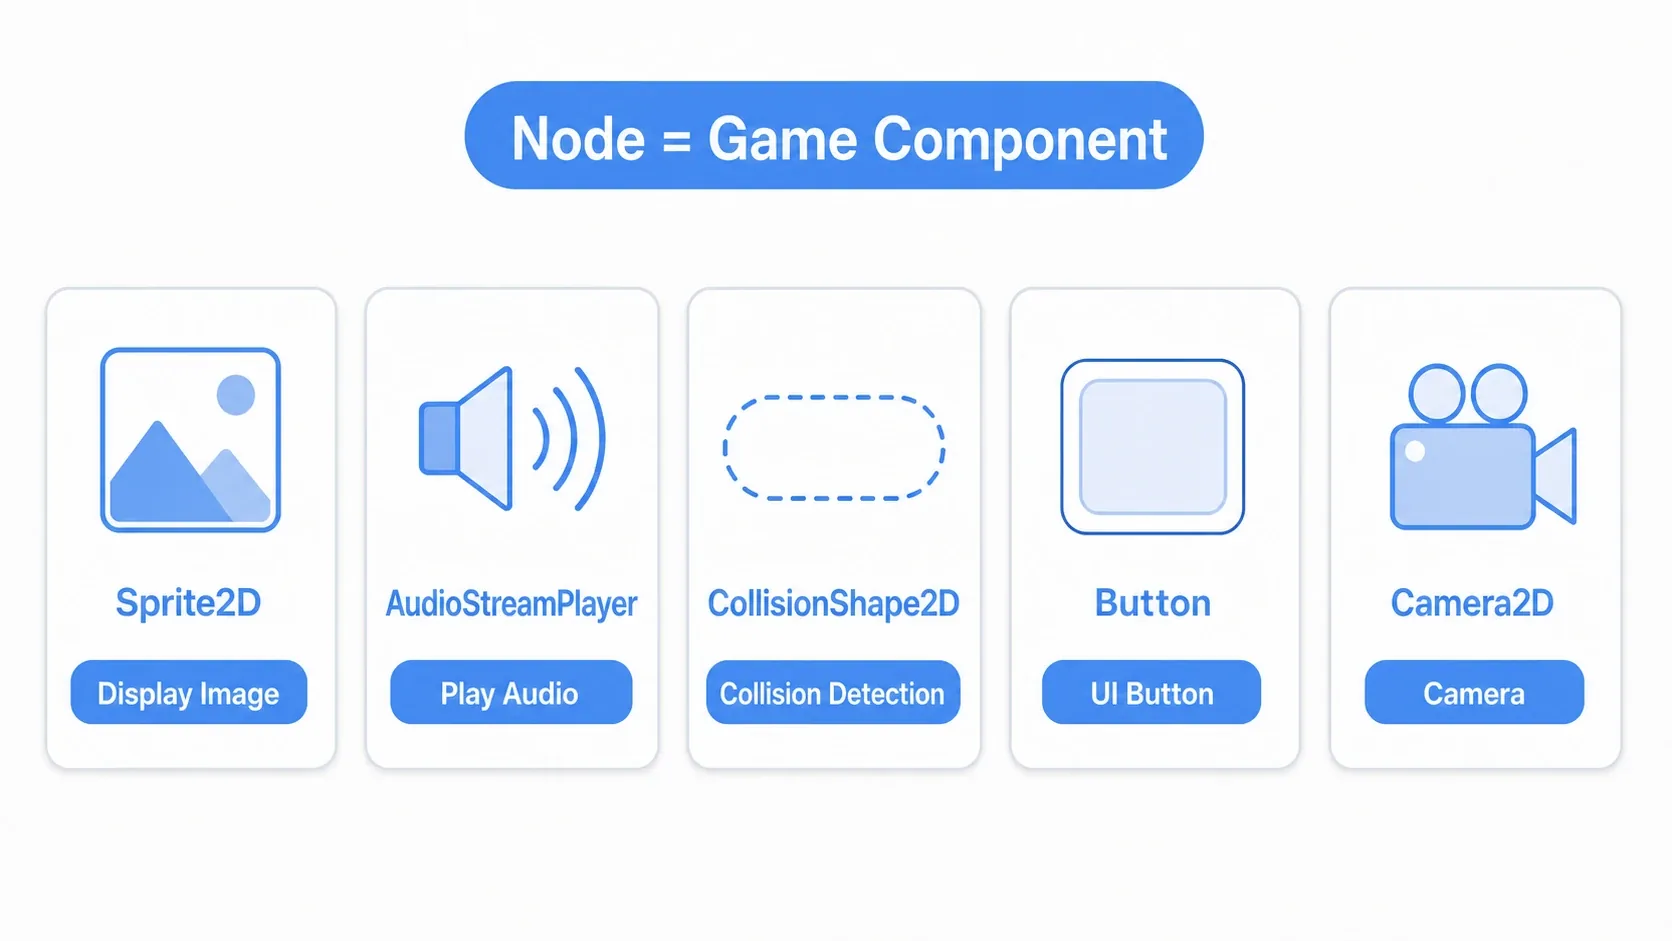
That's only a small sample. Godot ships with hundreds of specialized nodes. Each node does exactly one job, and that is precisely why you can combine these parts freely to build any object or system in your game.
What Are Scenes? Blueprints Built From Parts
A scene is a set of nodes arranged into a hierarchical tree structure. It has one root node and any number of child nodes beneath it. That collection of nodes is what Godot calls a scene, and it can represent anything in your game: a character, a stage, a UI screen.
Example: The Player Scene in a 2D Game
If you build a Player scene, a typical node combination looks like this.
CharacterBody2D (root node: handles physics and movement)
├── Sprite2D (child node: displays the player's visuals)
├── CollisionShape2D (child node: defines the hitbox shape)
└── Camera2D (child node: camera that follows the player)
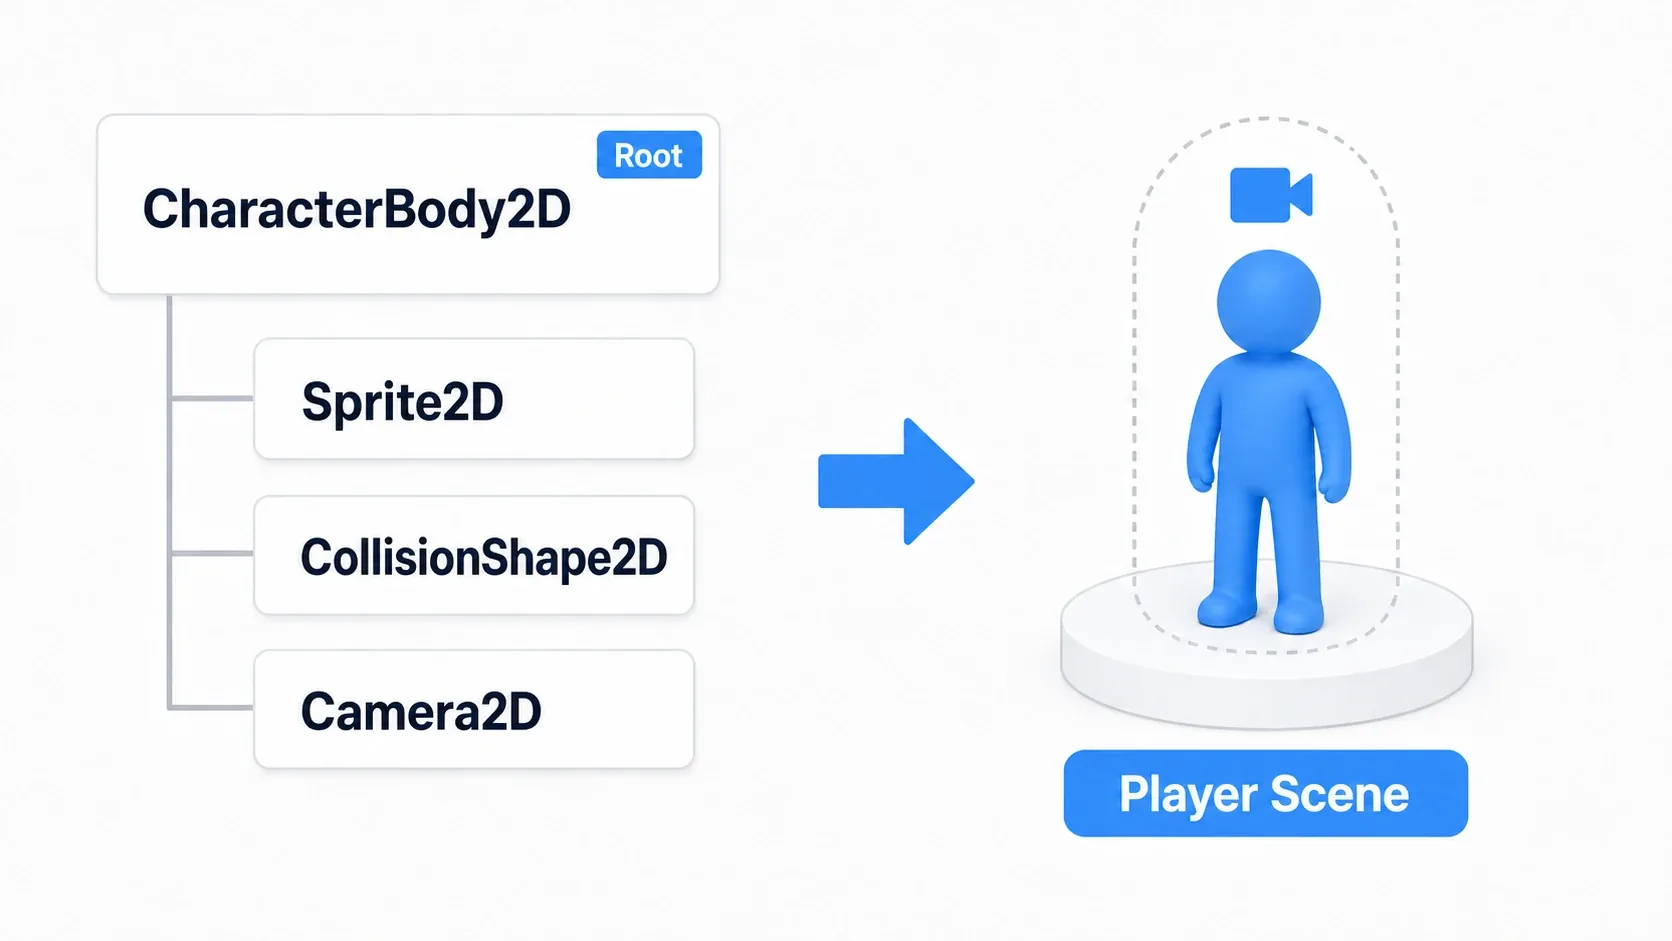
A scene, then, is several nodes combined into one unit. Notice that just by adding one-job parts for visuals, collision, and camera, you end up with everything a character needs. Scenes are saved as files with the .tscn extension.
Scene Instancing: Nesting Scenes Inside Scenes
Godot really shows its strength with scene instancing: reusing a scene you already built as a part inside another scene. This isn't copy and paste. Each instance keeps a reference back to the original scene (the blueprint).
Example: Placing the Player Inside a Stage Scene
Let's drop the Player scene (player.tscn) we just built into another scene called Stage 1.
Node2D (root of Stage 1)
├── TileMap (terrain and background)
├── Player (instance of player.tscn)
├── Enemy1 (instance of enemy.tscn)
└── Enemy2 (instance of enemy.tscn)
Benefits of Instancing
- Reusability: the Player scene you built once can be dropped into Stage 2, a boss fight, or anywhere else.
- Maintainability: to change the player's movement speed, edit
player.tscnonce and every player instance picks up the change. - Encapsulation: the Stage 1 scene never has to care about which nodes the player is made of internally.
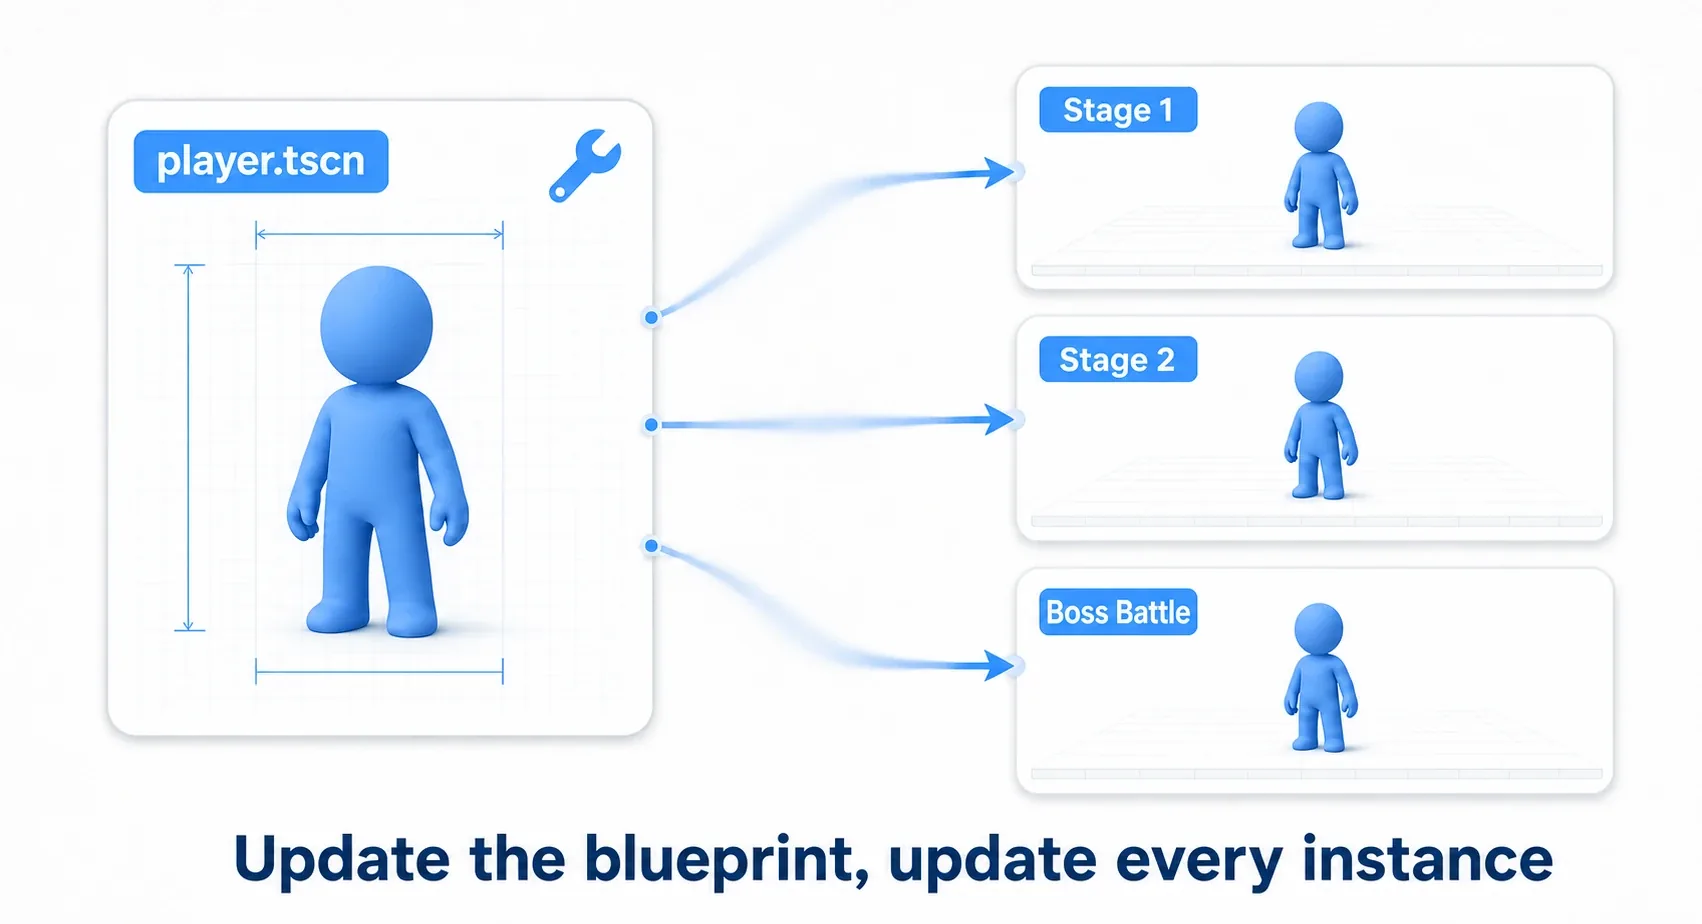
In real game development, this mechanism is what makes volume possible. A single bullet in a shmup, one villager in an RPG, one enemy in a tower defense game: whatever the genre, the basic pattern is build one scene and instance it as many times as you need. Fix the bullet's hitbox in bullet.tscn once and every bullet on screen is fixed.
Common Mistakes and Best Practices
| Common Mistake | Best Practice |
|---|---|
| One giant monolithic scene | Split into small, focused scenes. Turn reusable units like the player, enemies, bullets, and UI elements into their own scenes, then combine them into larger scenes. |
| Depending on fragile node paths | Stay loosely coupled with signals and method calls. Structure-dependent paths like get_node('../../Player/Camera2D') break the moment anything moves (see the signals article). |
Excessive polling in _process | Think in events. Read input in _input() or _unhandled_input(), detect physical collisions through body signals, and let code run only when it actually needs to. |
Calling get_node() everywhere | Cache node references with @onready. Grabbing references before _ready runs keeps your code clean. |
Designing Scenes With Performance in Mind
As a project grows, performance stops being something you can ignore.
- Node count: the number of nodes in a scene, especially ones that process every frame, translates directly into CPU load.
- The cost of
get_node(): avoid callingget_node()inside loops like_process.@onreadyis the simplest fix for this. - The cost of physics: be careful not to attach physics bodies to decorative objects that don't need collision at all.
Hands-On: Building a Spawner That Keeps Sending Enemies
Enemy formations in a shmup, invasion waves in a tower defense game, endless spawns in a Vampire Survivors-like: any system that sends out the same enemy repeatedly over time comes down to building one enemy.tscn and instancing it as many times as you need. Let's turn everything so far, scenes as blueprints and instancing as reuse, into a single spawner.
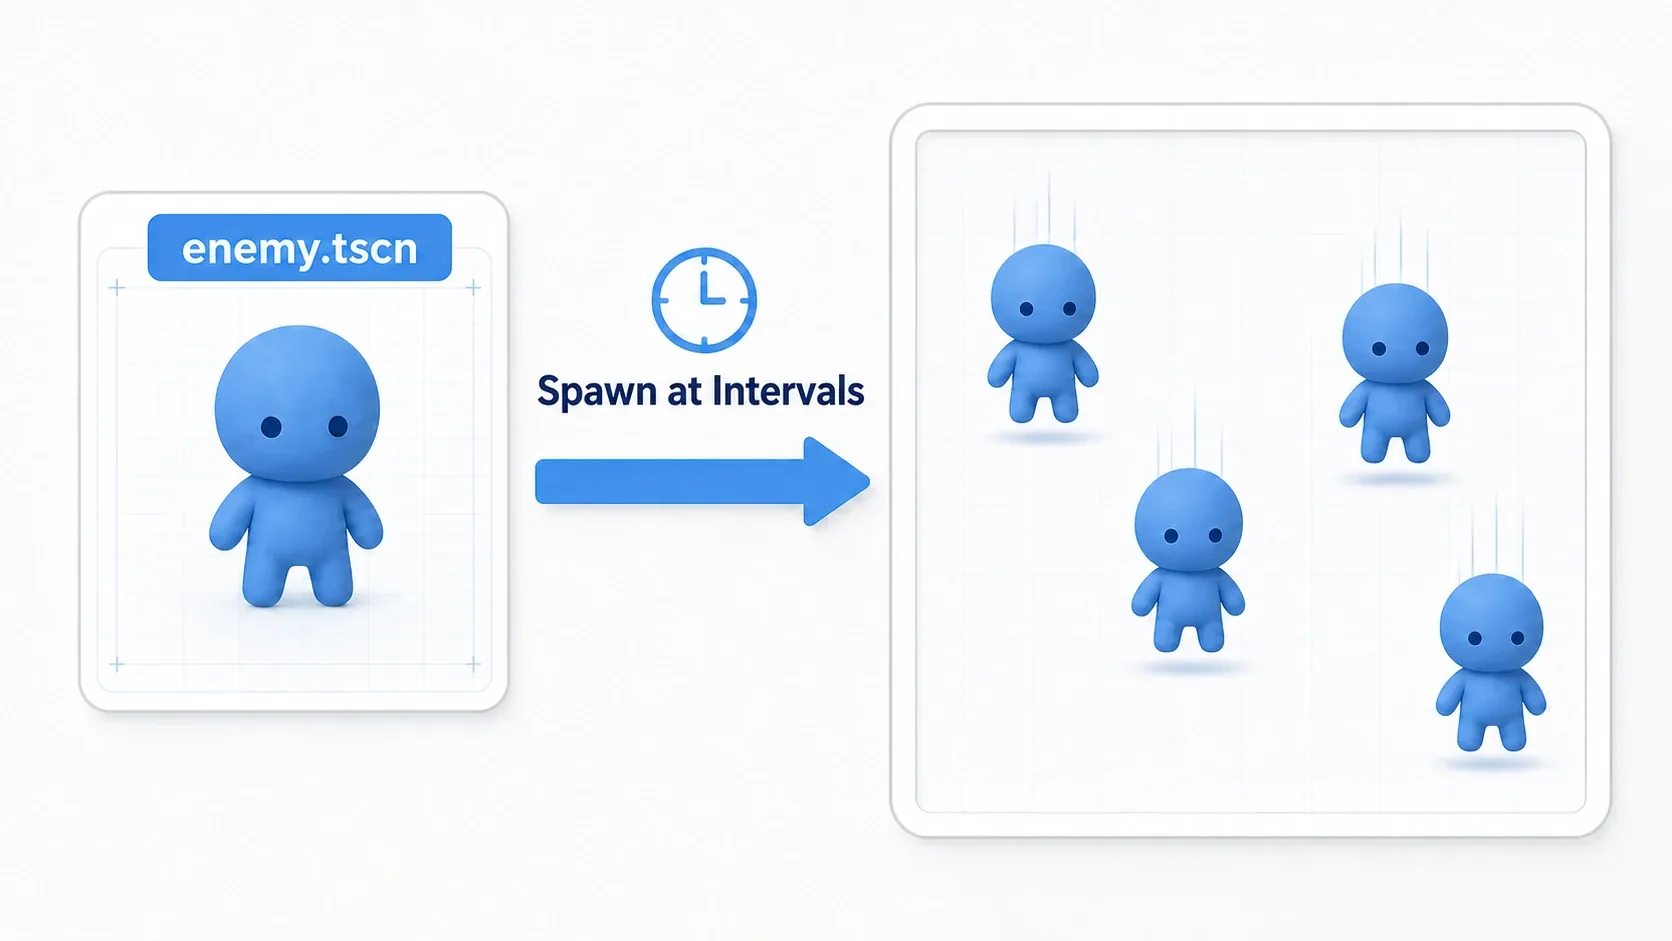
The spawner uses a Timer node to create one enemy at a fixed interval. The node setup is minimal.
- EnemySpawner (Node2D)
  - SpawnTimer (Timer)
extends Node2D

const ENEMY_SCENE = preload("res://enemy.tscn")

@onready var spawn_timer: Timer = $SpawnTimer

func _ready() -> void:
    # Set SpawnTimer's wait_time in the Inspector (1.5 seconds, for example)
    spawn_timer.timeout.connect(_on_spawn_timer_timeout)
    spawn_timer.start()

func _on_spawn_timer_timeout() -> void:
    var enemy := ENEMY_SCENE.instantiate()
    # Add the enemy directly under the current scene, not under the spawner
    get_tree().current_scene.add_child(enemy)
    # Spawn at a random X position along the top of the screen
    enemy.global_position = Vector2(randf_range(0, 1152), -50)
There are two points worth noting.
- Don't make spawned enemies children of the spawner: use
get_tree().current_scene.add_child()to place them directly under the current scene. If they were children of the spawner, every enemy would vanish the instant the spawner disappeared during a stage transition. - Keep enemy stats and visuals in
enemy.tscn: the spawner only decides when and where to spawn. Want to change enemy HP or sprites? Editenemy.tscnonce and every spawned enemy follows. That is exactly what makes instancing worthwhile.
Once you start wanting per-wave enemy types or spawn counts that ramp up over time, add arrays and counters to the spawner. Making each individual enemy behave intelligently is the territory of managing AI and player states with a state machine.
Summary
- Nodes: the smallest parts of a game, each with one specific capability
- Scenes: blueprints built by arranging nodes into a tree, forming concrete game elements like characters and stages
- Instancing: reusing a scene you built as a part inside another scene
Development in Godot follows one flow: combine nodes into scenes, then combine those scenes into bigger scenes, all the way up to the game itself.
For your next step, pick up signals for loosely connecting scenes and nodes, and Autoload for carrying data across scenes. With those two, you can assemble a small game from end to end.
Note for Unity Developers: The Trap of the Word "Scene"
The word "scene" is what trips up most people coming from Unity. The term is identical, but what it covers is completely different.
In Unity, the role is split across two concepts.
- Scene: a big container, a stage or a level. Normally not nested.
- Prefab: a reusable part, placed inside a Scene.
Godot has no such distinction. One player is a scene, a stage is a scene, and the whole game is a scene. Everything is a scene regardless of size, and you build up by nesting scenes inside scenes.
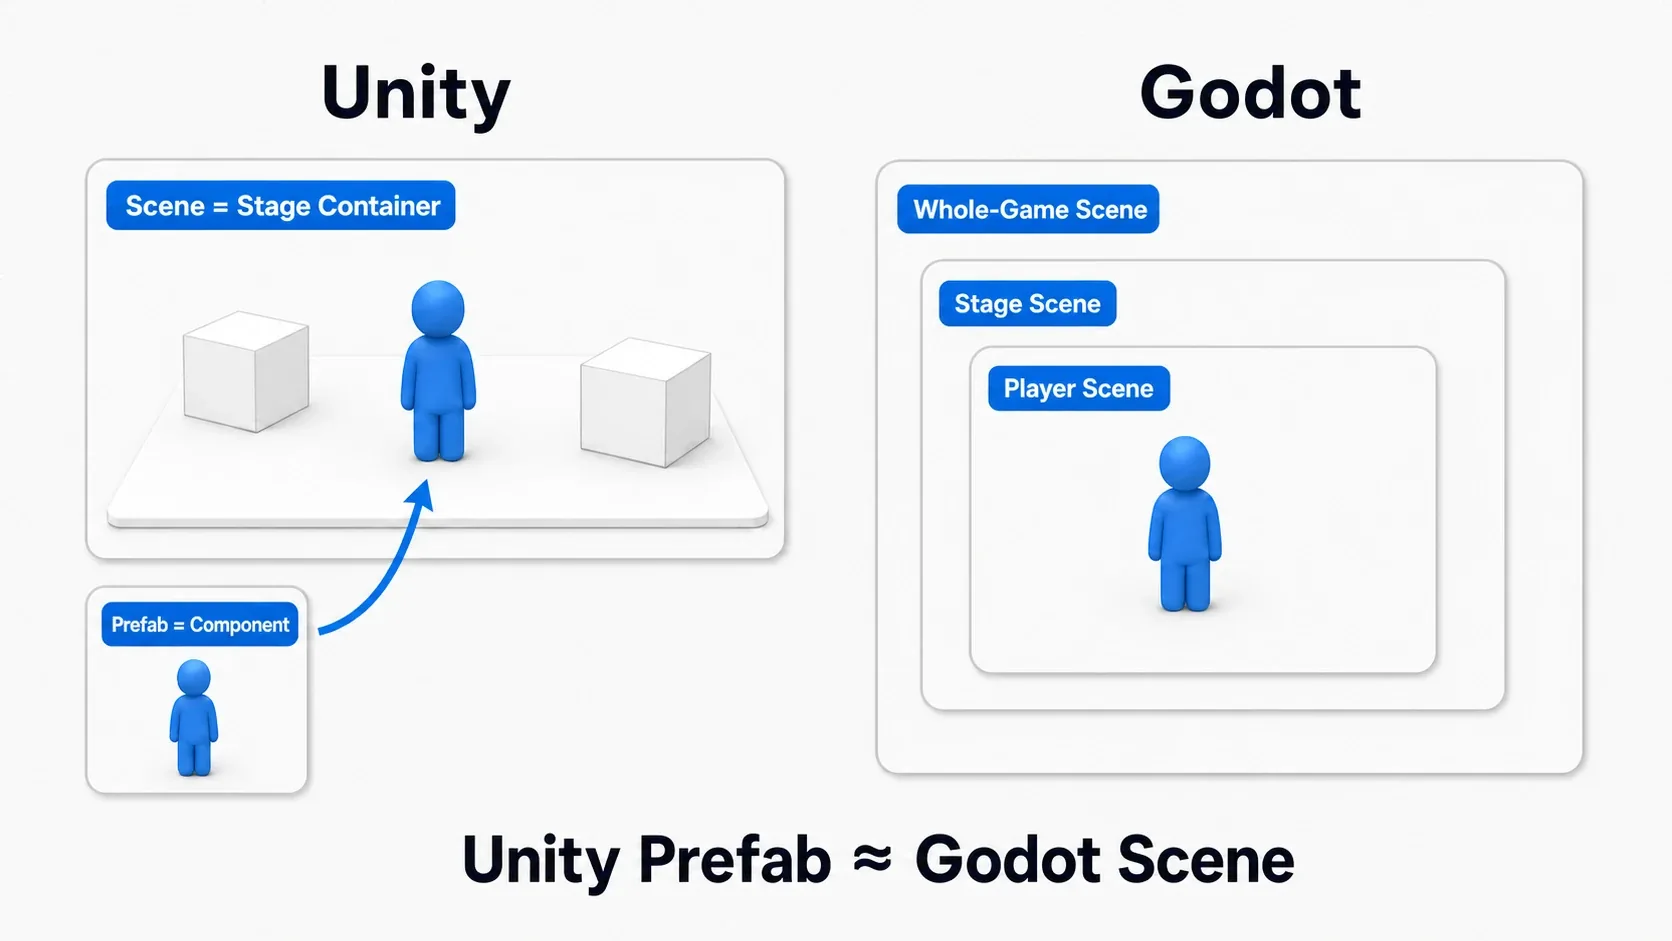
Here's the mental conversion table.
| Unity Concept | Godot Equivalent |
|---|---|
| Scene (level/stage) | Just a "big scene" (launched as the main scene) |
| Prefab | A scene (.tscn) that you instance |
| GameObject + Component | A node (add child nodes to pile on capabilities) |
In other words, the scene instancing covered in this article feels exactly like placing a Prefab in a stage in Unity. Don't let the phrase "nesting scenes" intimidate you. Reframe it as "Godot calls even the Prefab-level things scenes" and it should click immediately.