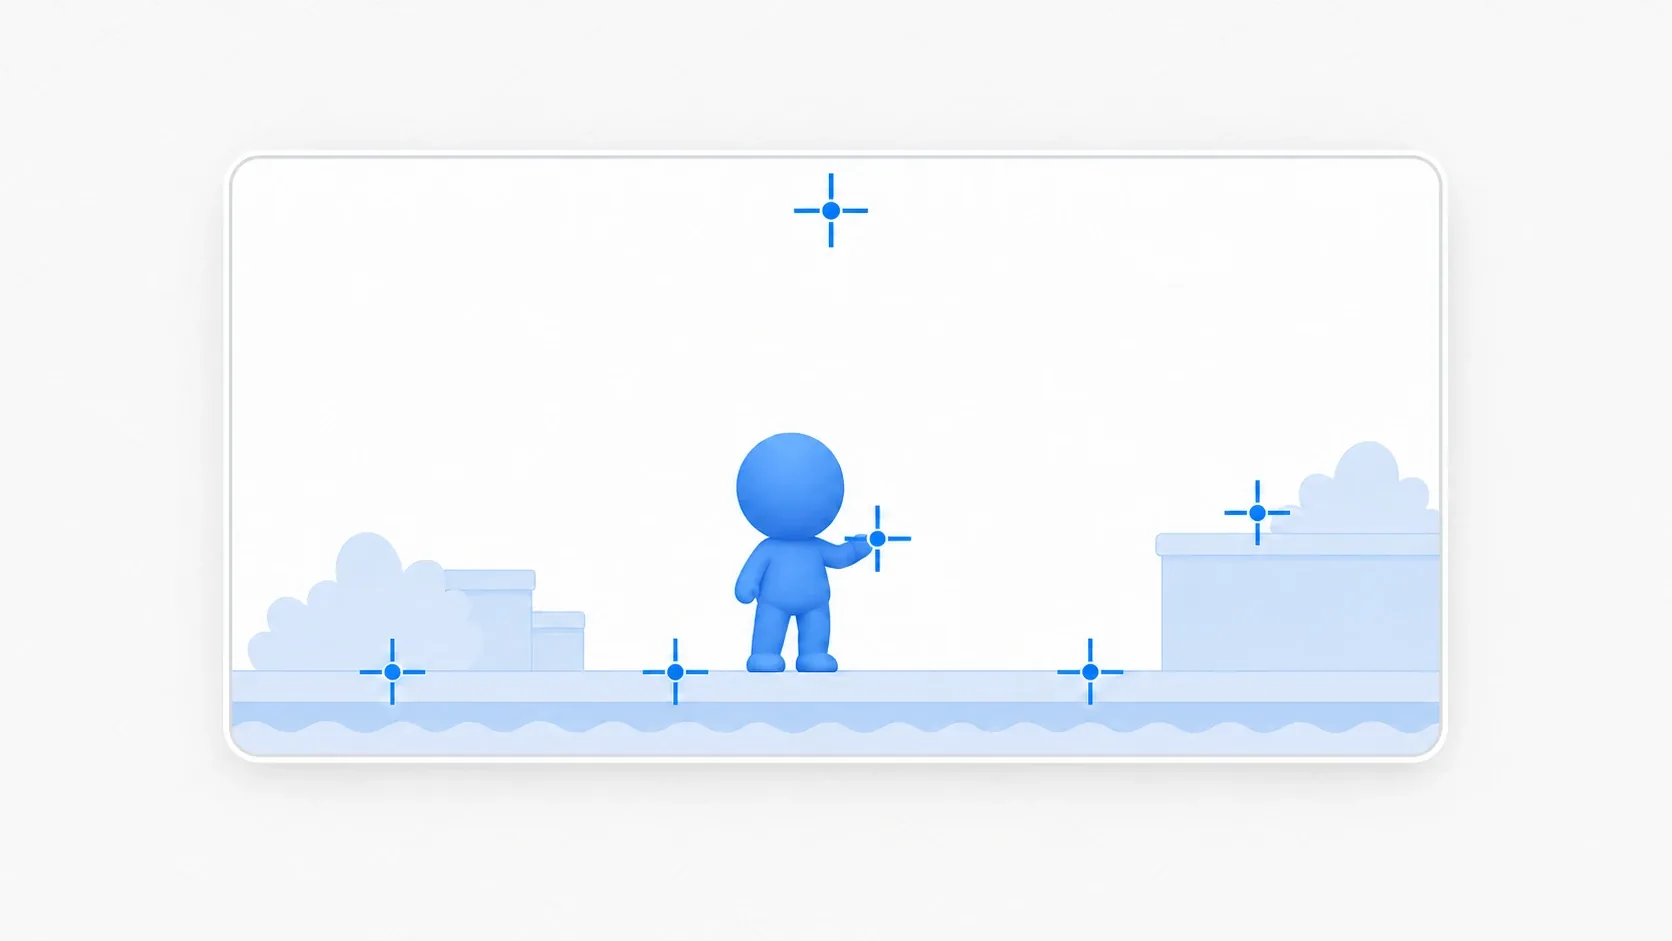
Enemy spawn positions, bullet muzzles, places to play an effect: games are full of situations where you need to work with specific coordinates. Hardcode them into a script as Vector2(150, 300) and every small nudge means opening the code and retyping numbers, which wears you down fast.
Marker2D takes that pain away. It separates a coordinate from the code and turns it into a marker in the editor, so you can drag it into place the same way you position a character. This article covers Marker2D from the basics through practical uses like spawn points and weapon muzzles.
What You'll Learn
- What Marker2D is (how it differs from Node2D, and its relationship to the old Position2D)
- The practical technique of attaching data to spawn points with
@export- Building anchor points that follow a character with
global_position/global_rotation- Tips for keeping Marker2D nodes tidy
What is Marker2D? How it differs from Node2D
Marker2D is an extremely lightweight node used as a marker in 2D space. Internally it's nearly the same as Node2D, with one decisive difference: it always displays a crosshair gizmo in the editor.
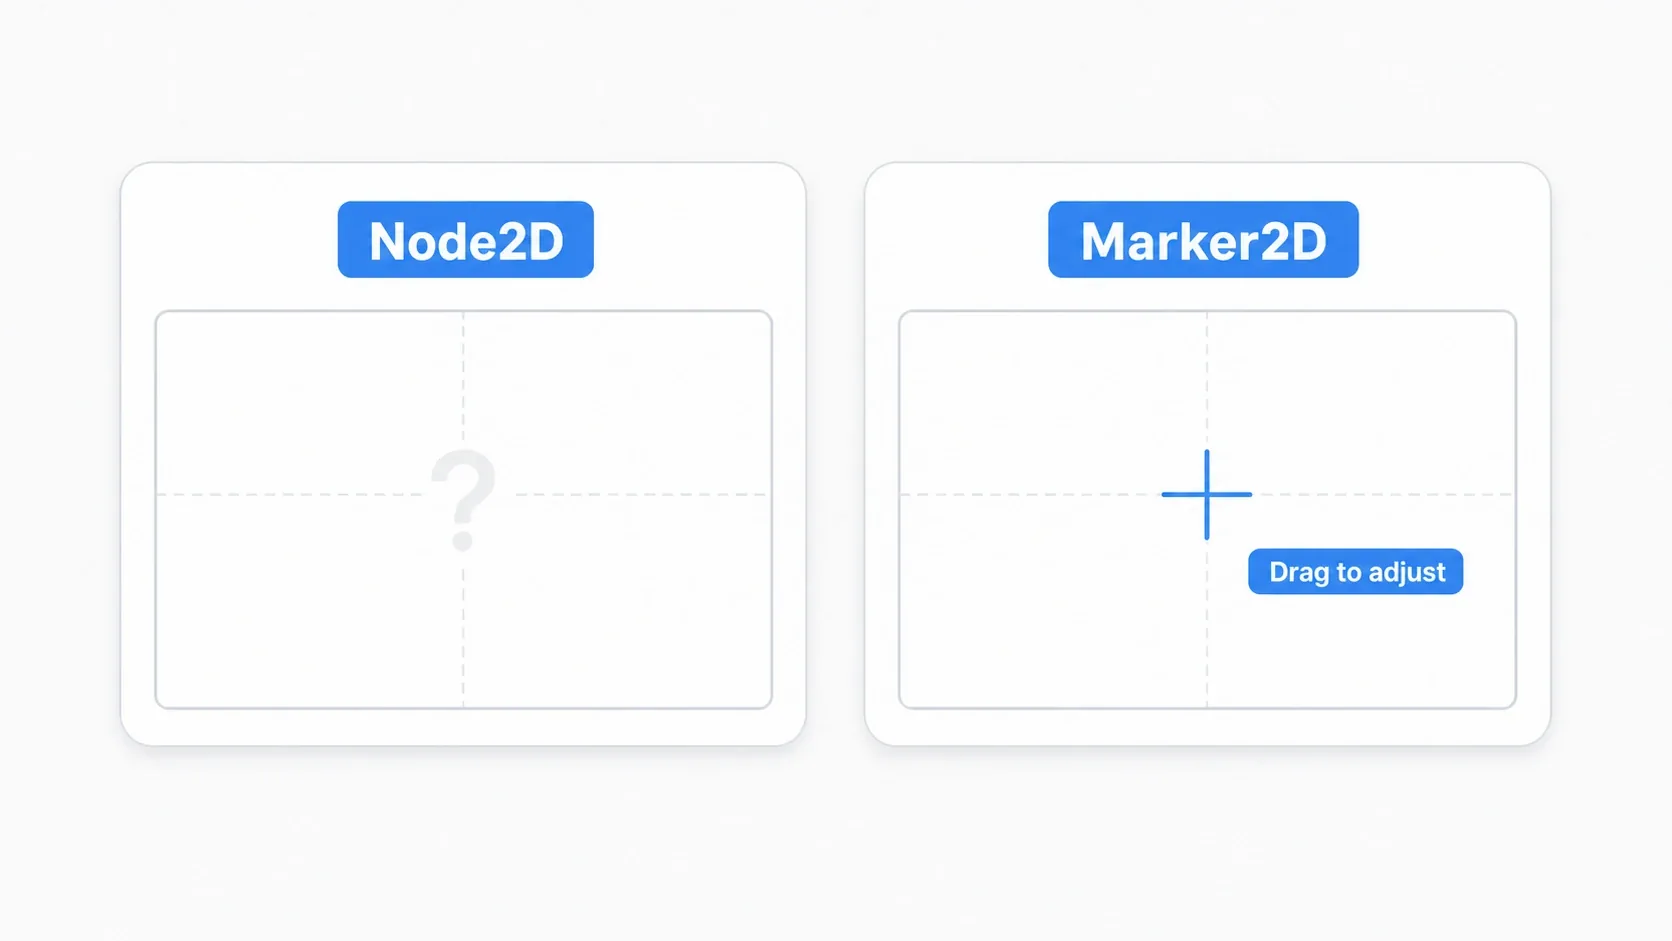
A bare Node2D draws nothing, so you can't see where it is in the editor (you have no idea unless you select it). A Marker2D, with its crosshair always visible, lets you place and fine-tune coordinates exactly as if you were dragging an object. The position becomes something you can see and touch instead of an abstract number in code.
Note:
Position2Dfrom Godot 3 was renamed toMarker2Din Godot 4. It plays the same role as a position marker. When older articles or samples mentionPosition2D, read it asMarker2D.
Hands-On: building a flexible enemy spawn system
Marker2D really proves itself in managing spawn points. Enemy formations in a shoot-'em-up, invasion entrances in a tower defense, monster placement in a roguelike: let's build a system where the level designer can tune "what spawns where" without touching code.
First, place a Marker2D wherever you want enemies to appear, attach a script to each, and use @export to carry information such as which enemy to spawn.
# spawn_point.gd
extends Marker2D

@export var enemy_type: PackedScene   # The enemy to spawn here (assigned in the Inspector)
@export var enabled: bool = true      # Whether to use this point (designers can toggle it)
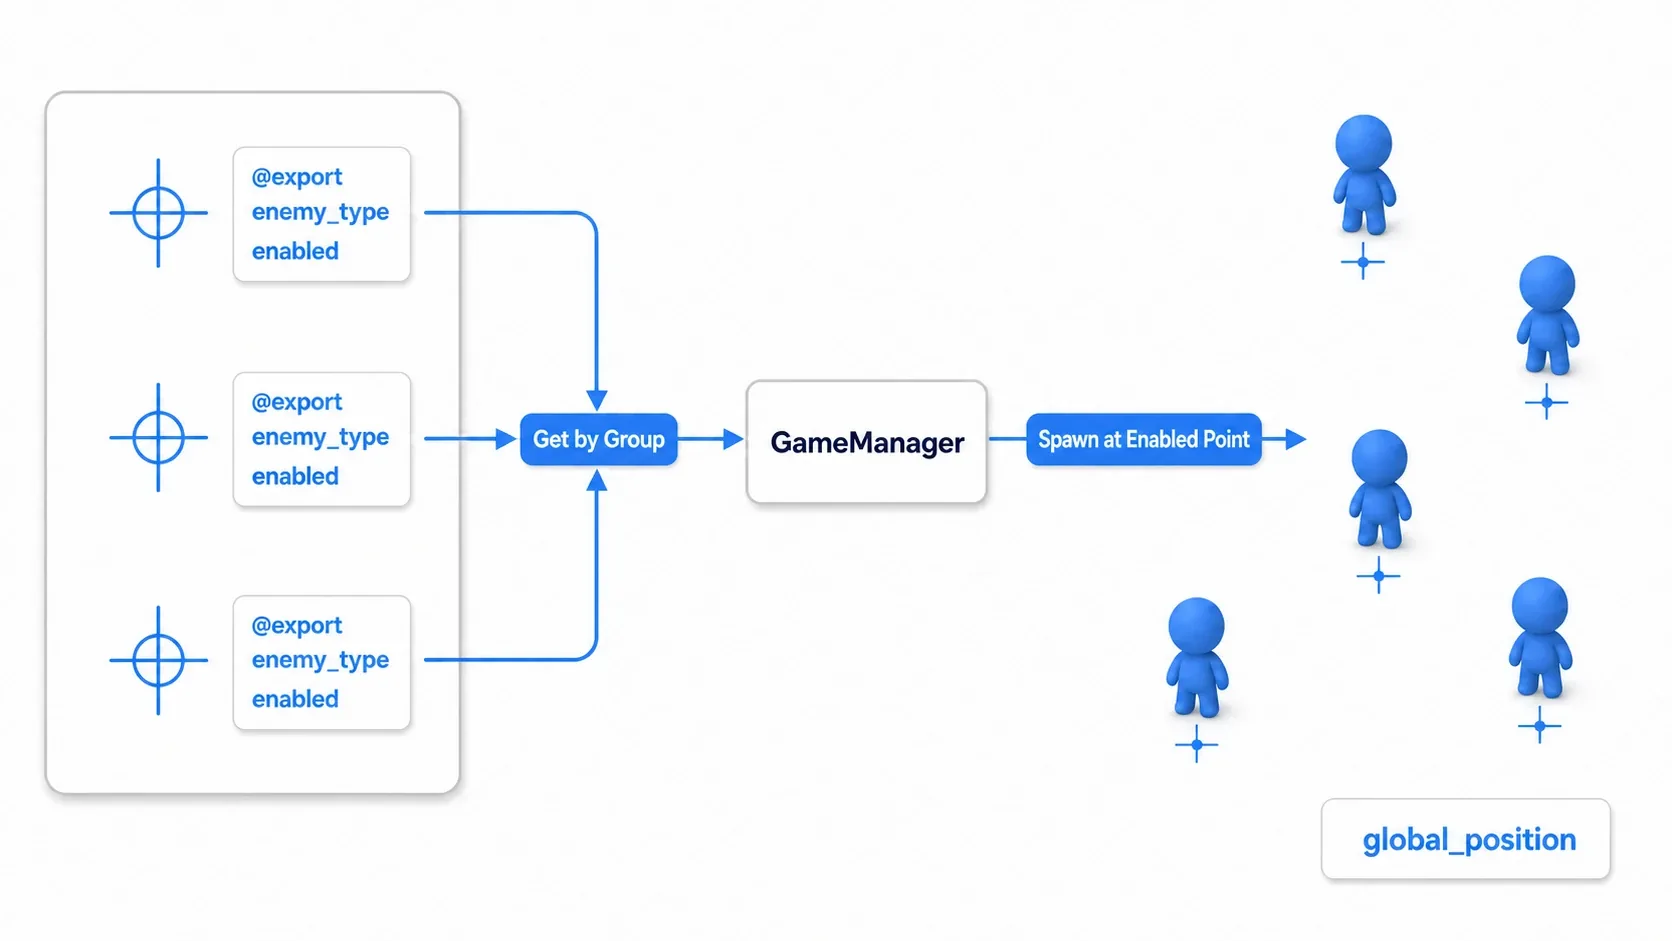
Now each spawn point is a marker that carries its own position, enemy, and enabled flag. Put them all in an enemies_spawn_points group and read them from the manager side.
# game_manager.gd
func _ready() -> void:
    # Fetch the spawn points together via the group
    for sp in get_tree().get_nodes_in_group("enemies_spawn_points"):
        if sp.enabled and sp.enemy_type:          # Only enabled points that have an enemy assigned
            var enemy := sp.enemy_type.instantiate()
            enemy.global_position = sp.global_position   # Spawn at the marker's position
            add_child(enemy)
The nice part of this design is that level designers can do everything in the Inspector: "from this position," "spawn this boss," "skip it this time," all configured per marker without touching code. Adding an enemy is just placing one Marker2D and assigning an enemy scene. It's a battle-tested pattern combining the spawning mechanism (instantiation) with group management of the points.
There are two points worth noting.
- Positions on the marker, logic in the manager: the Marker2D sticks to the "where and what" data, while
GameManagerowns "when and how." Because the roles are split, you can change the spawning presentation and reuse the markers as-is. - Spawn using
global_position: as covered below,global_positiongives you the correct world coordinate even when the marker is a child of another node.
Building an anchor point (muzzle) that follows a character
Gun muzzles, sword tips, staff ends, feet: processing anchored to a specific body part is another Marker2D specialty. Place it as a child of the character and it follows the character's movement and rotation automatically.
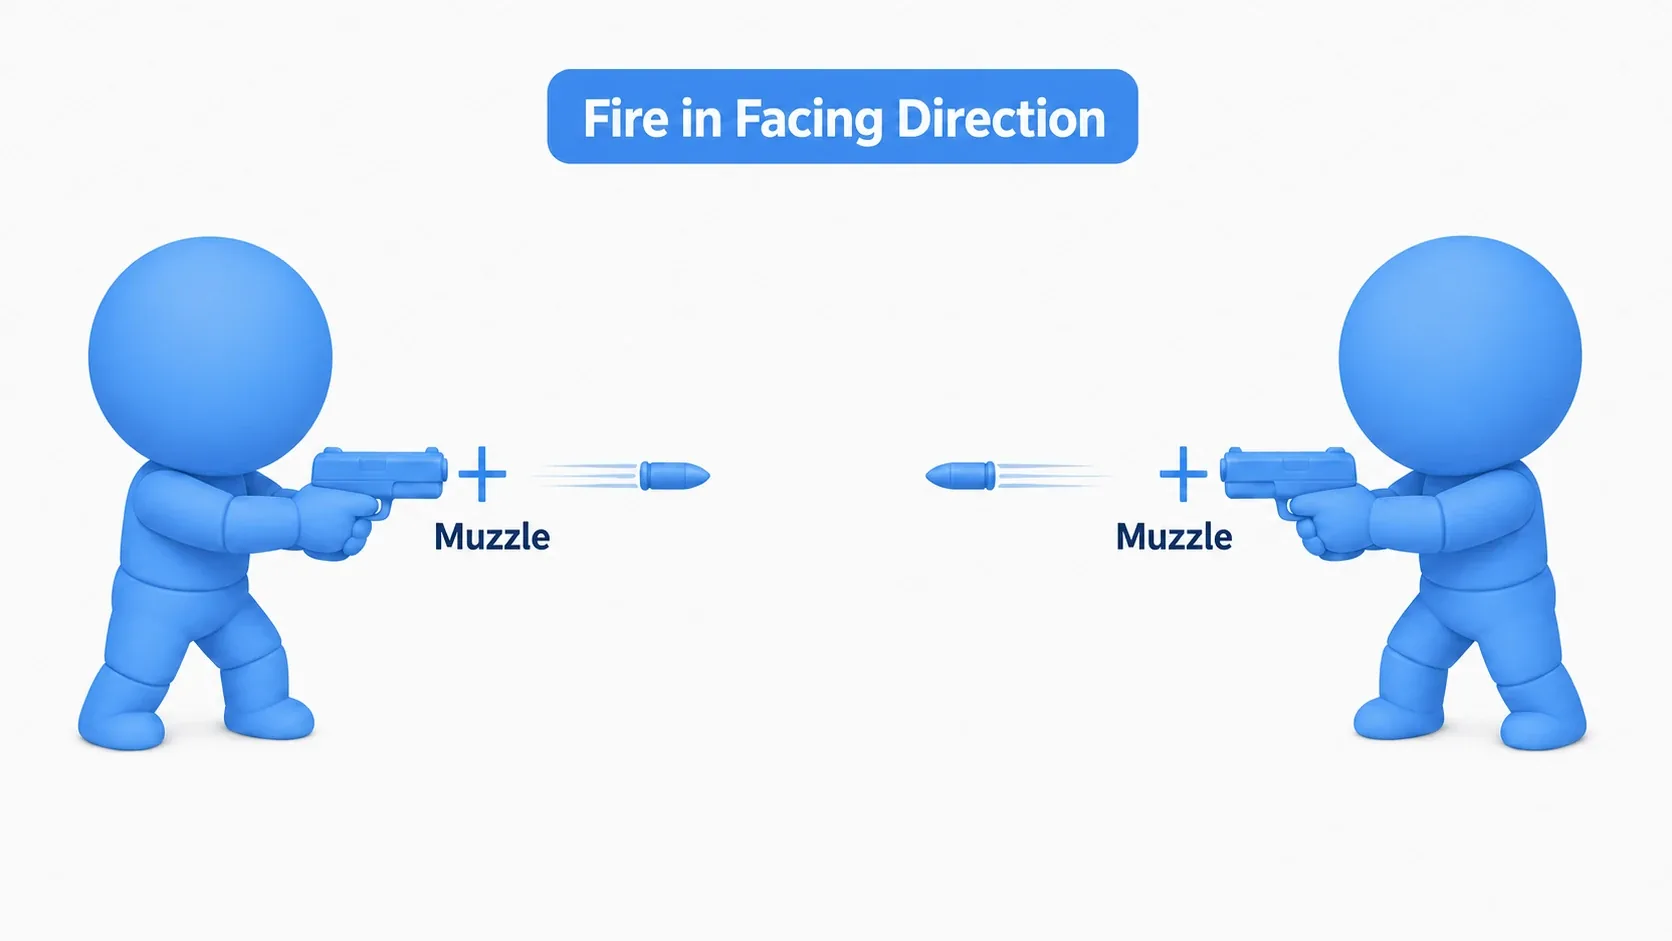
In the player scene, add a Marker2D as a child of the sprite, put it at the muzzle, and name it "Muzzle." Then, when firing, just pass that marker's global_position and global_rotation to the bullet.
# player.gd
@onready var muzzle: Marker2D = $Sprite2D/Muzzle
@export var bullet_scene: PackedScene

func _process(_delta: float) -> void:
    if Input.is_action_just_pressed("shoot"):
        var bullet := bullet_scene.instantiate()
        bullet.global_position = muzzle.global_position   # From the muzzle's position
        bullet.global_rotation = muzzle.global_rotation   # At the muzzle's angle
        get_tree().current_scene.add_child(bullet)        # Don't parent bullets to the player
Whether the character faces left or right, the Muzzle is always at the barrel, so bullets fly from the right position at the right angle. The same technique applies to any "effect anchored to a body part": dust at the feet, jet flames on the back, and so on.
Warning: if you flip the sprite with
flip_h,global_rotationalone may not give the right bullet direction. Either correct the angle based on the flip, or usemuzzle.global_transform.x(the marker's right-facing vector) as the travel direction to be safe.
Common mistakes and best practices
| Common mistake | Best practice |
|---|---|
Moving the position in code (marker.position.x += 10) | Leave position adjustment to the editor and have code only read global_position. Moving it destroys the "what you see is what you edit" benefit |
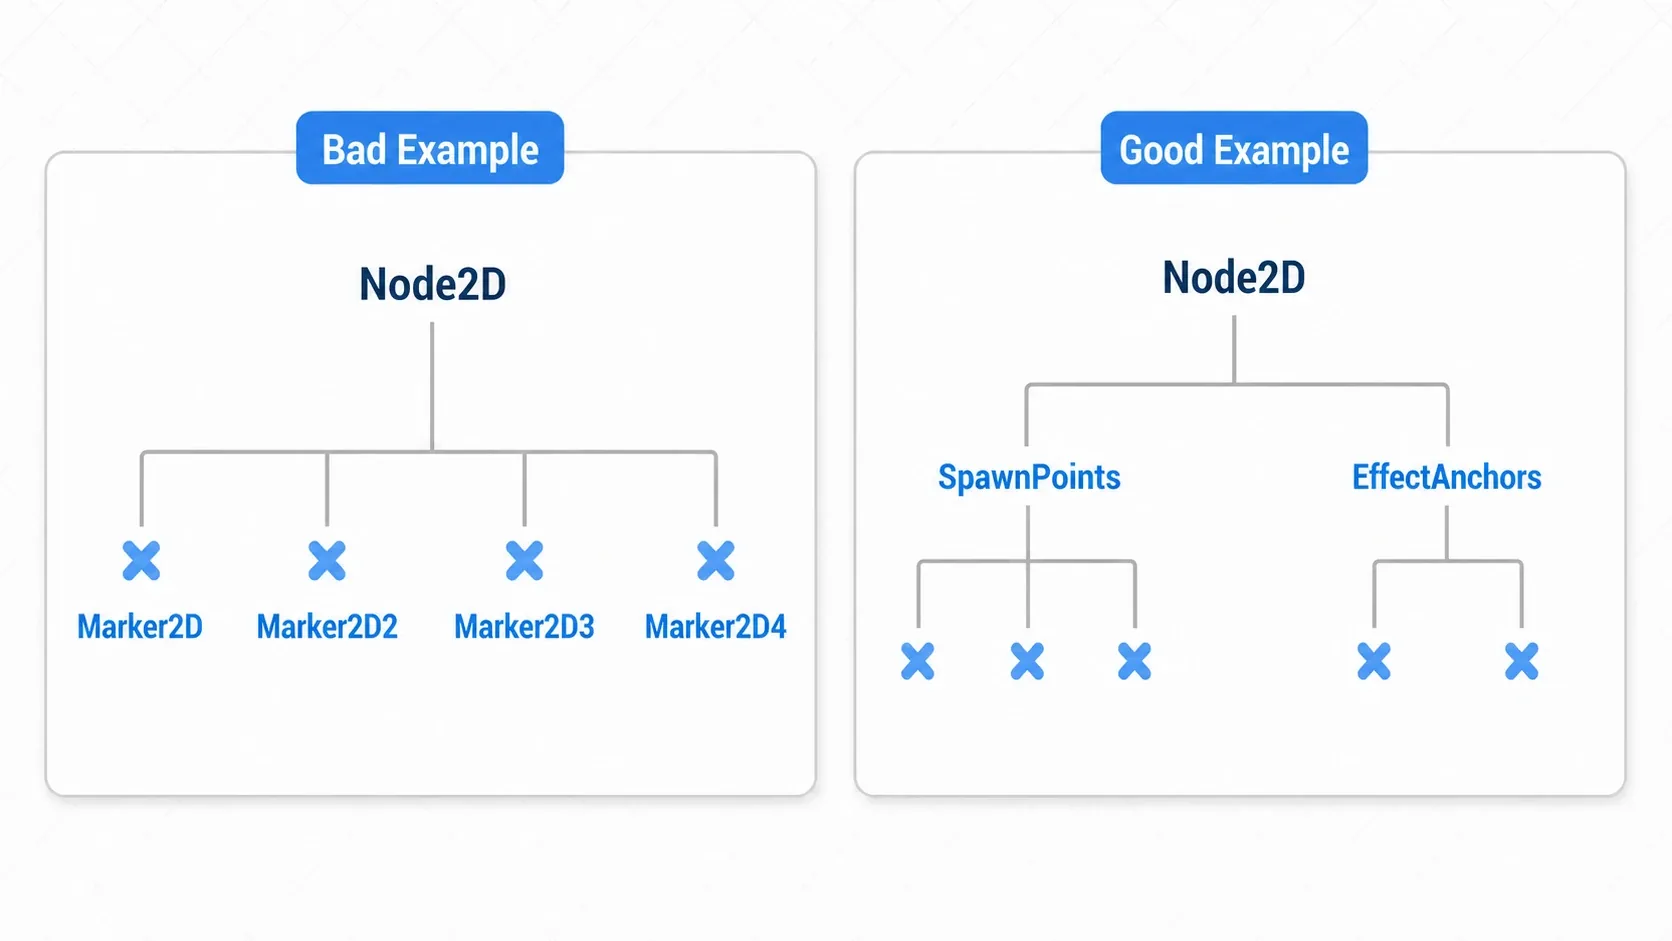
Generic names like Marker2D and Marker2D2 | Use names that convey the role, such as PlayerSpawn, Muzzle, or BossEntry |
| Scattering them directly under the root | Group them under empty Node2D parents like SpawnPoints or EffectAnchors |
Using position on a child marker | Always use global_position when you want world coordinates (position is relative to the parent) |
The difference between position and global_position matters most here. A child node's position is relative to its parent, so it lands somewhere unintended once the parent moves or rotates.
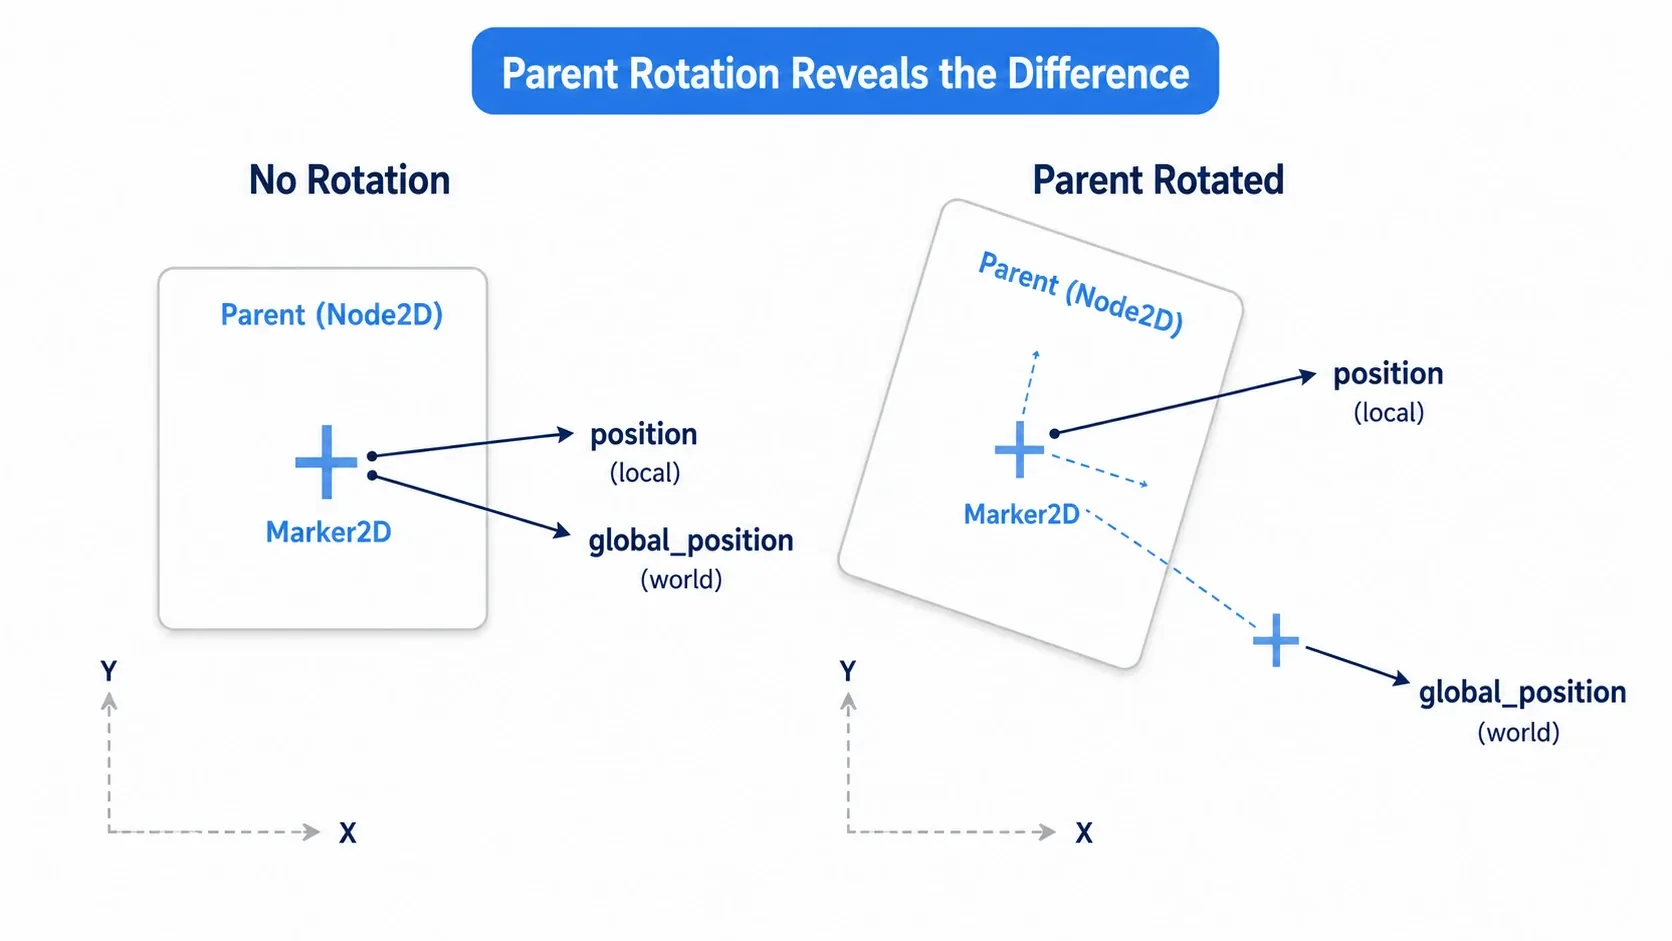
When you mean "this spot on screen," as with spawning and firing, always use global_position and you'll get the correct world coordinate regardless of the parent's movement and rotation.
Organizing your markers pays off too. Gathering related markers under a parent Node2D lets you move or hide them as a group and keeps the scene tree tidy.
Bonus: Good to know for later
Once you're comfortable managing coordinates with Marker2D, these come into view next.
- Path2D / Curve2D manage "lines": if Marker2D manages points,
Path2DandCurve2Dmanage lines (paths). You can define enemy patrol routes and camera movement paths. Growing points you placed with markers into paths is a natural progression. - Generating levels from placement data: reading marker information in
_ready()and assembling the whole level from it leads into procedural generation. - Custom gizmos when a crosshair isn't enough: with a
@toolscript and_draw(), you can draw your own helper icons in the editor.
Summary
- Marker2D is a position marker. Internally almost identical to Node2D, but its strength is the crosshair always visible in the editor
- Godot 3's
Position2Dwas renamed toMarker2Din Godot 4 - Attaching data to spawn points with
@exportlets designers tune spawning entirely in the Inspector - Place one as a child of a character and it follows movement and rotation, giving correct firing positions and angles through
global_position/global_rotation - Don't move coordinates in code, adjust them in the editor; read them with
global_position; organize them by grouping under parent Node2D nodes
If you have even one hardcoded coordinate, try replacing it with a Marker2D. Once you know how comfortable it is to adjust a position without opening a script, there's no going back.
Further Reading
- Scenes and Nodes Explained - instantiation, the foundation of spawning
- Flexible Object Checks with Node Groups - fetching spawn points together via a group
- Communicating Between Nodes with Signals - notifying other nodes about spawns and hits
- Godot Docs: Marker2D - the primary source on Marker2D