Your character jolts into a flash when it takes a hit, menus snap between screens, the HP bar number jumps instantly. It all works, but it looks cheap. The difference is smoothness.
In Godot, these "value changes over time" fit into a single line with Tween . You call create_tween() and schedule "which node, which property, over how many seconds, to what value." UI slide-ins, damage flashes, and HP bars that drain gradually all come from the same mechanism.
What You'll Learn
- The basic form of
create_tween()andtween_property()(fire and forget)- How to add easing with
set_trans/set_ease- Chaining (in order) and parallel (at once) , plus waiting with
await- Preventing conflicts with
kill(), and when to useAnimationPlayerinstead
Tween Basics: Smooth Motion in One Line
The idea behind Tween is very simple: smoothly change one property of one node to a target value over a set amount of time.
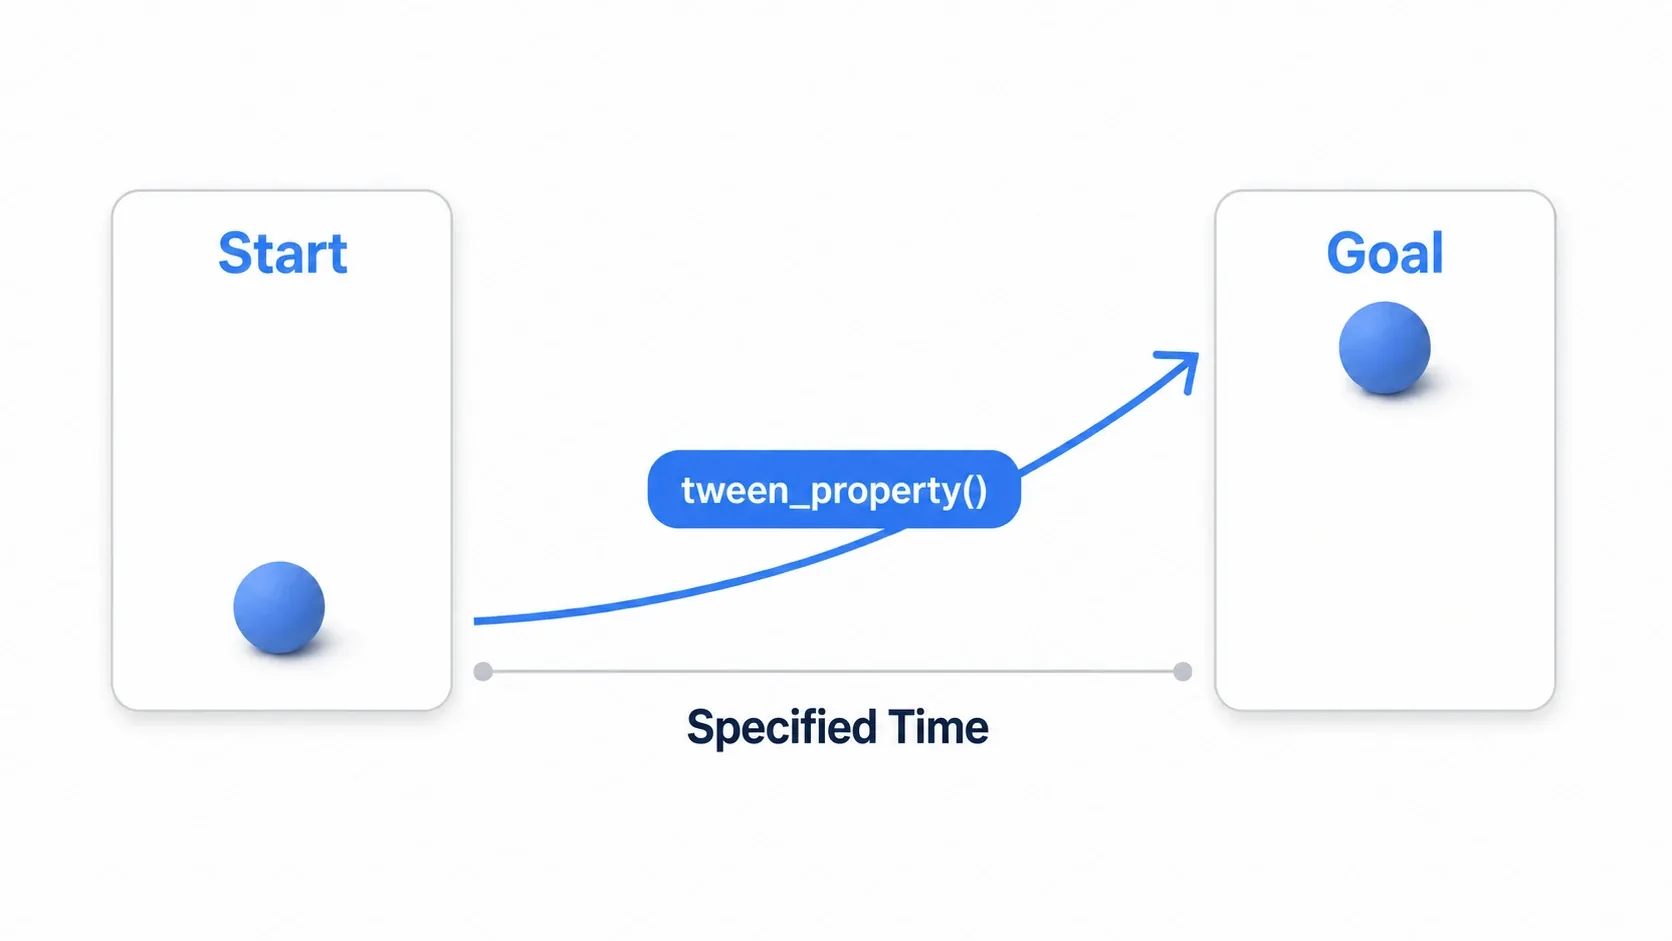
In Godot 4, you create a Tween with create_tween() and schedule animations with tween_property().
func _ready() -> void:
    # 1. Create the Tween object
    var tween := create_tween()

    # 2. Schedule an animation
    #    Move $Sprite2D's position to (500, 300) over 1 second
    tween.tween_property($Sprite2D, "position", Vector2(500, 300), 1.0)
A Tween created with create_tween() stops automatically and frees itself from memory once every scheduled animation is done. This fire-and-forget convenience is Tween's biggest appeal. Create one when you need motion, schedule it, and never worry about cleanup.
Warning: If the node that created the Tween is removed with
queue_free(), the Tween stops with it. If you need an effect to outlive the node (for example, an explosion that should finish playing after the enemy disappears), create the effect on a node that survives, or manage it through an Autoload.
Adding Acceleration and Deceleration with Easing
Moving at a constant speed still feels mechanical. Easing controls the acceleration and deceleration of motion, and you specify it with two calls: set_trans() (the type of curve) and set_ease() (where along the curve the easing applies).
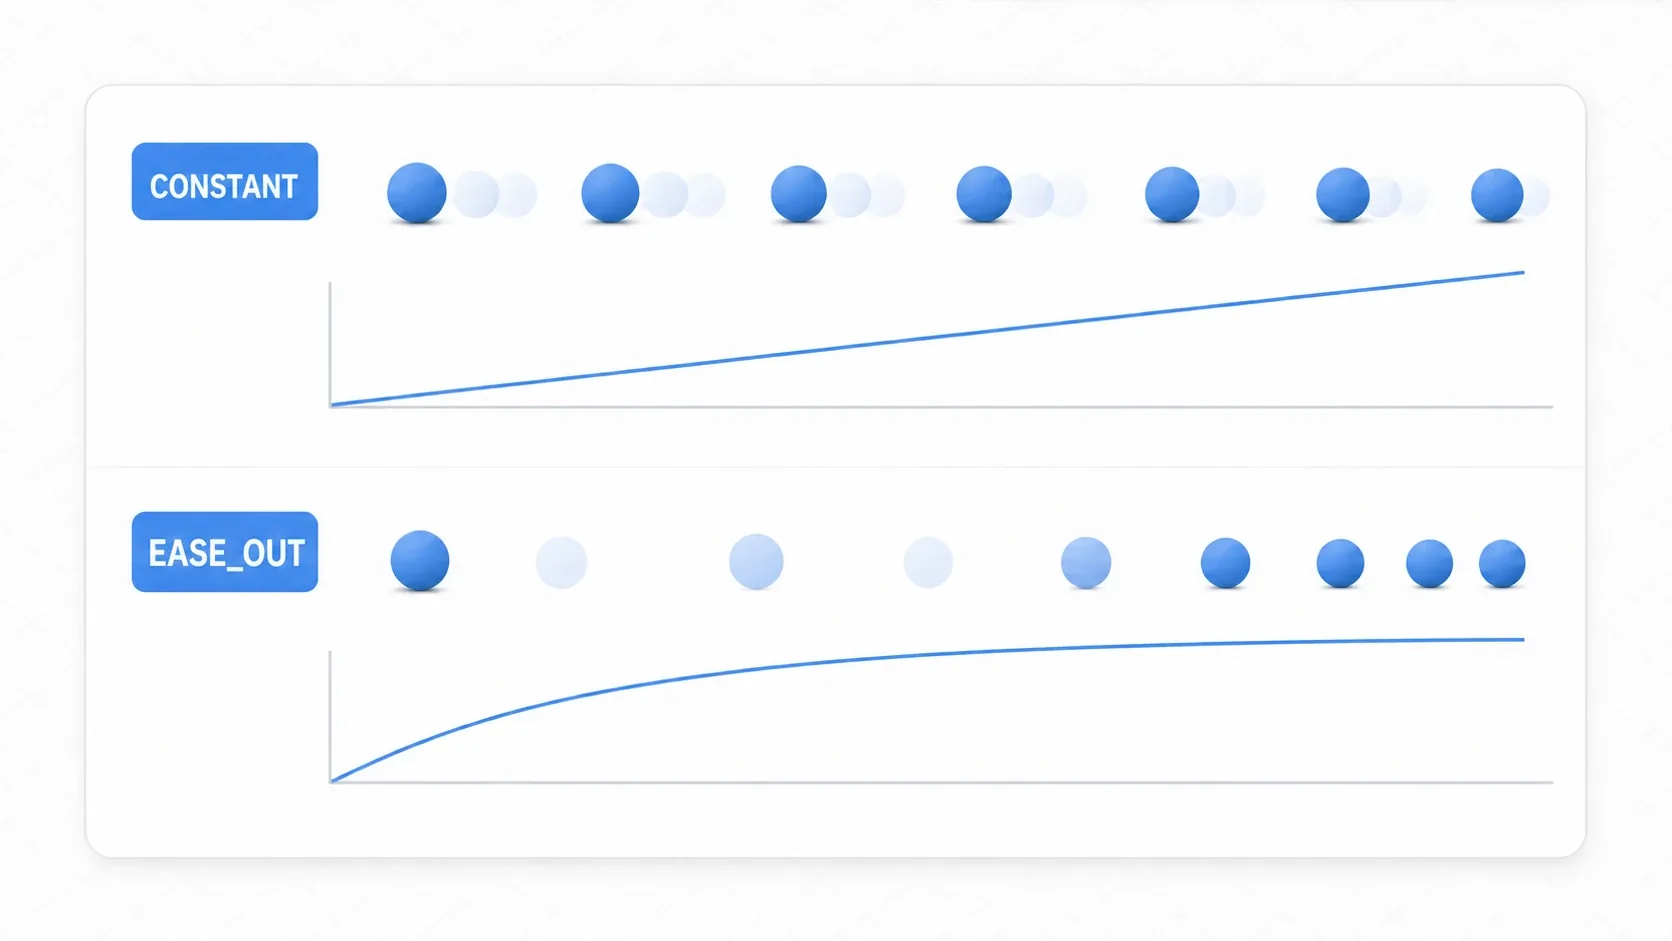
Even for the same "move over 0.5 seconds," simply decelerating toward the end (EASE_OUT) makes the motion feel far more polished.
func show_menu() -> void:
    var menu := $MenuPanel
    menu.visible = true

    # Park it just off the right edge of the screen
    var viewport_width := get_viewport_rect().size.x
    menu.position.x = viewport_width

    var tween := create_tween()
    # TRANS_SINE = smooth sine curve / EASE_OUT = decelerate at the end
    tween.tween_property(menu, "position:x", viewport_width - menu.size.x, 0.5) \
        .set_trans(Tween.TRANS_SINE).set_ease(Tween.EASE_OUT)
Adding :x after the property name , as in position:x, animates just that component. A common pattern: incoming UI uses EASE_OUT (rushes in and settles), and outgoing UI uses EASE_IN (gradually accelerates away). When in doubt, try TRANS_SINE + EASE_OUT first. It makes most effects feel natural.
Practical Code Recipes
Recipe 1: A Smoothly Changing HP Bar
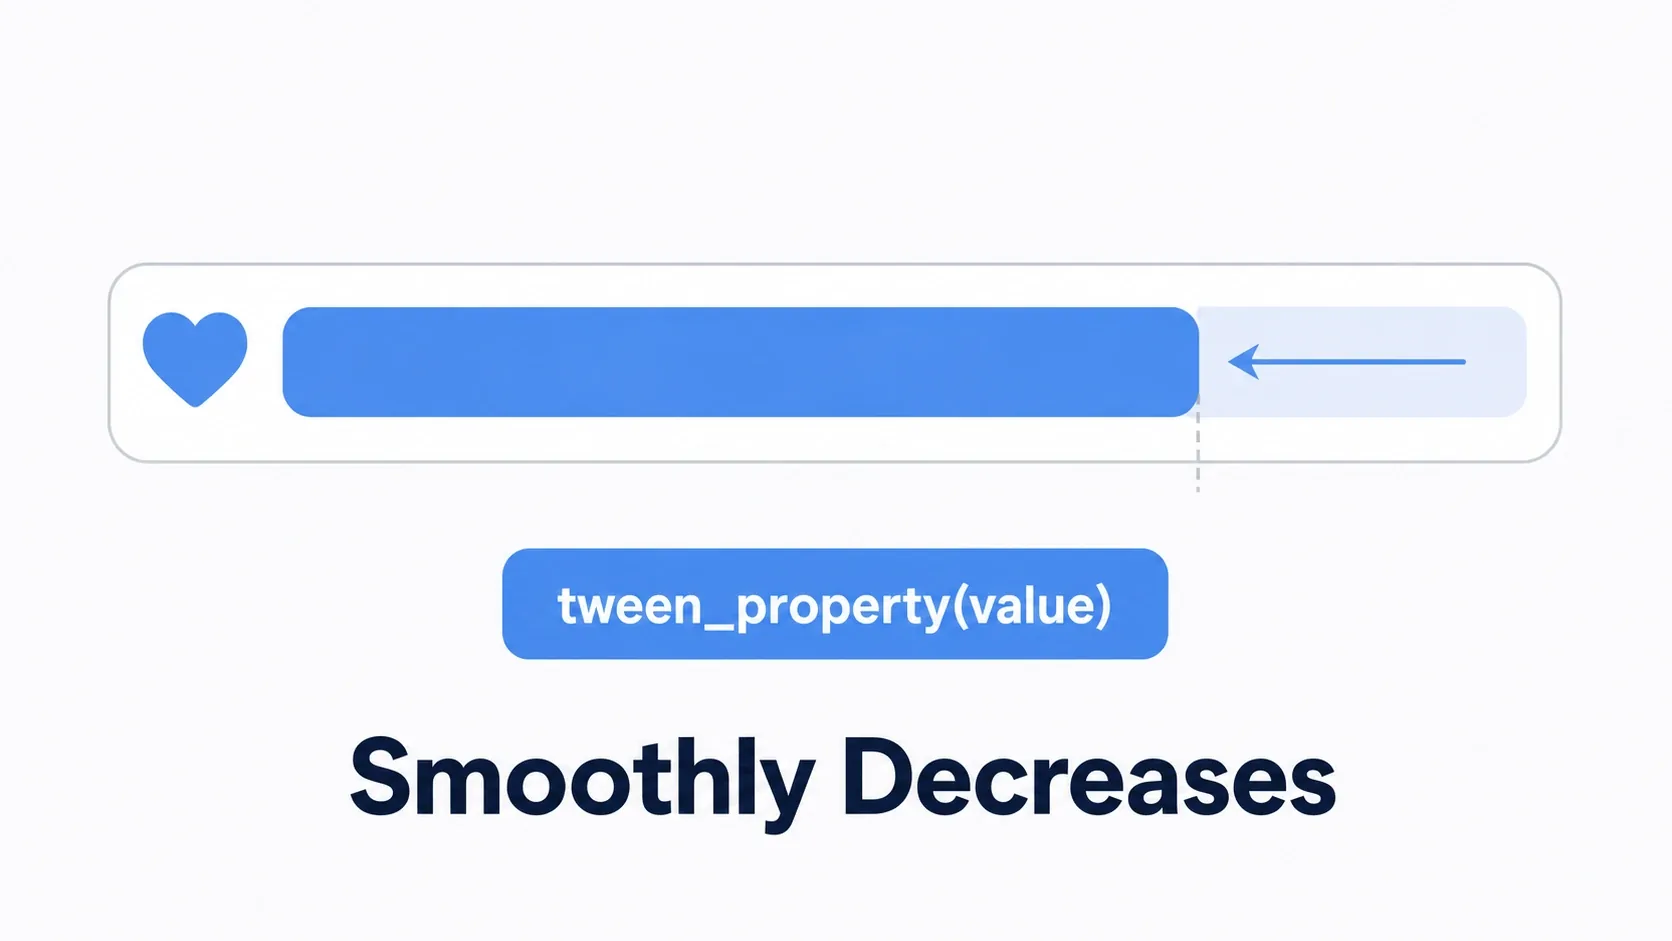
Rather than applying damage or healing instantly, an HP bar that slides makes the change much easier for the player to read. You just tween the value of a ProgressBar.
@onready var hp_bar: ProgressBar = $ProgressBar

func update_health_smoothly(new_health: float) -> void:
    var tween := create_tween()
    # Move value to new_health over 0.4 seconds. EASE_IN_OUT smooths both ends
    tween.tween_property(hp_bar, "value", new_health, 0.4) \
        .set_trans(Tween.TRANS_QUAD).set_ease(Tween.EASE_IN_OUT)
Recipe 2: Damage Flicker (Showing Invincibility Frames)
Flickering is the standard way to show the brief invincibility after taking damage. You bounce the alpha of modulate back and forth and set the repeat count with set_loops().
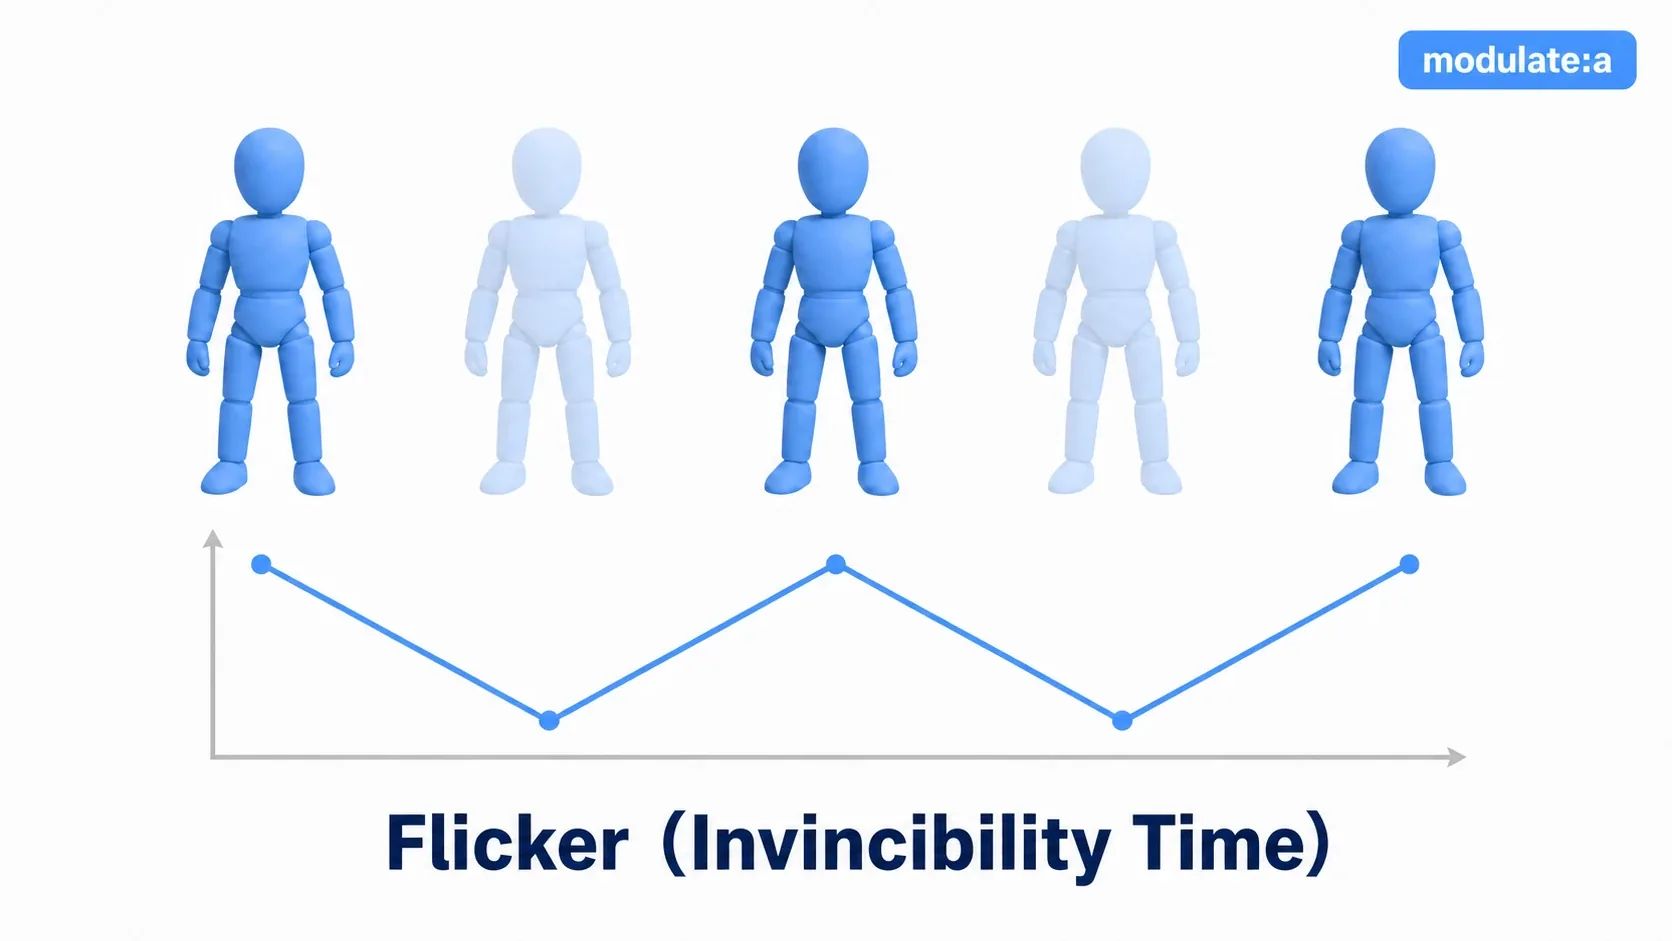
func start_invincibility_flicker() -> void:
    # Repeat the flicker sequence 5 times
    var tween := create_tween().set_loops(5)
    tween.tween_property(self, "modulate:a", 0.3, 0.1)  # Fade to semi-transparent
    tween.tween_property(self, "modulate:a", 1.0, 0.1)  # Back to normal
If you want a brief white flash on hit instead, changing the color itself is the better approach (covered in white flash with modulate). Endlessly cycling gimmicks like moving platforms and lifts work the same way, combined with set_loops() (no argument means infinite looping).
Chaining, Parallel, and await
When combining multiple motions, you choose whether they run in order or at the same time.
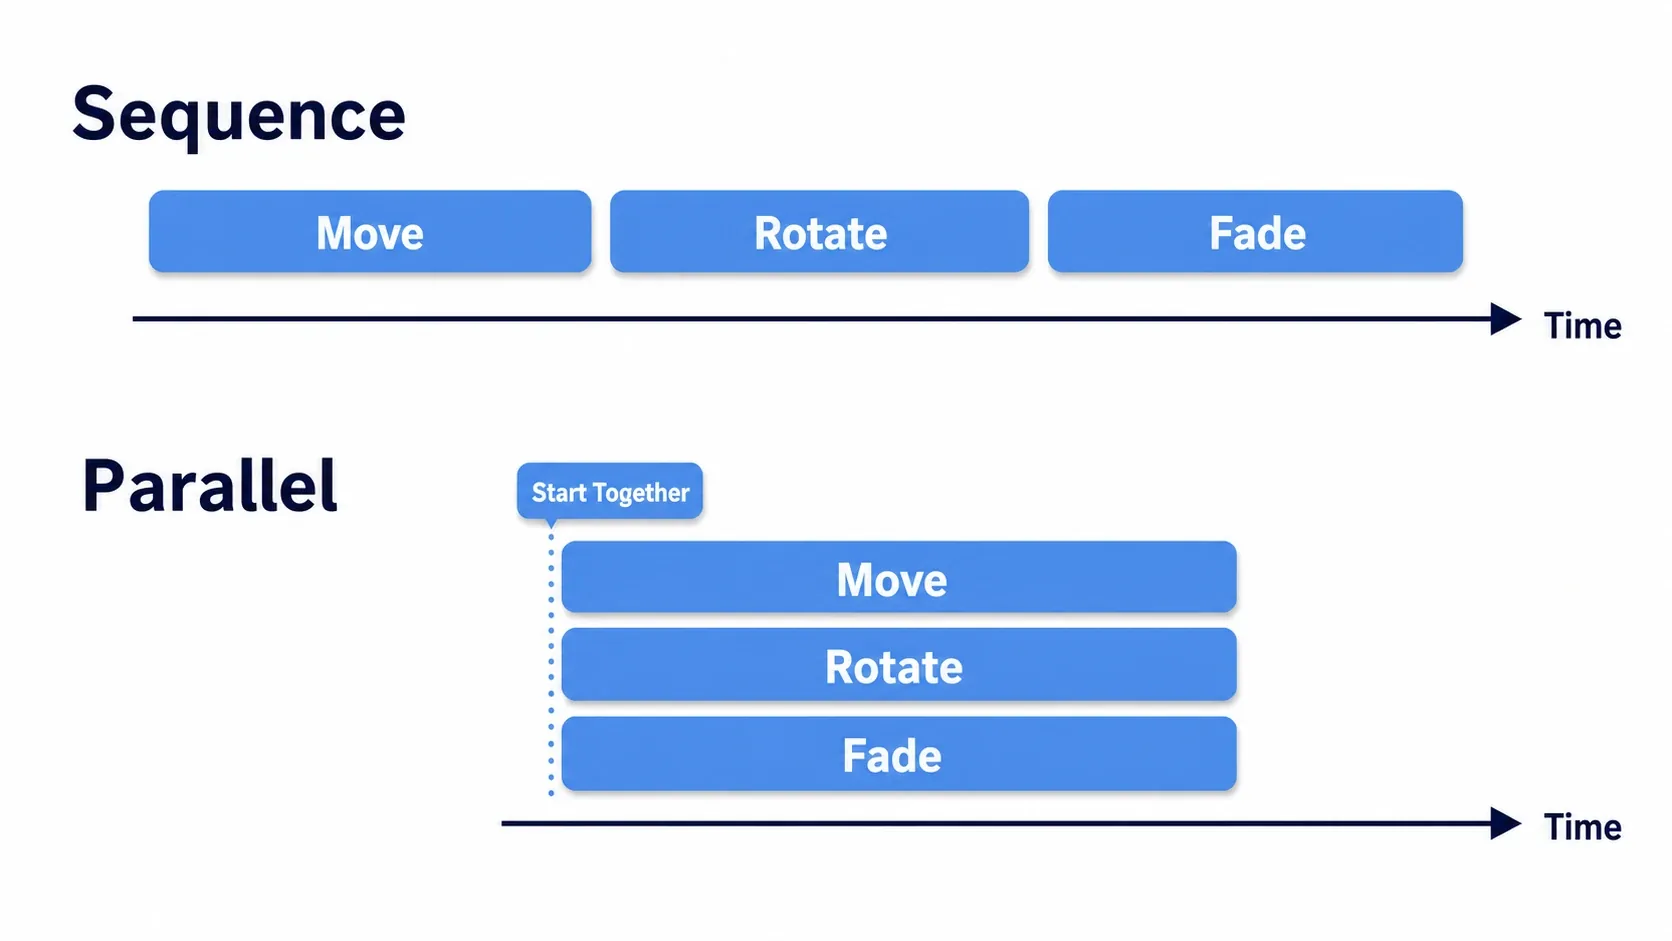
- Chaining (sequence) : writing
tween_property()calls in a row runs them top to bottom. - Parallel : inserting
parallel()makes that schedule start at the same time as the one before it.
func complex_animation() -> void:
    var tween := create_tween()
    var sprite := $Sprite2D

    # 1. First, move right over 1 second
    tween.tween_property(sprite, "position:x", 500.0, 1.0)

    # 2. Next, move down and rotate 45 degrees at the same time (parallel)
    tween.parallel().tween_property(sprite, "position:y", 300.0, 0.5)
    tween.parallel().tween_property(sprite, "rotation_degrees", 45.0, 0.5)

    # 3. Wait for 0.5 seconds
    tween.tween_interval(0.5)

    # 4. Finally, fade out over 0.3 seconds
    tween.tween_property(sprite, "modulate:a", 0.0, 0.3)
Waiting for Completion with await
When you want to continue only after an effect finishes, combine await with the Tween's finished signal. The flow reads far more linearly than wiring up callbacks (for how await itself works, see await and coroutine basics).
func play_and_destroy() -> void:
    var tween := create_tween()
    tween.tween_property(self, "scale", Vector2.ZERO, 0.5)  # Shrink away

    await tween.finished  # Wait here until this Tween completes

    queue_free()  # Safely delete once fully shrunk
Common Mistakes and Best Practices
| Common mistake | Best practice |
|---|---|
Calling create_tween() every frame inside _process() | Create a Tween once, when you want the motion to start . For per-frame following, use something else like lerp() |
| Starting a new Tween without stopping the old one, causing conflicts | Stop the previous Tween with kill() before starting a new one (see below) |
Wiring lots of logic into finished until it gets tangled | Write it linearly in an async function with await tween.finished |
| Trying to build everything with Tween | Complex effects spanning multiple nodes and tracks suit AnimationPlayer better |
Preventing Tween Conflicts with kill()
Take "move smoothly to the clicked position." If a second click arrives mid-motion, the old and new Tweens fight over the same position and the result stutters. Cleaning up the old Tween before starting prevents it.
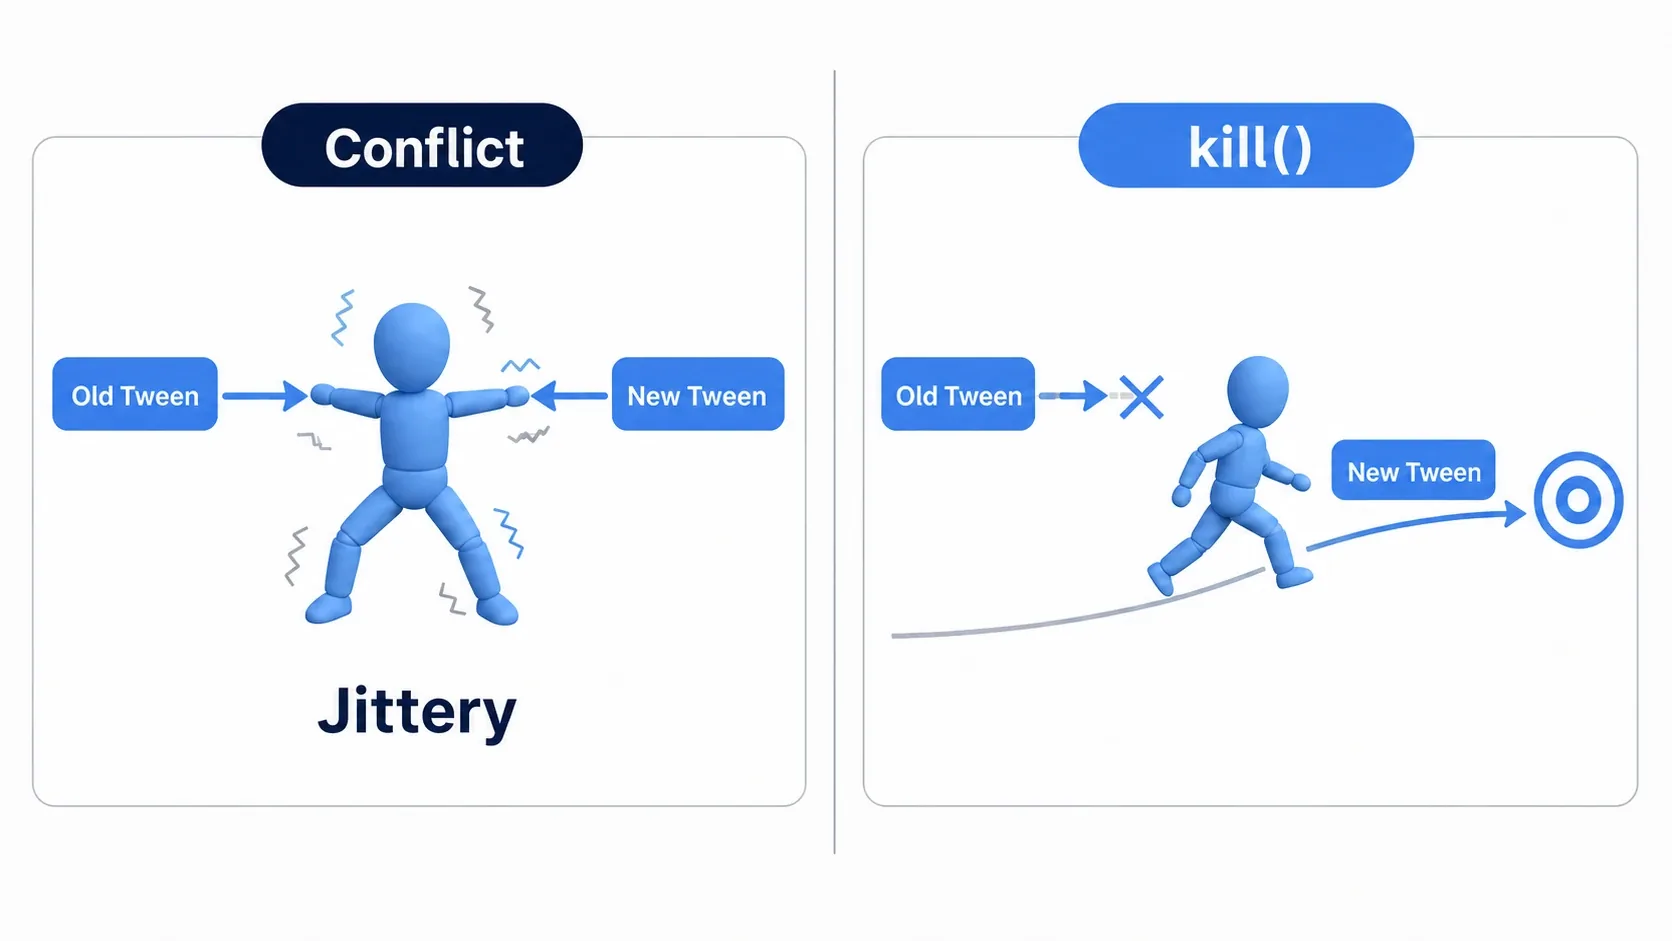
var current_tween: Tween

func animate_to(target_position: Vector2) -> void:
    # Stop the running Tween, if any
    if current_tween and current_tween.is_valid():
        current_tween.kill()

    current_tween = create_tween()
    current_tween.tween_property(self, "position", target_position, 0.5)
Tween vs AnimationPlayer
Both are animation tools, but they are good at different things.
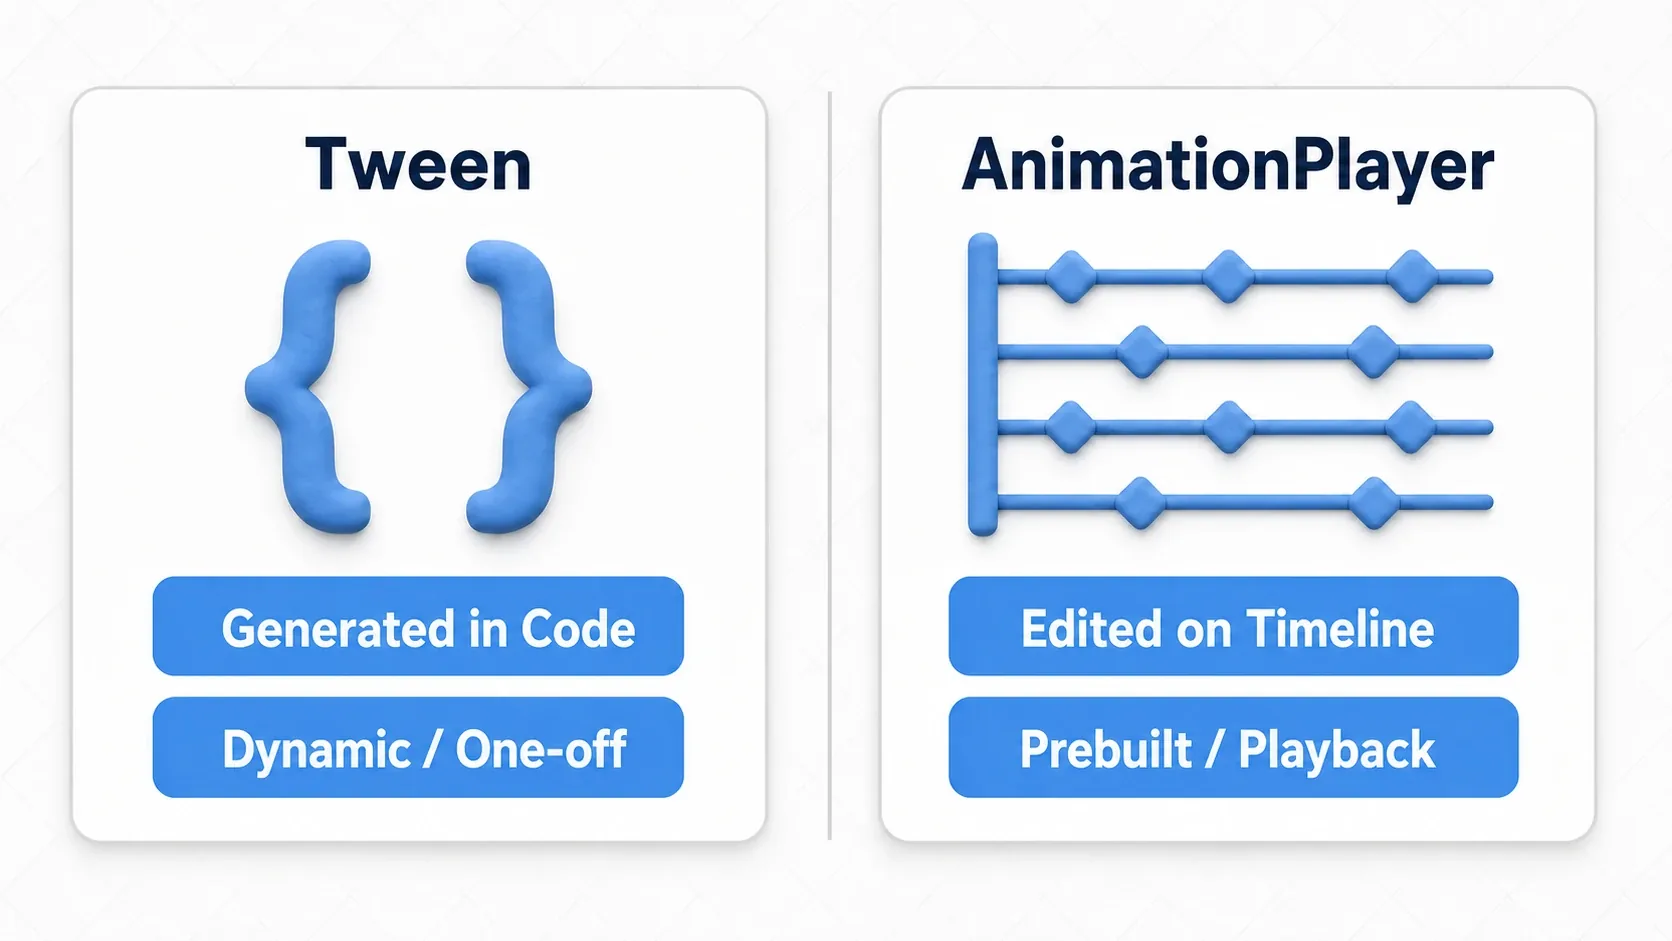
| Aspect | Tween (create_tween) | AnimationPlayer |
|---|---|---|
| Best at | Dynamic effects built in code, UI, simple value changes | Complex prebuilt sequences, cutscenes |
| Setup | Easy (all in code) | A bit of work (keyframing in the editor) |
| Flexibility | High (built freely from runtime values) | Lower (mostly playing back what you built) |
| Visual editing | Not available | Strong (edit and preview on a timeline) |
Roughly: one-off effects whose values are decided at runtime go to Tween, while crafted motion you replay repeatedly goes to AnimationPlayer. For a fuller comparison and how sprite animation fits in, see AnimatedSprite2D vs AnimationPlayer and Advanced AnimationPlayer Techniques.
Hands-On: Building a Damage Number Popup
Let's put scheduling, easing, parallel, and await together into a single effect. The subject is a damage number popup , which you see in all sorts of games.
- Action RPG : hit an enemy and "120" pops above its head, then floats up and fades
- Shoot 'em up : a score bonus flies out on a kill
- Puzzle : the number of cleared blocks or the combo count drifts into view
The motion is the same in every case, following one lifecycle: scale up on appearance, float upward while fading, then disappear. The clean way to build it is to run "float" and "fade" at the same time (parallel), then use await to wait for the end before removing itself.
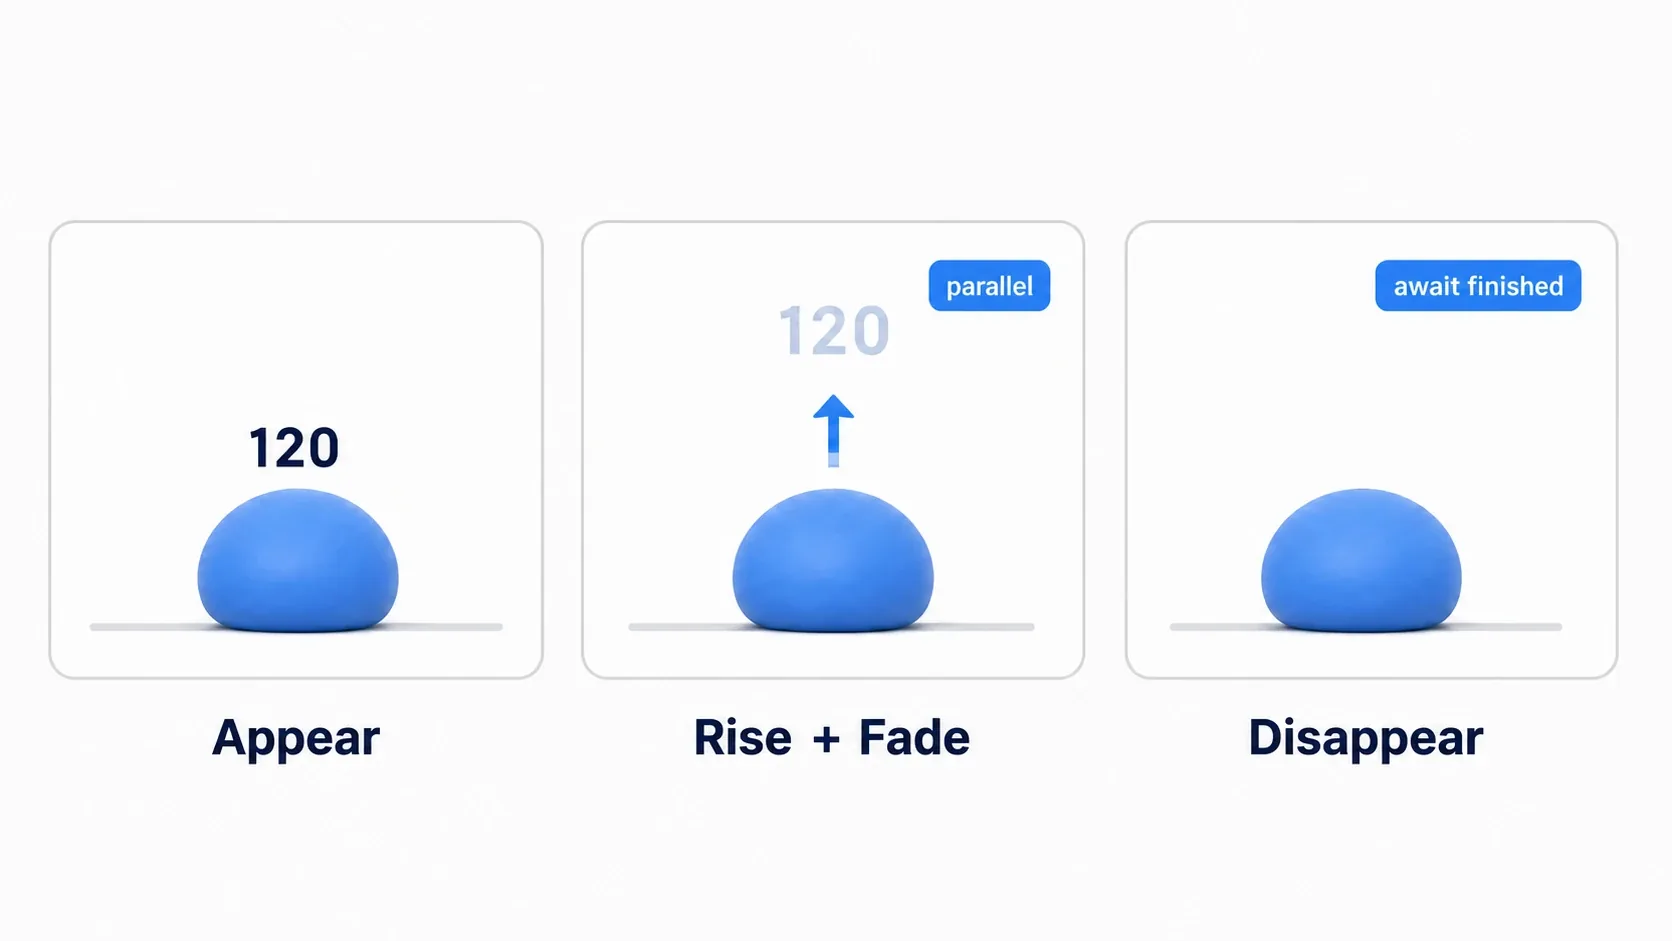
Prepare a scene (damage_number.tscn) with a Label that displays the number and the following script attached.
# damage_number.gd
extends Label

func popup(amount: int) -> void:
    text = str(amount)

    var tween := create_tween()

    # 1. Pop into view on appearance (starts small and bounces to full size)
    scale = Vector2.ZERO
    tween.tween_property(self, "scale", Vector2.ONE, 0.15) \
        .set_trans(Tween.TRANS_BACK).set_ease(Tween.EASE_OUT)

    # 2. Float upward and fade out at the same time (parallel)
    tween.parallel().tween_property(self, "position:y", position.y - 40.0, 0.5)
    tween.parallel().tween_property(self, "modulate:a", 0.0, 0.5)

    await tween.finished  # Wait until it has floated up and faded away
    queue_free()          # Clean up after the effect finishes
The caller (an enemy, say) just instantiates the number scene and calls popup().
const DAMAGE_NUMBER := preload("res://damage_number.tscn")

func take_damage(amount: int) -> void:
    hp -= amount

    var number := DAMAGE_NUMBER.instantiate()
    # Don't parent it to the enemy. Put it directly under the current scene
    # (so the number survives even if the enemy disappears first)
    get_tree().current_scene.add_child(number)
    number.global_position = global_position + Vector2(0, -20)
    number.popup(amount)
There are two points to take away.
- Run "float" and "fade" in parallel : moving them together with
parallel()produces that natural drift-and-fade look. Written in sequence, it becomes a two-stage "float, then fade" and feels sluggish. queue_free()only after await : deleting before the effect finishes makes the number vanish mid-flight and ruins it. Useawait tween.finishedto show it all the way through, then clean up. Keeping the number node out of the enemy's children (directly under the current scene) is the other trick, so the number survives if the enemy dies first.
The same shape gets you plenty of other one-off effects: coin pickups that bounce and vanish, achievement toasts that slide in and retract after a few seconds.
Bonus: Good to Know for Later
Once you can build motion with Tween, these are the next things that come into view. For now, just knowing the options exist is enough.
- You can animate more than properties :
tween_method()calls your own function every frame with the interpolated value instead of writing to a property. Handy for updating shader parameters or applying several values at once. - Drawing your own curve : when the
TRANS_*presets aren't enough, assigning a Curve to anAnimationPlayertrack reproduces hand-drawn easing (see Advanced AnimationPlayer Techniques). - Inserting logic mid-sequence : mixing
tween_callback(function)into your schedule lets you drop in things like "play a sound the moment the movement ends" partway through a sequence.
Summary
Godot 4's Tween is a tool for building effects easily, and powerfully, entirely in code.
- Basics :
create_tween()thentween_property()to move a property to a target value over time. Fire and forget, freed automatically - Easing : just adding
set_trans/set_easeimmediately makes motion feel more polished - Composition : chained calls run in order,
parallel()runs together,await tween.finishedwaits for completion - Conflicts : if motion might collide,
kill()the previous Tween before starting
Start by adding create_tween() to something close at hand, like an HP bar or a UI slide-in. That alone visibly changes how your game feels. Next, picking up Advanced AnimationPlayer Techniques for replaying crafted motion will widen your range considerably.