Jump is Space, attack is X, movement is WASD. That looks like enough at first.
But once you want gamepad support, a left-handed key layout, or a way for players to rebind keys in-game, a design with KEY_SPACE and KEY_X scattered through your scripts quickly becomes painful.
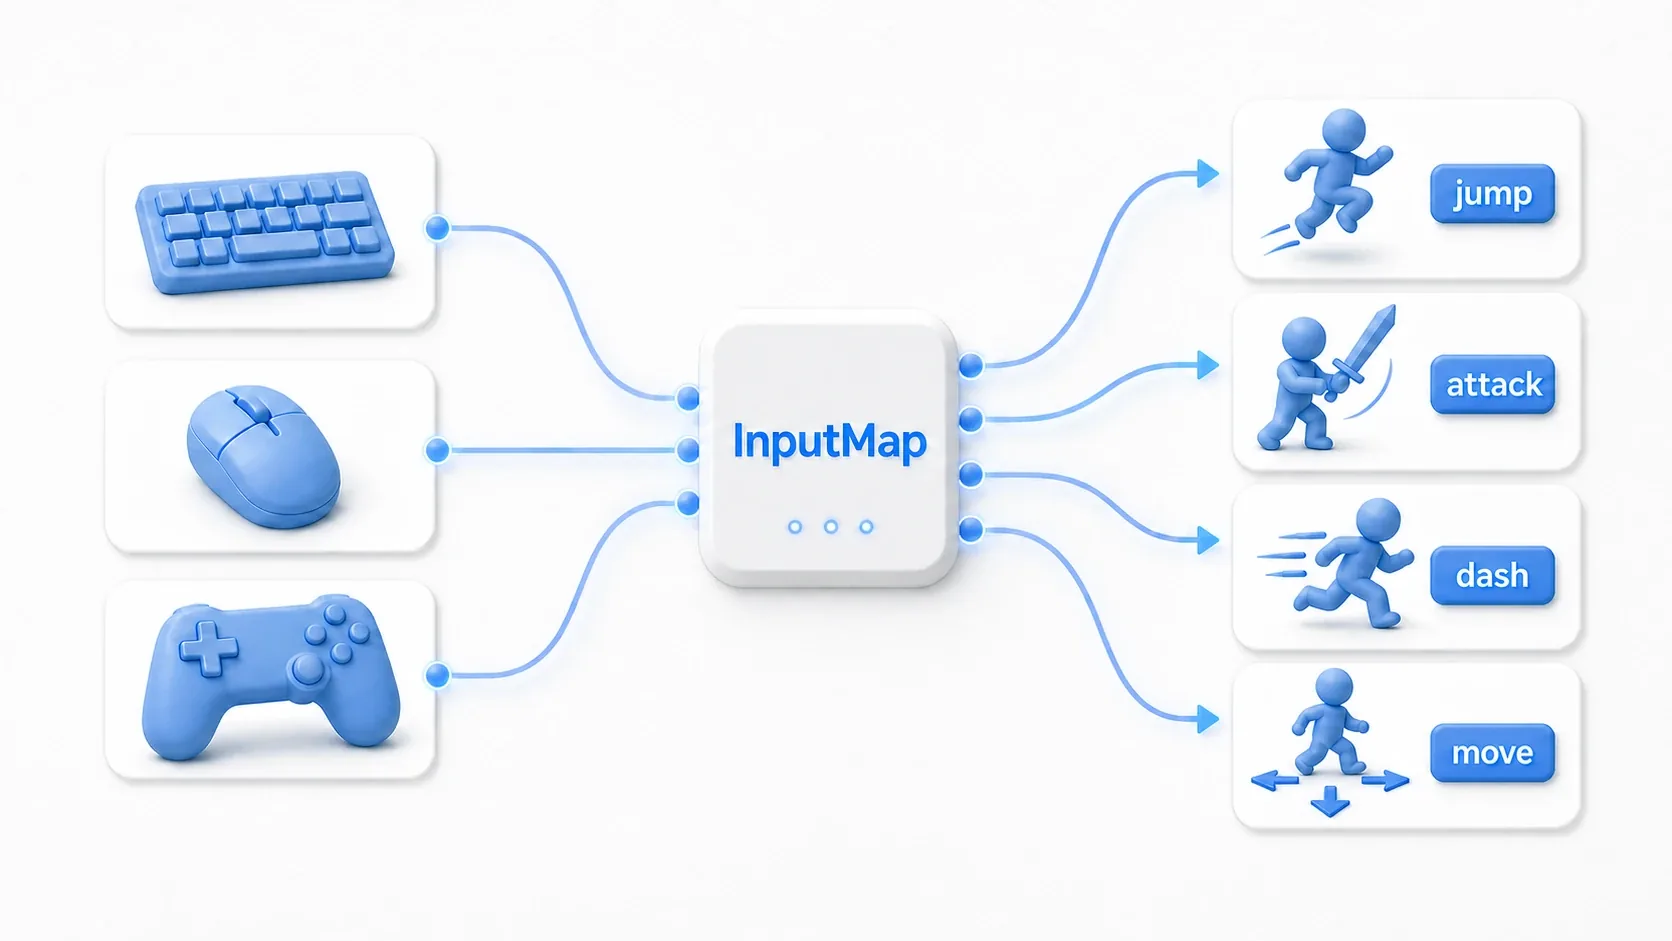
InputMap is the system that ties physical keys and buttons to in-game action names. Your code asks "was the jump action pressed?" rather than "was Space pressed?"
What You'll Learn
- Why abstracting input through InputMap matters
- How to register actions in the editor
- How to build 8-way movement with
Input.get_vector()- A basic in-game key rebinding implementation
- How to save and restore key settings with
ConfigFile
InputMap Is a Translation Table for Input
Without InputMap, your code looks at physical keys directly.
# Avoid: locked to the Space key
if Input.is_key_pressed(KEY_SPACE):
    jump()
This is fine for a small experiment. It falls apart when players want to rebind keys, when you want gamepad support, or when you consider keyboards with different layouts.
With InputMap, your code only looks at action names.
# Better: the code doesn't know which key it's bound to
if Input.is_action_just_pressed("jump"):
    jump()
You can bind Space, the gamepad A button, and other keys to "jump" all at once. Your code stays "jump" the whole time.
Separating "physical input" from "what it means in the game" is InputMap's most important job.
Registering Actions in the Editor
Start with the basic setup in the editor.
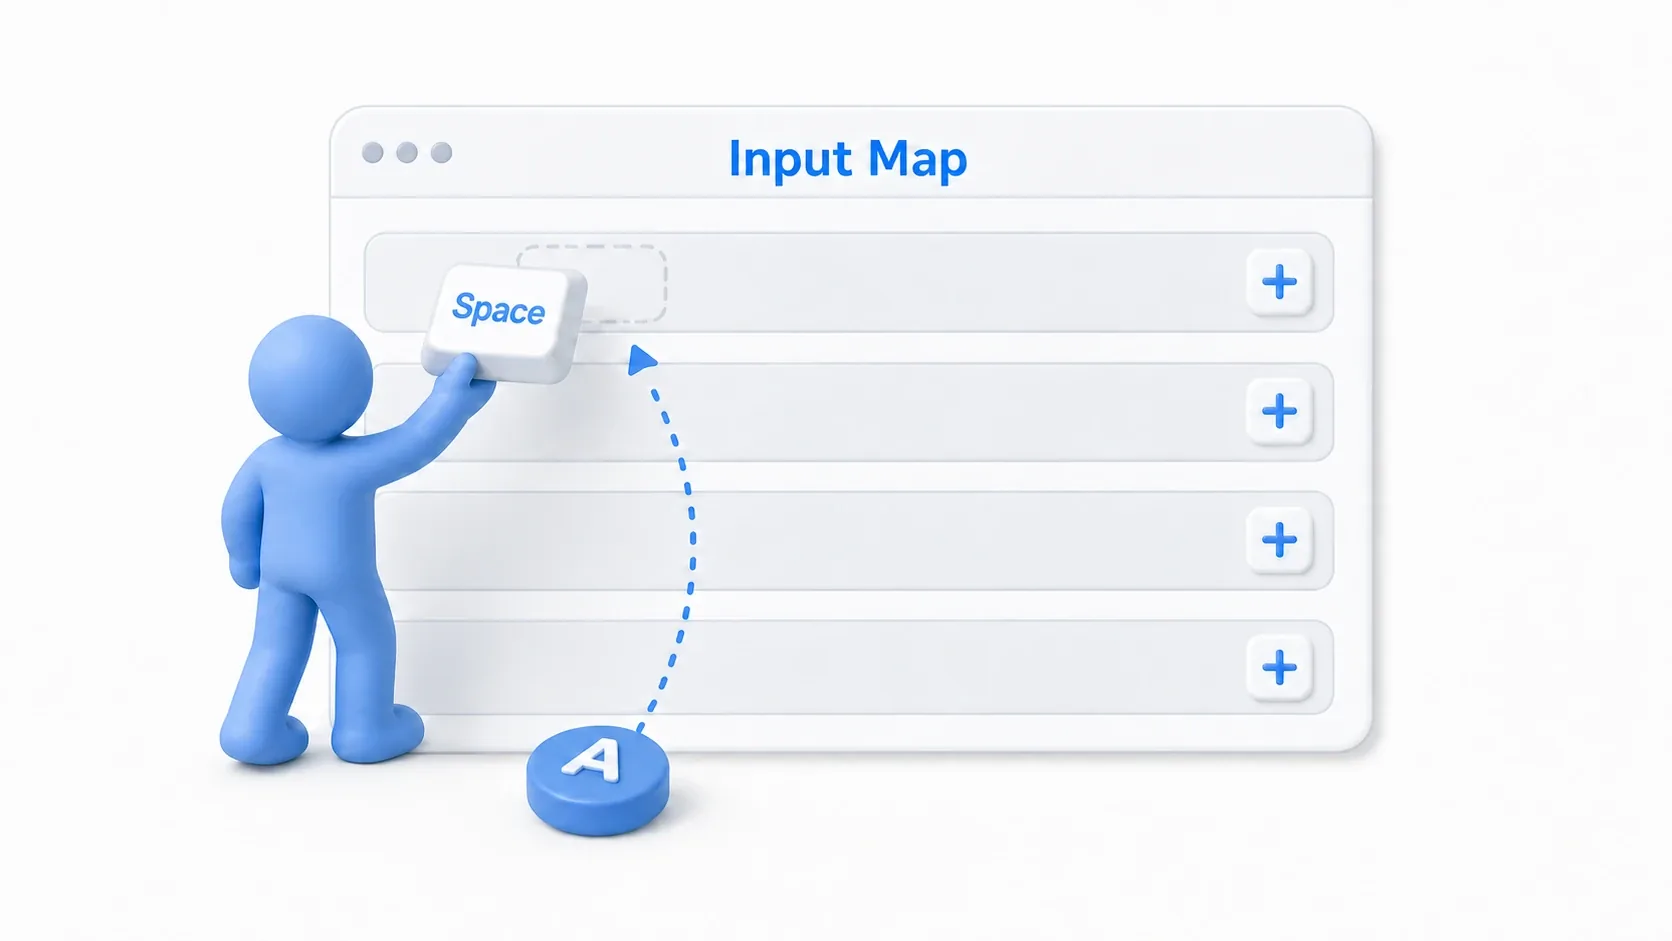
- Open "Project" then "Project Settings"
- Choose the "Input Map" tab
- Add action names such as
jump,attack, andmove_left - Use each action's
+button to register a key, mouse button, or gamepad input
Name actions after their in-game meaning, not after keys.
| Good name | Name to avoid | Why |
|---|---|---|
jump | space | You may bind something other than Space |
attack | left_click | You'll want a gamepad button to attack too |
move_left | a_key | The meaning stays "move left" even if the key changes |
ui_cancel | esc_key | You can register cancel inputs other than Esc |
Getting this naming right up front pays off when you build a key config screen later.
Scripts Look at Action Names
Writing action names as raw strings works, but typos get scary as a project grows. Turning the common ones into constants keeps things readable.
const ACTION_JUMP: StringName = &"jump"
const ACTION_ATTACK: StringName = &"attack"
const ACTION_MOVE_LEFT: StringName = &"move_left"
const ACTION_MOVE_RIGHT: StringName = &"move_right"

func _physics_process(delta: float) -> void:
    if Input.is_action_just_pressed(ACTION_JUMP):
        # We don't care which key produced the jump
        jump()

    var direction := Input.get_axis(ACTION_MOVE_LEFT, ACTION_MOVE_RIGHT)
    velocity.x = direction * 260.0
    move_and_slide()

func _process(delta: float) -> void:
    if Input.is_action_just_pressed(ACTION_ATTACK):
        attack()
Constants cut down on mistakes like typing "jamp" instead of "jump". On team projects or larger codebases, a dedicated file such as input_actions.gd collecting all action names works well too.
Example 1: 8-Way Movement with get_vector
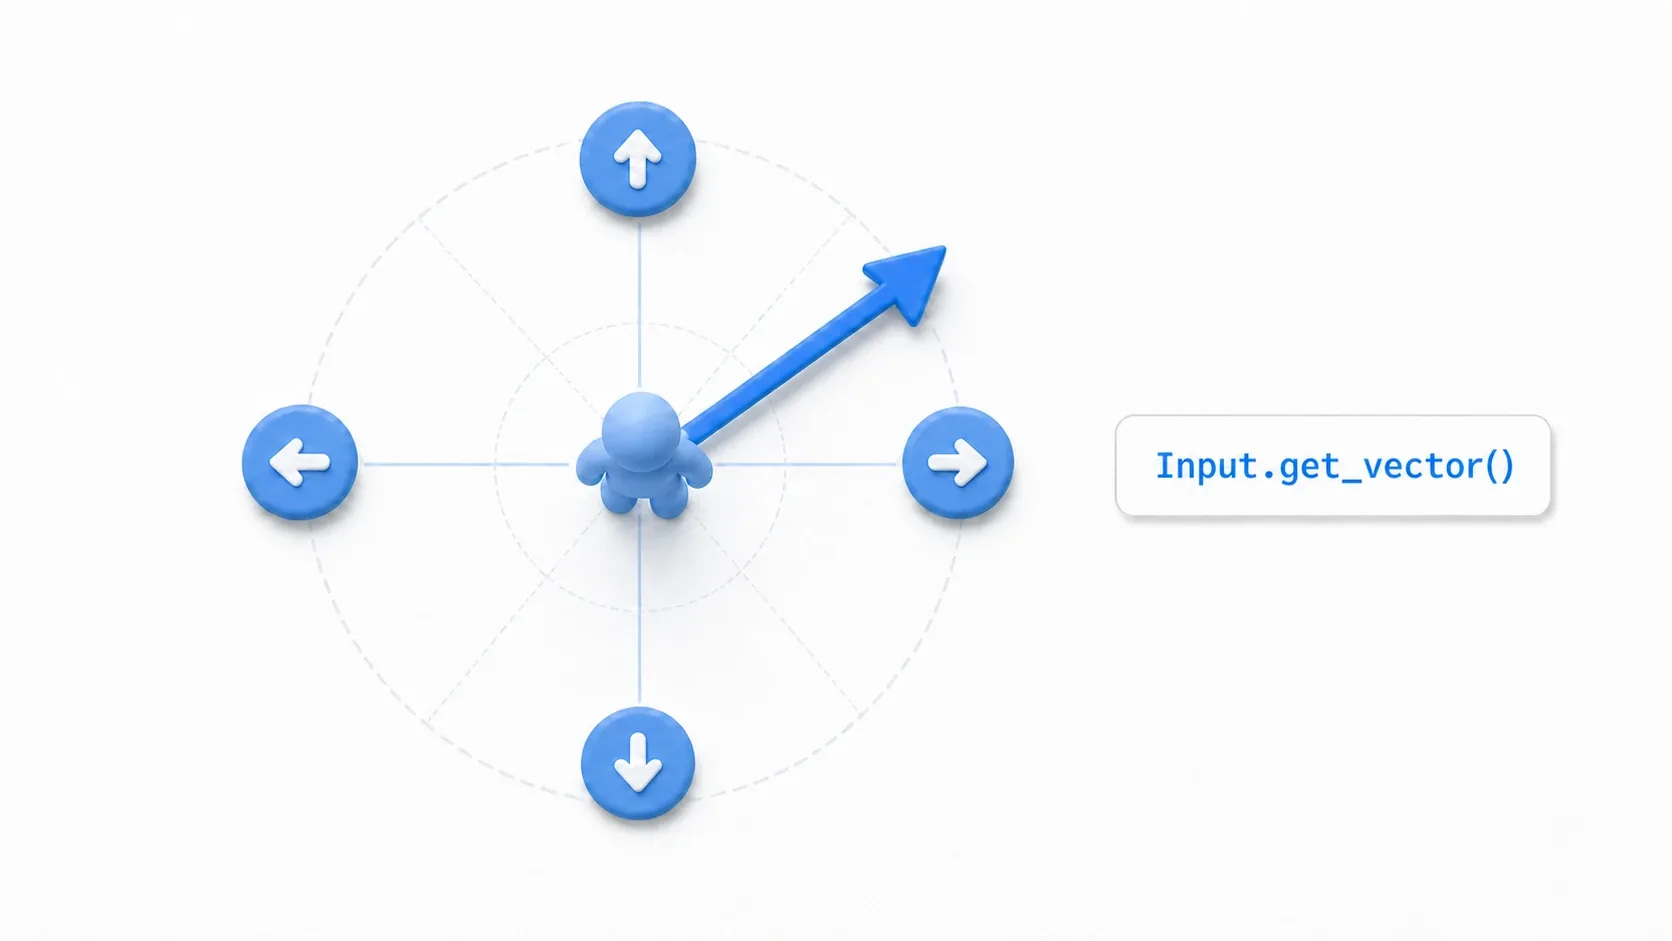
In top-down RPGs, twin-stick shooters, and top-down action games, you build one movement vector from up/down/left/right input.
Input.get_vector() is handy for this.
extends CharacterBody2D

const SPEED := 220.0

const MOVE_LEFT: StringName = &"move_left"
const MOVE_RIGHT: StringName = &"move_right"
const MOVE_UP: StringName = &"move_up"
const MOVE_DOWN: StringName = &"move_down"

func _physics_process(delta: float) -> void:
    # Build a movement Vector2 from the four directional actions
    var input_vector := Input.get_vector(
        MOVE_LEFT,
        MOVE_RIGHT,
        MOVE_UP,
        MOVE_DOWN
    )

    velocity = input_vector * SPEED
    move_and_slide()
get_vector() keeps diagonal input from growing too long. Pressing move_left and move_up together and using (-1, -1) directly would make diagonal movement faster, but get_vector() returns a direction vector that's ready to use in a game.
Implementation Recipe: Top-Down RPG Movement
For a top-down RPG, this setup is easy to extend.
- Register
move_left,move_right,move_up, andmove_downin the InputMap - Bind
A/D/W/S, the arrow keys, and gamepad directional input to each - Have the player script look at nothing but
Input.get_vector() - Register a separate
dashaction if you add dashing - Show settings per InputMap action on the key config screen
Because the code knows nothing about W or A, adding gamepad support later requires no change to the movement logic.
Example 2: In-Game Key Rebinding
To build a "change the jump key" option in-game, the flow looks like this.
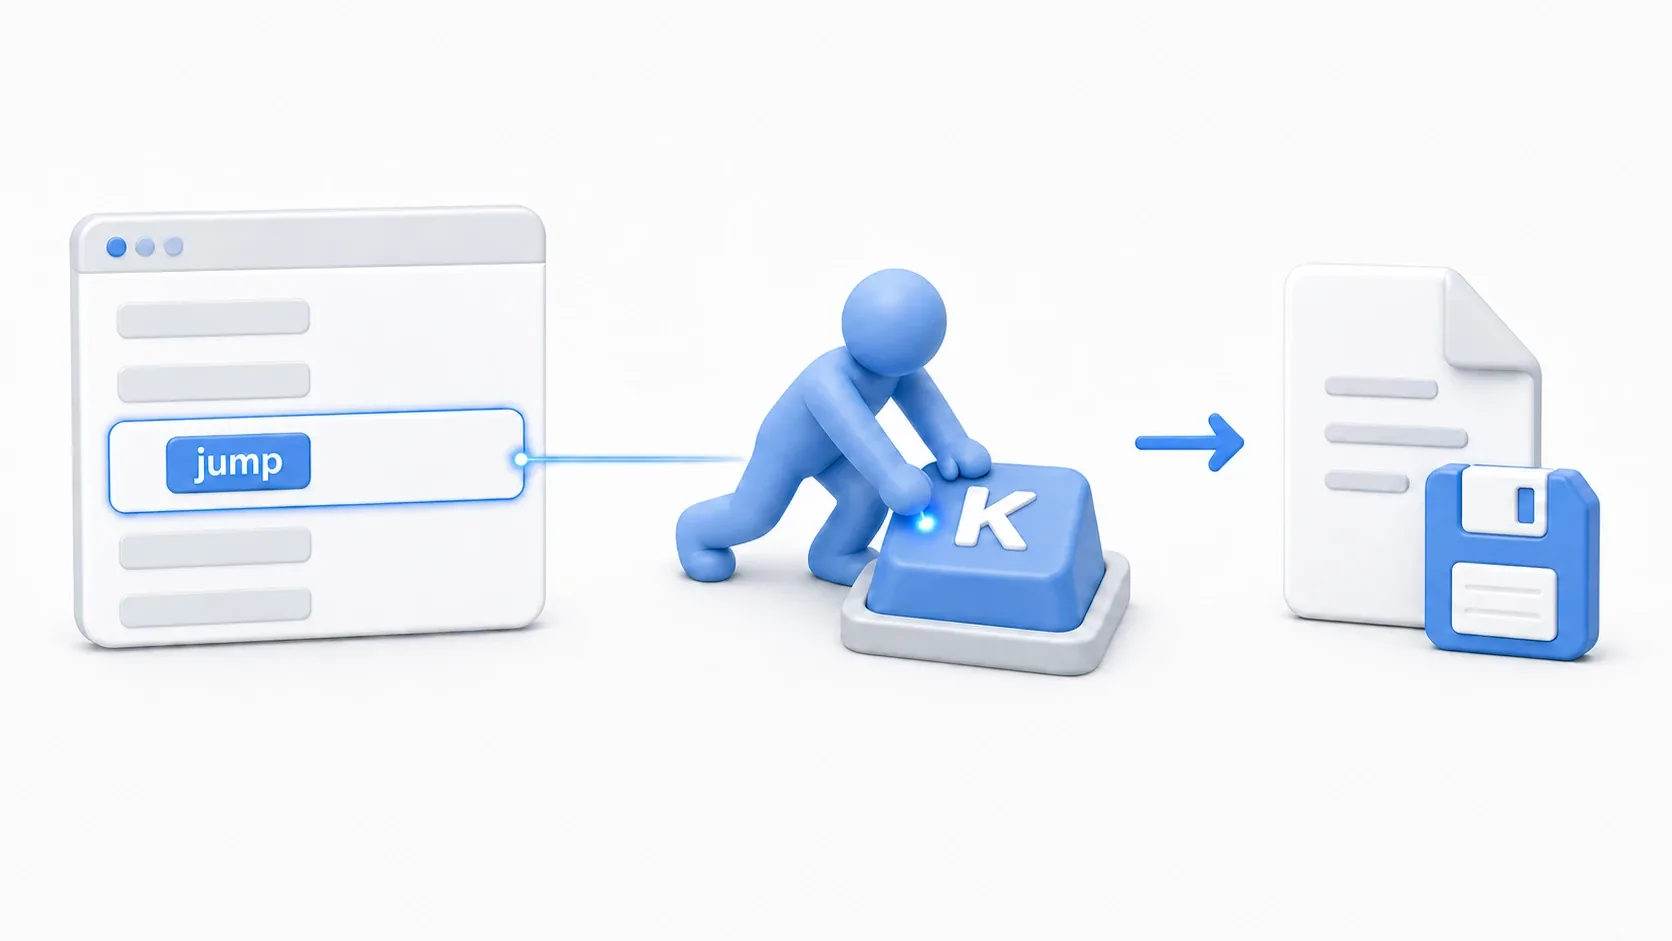
- Pick the action to change
- Wait for the next key input
- Erase the old binding
- Register the new
InputEventin the InputMap - Save the settings
Here's a simple example that rebinds a single keyboard key.
# key_config_screen.gd
extends Control

var waiting_for_input := false
var target_action: StringName = &""

func start_rebind(action: StringName) -> void:
    # Called from a UI button, e.g. "change jump"
    waiting_for_input = true
    target_action = action
    show_waiting_message(action)

func _unhandled_input(event: InputEvent) -> void:
    if not waiting_for_input:
        return

    if event is InputEventKey and event.pressed and not event.echo:
        # Erase existing keys and register only the new one
        InputMap.action_erase_events(target_action)
        InputMap.action_add_event(target_action, event)

        waiting_for_input = false
        hide_waiting_message()

        # Keep this key press from reaching the game
        get_viewport().set_input_as_handled()

func show_waiting_message(action: StringName) -> void:
    print("Press a key to bind to %s" % action)

func hide_waiting_message() -> void:
    print("Key settings updated")
This example binds exactly one key per action. A real game extends this with "add", "remove", "reset to defaults", and "accept gamepad input" to match its UI.
One thing to watch: exclude event.echo. Using the repeat events produced by holding a key down in your rebinding logic leads to unintended behavior.
Example 3: Saving Key Settings
Rewriting the InputMap at runtime doesn't survive a restart on its own. To keep it as a player setting, save it with something like ConfigFile.
For clarity, here's a small example that saves only the keyboard keycode.
# key_config_store.gd
extends Node

const SAVE_PATH := "user://key_config.cfg"
const SECTION := "keys"

const ACTIONS: Array[StringName] = [
    &"jump",
    &"attack",
    &"dash",
]

func save_key_config() -> void:
    var config := ConfigFile.new()

    for action in ACTIONS:
        var events := InputMap.action_get_events(action)

        for event in events:
            if event is InputEventKey:
                # For this article, save only the first key we find
                config.set_value(SECTION, String(action), event.keycode)
                break

    config.save(SAVE_PATH)
On load, rebuild an InputEventKey from the saved keycode.
func load_key_config() -> void:
    var config := ConfigFile.new()

    if config.load(SAVE_PATH) != OK:
        return

    for action in ACTIONS:
        var action_name := String(action)

        if not config.has_section_key(SECTION, action_name):
            continue

        var event := InputEventKey.new()
        event.keycode = config.get_value(SECTION, action_name)

        # Erase the project settings binding and register the saved key
        InputMap.action_erase_events(action)
        InputMap.action_add_event(action, event)
This code is a bare minimum. If you want to save gamepad input, mouse buttons, multiple bindings, and shortcuts with modifier keys, you add a save format per event type.
As a beginner, it's best to nail "action names", "one key each", and "save and load" first. Trying to fully support every device from the start makes UI design a bigger job than the input handling itself.
Common Pitfalls
Naming Actions After Keys
Names like space_jump and x_attack stop making sense the moment the key changes.
Name actions after their in-game meaning. With names like jump, attack, interact, and open_menu, nothing feels off when the binding changes.
Splitting Gamepad and Keyboard Into Separate Actions
Splitting jump_keyboard and jump_gamepad forces your code to check both.
# Avoid
if Input.is_action_just_pressed("jump_keyboard") or Input.is_action_just_pressed("jump_gamepad"):
    jump()
Inputs that mean the same thing belong in the same action.
# Better
if Input.is_action_just_pressed("jump"):
    jump()
Rebinding Input Leaking Into the Game
If the key you press on the config screen also reaches the game, the character moves or the menu closes.
Once you've consumed the input, call get_viewport().set_input_as_handled() so it doesn't propagate.
No Way to Restore Defaults
With key rebinding, players can put themselves into a configuration where they can't control anything. At minimum, provide a reset-to-defaults button.
func reset_to_default_input_map() -> void:
    # Restore the InputMap defined in Project Settings
    InputMap.load_from_project_settings()
Bonus: Good to Know Beforehand
Treat the Built-In ui_* Actions Carefully
Godot ships with built-in actions such as ui_accept, ui_cancel, and ui_left. UI navigation and Control nodes use them, so mixing them too freely with your own controls can produce unintended input.
Create dedicated gameplay actions like jump, attack, and dash, and keep them separate from the ui_* actions.
Dead Zones Matter for Gamepad Support
Analog sticks can report small input values even when untouched. Adjusting the dead zone in the InputMap reduces the "character drifts on its own" problem.
For games that use stick input, tuning between "input doesn't register" and "the character moves by itself" is part of the work.
A Full Key Config UI Is Its Own Topic
This article covered InputMap fundamentals and minimal rebinding. A real key config screen also needs duplicate detection, cancellation, resetting, gamepad button display names, and localization.
Those are all UI design layered on top of InputMap, though. What matters first is the foundation: your code looks at action names, and bindings all live in the InputMap.
Summary
- InputMap converts physical keys and buttons into in-game action names
- Your code should look at names like
"jump", notKEY_SPACE - Inputs that mean the same thing belong in one action
Input.get_vector()is handy for 8-way movement- Rebind at runtime with
InputMap.action_erase_events()andInputMap.action_add_event() - Save settings you want to survive a restart with something like
ConfigFile
The point of InputMap isn't just registering keys. It's making sure your game logic doesn't have to change when the player's input method does.